Salta al contenuto principale
Unisciti alla Community delle riparazioni - Crea un account
Astro Mixamp Control Button Replacement

Astro Mixamp Control Button Replacement

Hope Burns

Hope Burns e un altro collaboratore

Ultimo aggiornamento il December 22, 2016

15 minuti
Moderato

Introduzione

Vai al passo 1

Use this guide to remove control buttons for cleaning or replacement.

Cosa ti serve

Strumenti

Mostra di più…

  1. Astro Mixamp Control Button Replacement, Panel Dial: passo 1, immagine 1 di 2 Astro Mixamp Control Button Replacement, Panel Dial: passo 1, immagine 2 di 2
    • Grip the dial tightly and pull straight off the device.

    • Repeat for the second dial

  2. Astro Mixamp Control Button Replacement: passo 2, immagine 1 di 2 Astro Mixamp Control Button Replacement: passo 2, immagine 2 di 2
    Attrezzo utilizzato in questo passaggio:
    Tweezers
    $4.99
    • Using tweezers, remove the spacer nuts and washers from each dial post.

  3. Astro Mixamp Control Button Replacement, Outer Casing: passo 3, immagine 1 di 2 Astro Mixamp Control Button Replacement, Outer Casing: passo 3, immagine 2 di 2
    • Before opening your device, ensure the device is not on or connected to the charging cable.

    • Insert a plastic opening tool into the seam between the rubber foot and plastic casing.

    • Pull the rubber foot free of the plastic casing.

  4. Astro Mixamp Control Button Replacement: passo 4, immagine 1 di 1
    • Use a screwdriver to remove the screw from the rear casing.

  5. Astro Mixamp Control Button Replacement: passo 5, immagine 1 di 1
    • Gently lift the rear casing from the device.

  6. Astro Mixamp Control Button Replacement, Motherboard: passo 6, immagine 1 di 3 Astro Mixamp Control Button Replacement, Motherboard: passo 6, immagine 2 di 3 Astro Mixamp Control Button Replacement, Motherboard: passo 6, immagine 3 di 3
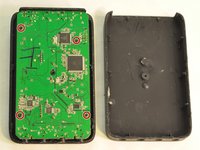
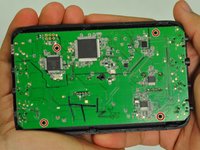
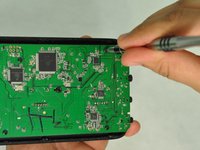
    • Remove the four screws that hold the motherboard in place.

    • Only touch the edges of the motherboard. Touching the surface can damage the motherboard.

  7. Astro Mixamp Control Button Replacement: passo 7, immagine 1 di 1
    • Gently pull the motherboard from the front cover.

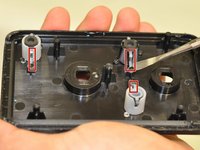
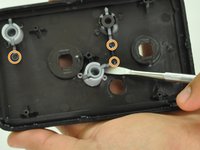
  8. Astro Mixamp Control Button Replacement, Control Button: passo 8, immagine 1 di 2 Astro Mixamp Control Button Replacement, Control Button: passo 8, immagine 2 di 2
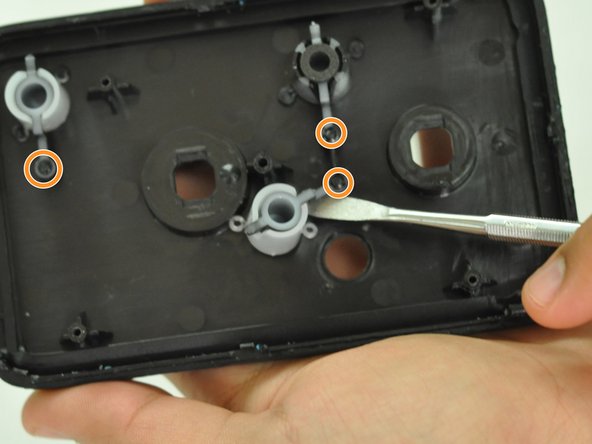
    • Gently insert a metal spudger under a control button housing.

    • Do not pry the button housing from the front panel, this can cause damage to the button.

    • Rotate the control button around the marked pin.

Conclusione

To reassemble your device, follow these instructions in reverse order.

Altre 2 persone hanno completato questa guida.

Hope Burns

Membro da: 10/29/16

741 Reputazione

5 Guide realizzate

0Commenti sulla guida

Aggiungi Commento

Visualizza Statistiche:

Ultime 24 Ore: 0

Ultimi 7 Giorni: 2

Ultimi 30 Giorni: 15

Tutti i Tempi: 1,740