Salta al contenuto principale

Archos 70b 0.3 MP Camera Replacement

Cosa ti serve

  1. Archos 70b 0.3 MP Camera Replacement, Back plate: passo 1, immagine 1 di 1
    • Remove all the tape and plugs to access the screws beneath.

  2. Archos 70b 0.3 MP Camera Replacement: passo 2, immagine 1 di 1
    • Unscrew all 5 of the .3mm t4 screws from the back plate of the device.

  3. Archos 70b 0.3 MP Camera Replacement: passo 3, immagine 1 di 1
    • Gently go around the outside of the back plate and pry the back cover off.

  4. Archos 70b 0.3 MP Camera Replacement, 0.3 MP Camera: passo 4, immagine 1 di 1
    • Locate the camera on the motherboard.

  5. Archos 70b 0.3 MP Camera Replacement: passo 5, immagine 1 di 1
    • Remove the plastic cover from the camera.

    • Removal of the plastic cover makes disassembly easier.

  6. Archos 70b 0.3 MP Camera Replacement: passo 6, immagine 1 di 2 Archos 70b 0.3 MP Camera Replacement: passo 6, immagine 2 di 2
    Attrezzo utilizzato in questo passaggio:
    Tweezers
    $4.99
    Compra
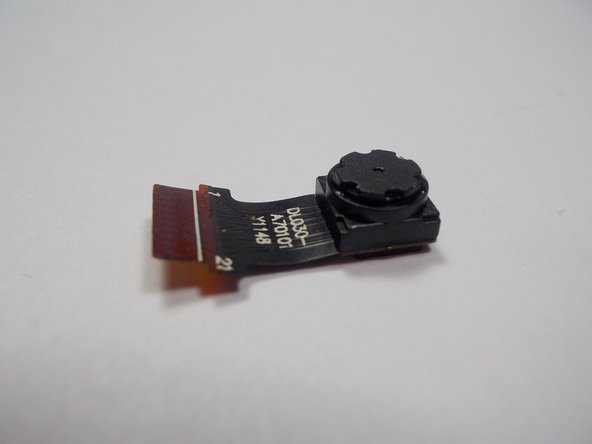
    • Using tweezers remove the camera by the pins from the motherboard.

Conclusione

To reassemble your device, follow these instructions in reverse order.

Altre 3 persone hanno completato questa guida.

Team

UMass Dartmouth, Team 1-3, Miles Fall 2015 Membro di UMass Dartmouth, Team 1-3, Miles Fall 2015

UMASSD-MILES-F15S1G3

3 Membri

6 Guide realizzate

0 Commenti

Aggiungi Commento

Visualizza Statistiche:

Ultime 24 Ore: 0

Ultimi 7 Giorni: 3

Ultimi 30 Giorni: 4

Tutti i Tempi: 721