Introduzione
This guide will walk you through removing the Fan Assembly on an Aorus x7 v2. Fan function is vital for computer performance, as laptops work best with proper ventilation. If the cooling system fails, the laptop may quit working or damage other important components.
Before starting this repair, power off your device and unplug from your charger. It is also recommended that the battery be disconnected and removed.
Cosa ti serve
-
-
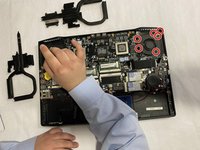
Flip the laptop over.
-
Unscrew the 12 screws holding on the bottom cover.
-
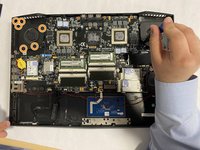
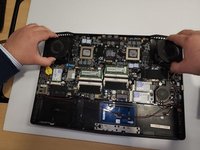
Take off the bottom cover.
-
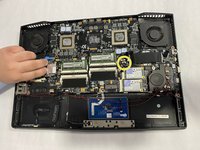
Remove the 12 screws from the heat sink.
-
-


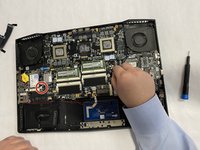
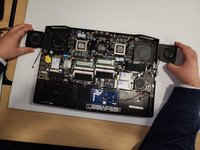
To reassemble your device, follow these instructions in reverse order using new left and right fans.
To reassemble your device, follow these instructions in reverse order using new left and right fans.
Annulla: non ho completato questa guida.
Un'altra persona ha completato questa guida.
Team

Gateway, Team 1-4, Pee Fall 2022 Membro di Gateway, Team 1-4, Pee Fall 2022
GCC-PEE-F22S1G4
3 Membri
6 Guide realizzate