Introduzione
The Anker 2.4G Wireless Mouse is an ergonomic mouse designed to provide fluid, strain-free web-browsing for users. Additional side buttons by the thumb indent included on the mouse increases browsing convenience. This guide details how to quickly and easily replace these side buttons.
Cosa ti serve
-
-
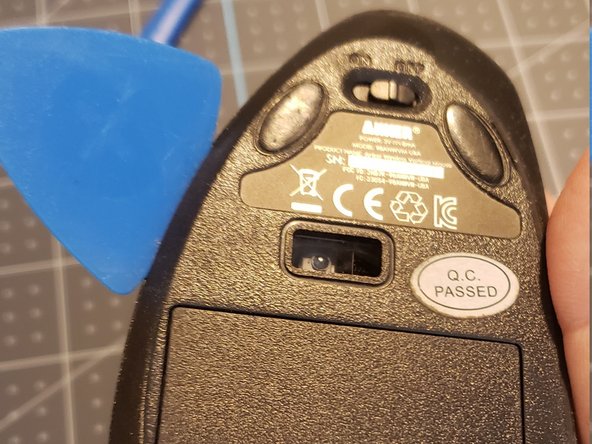
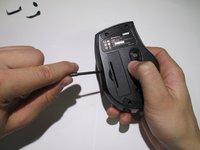
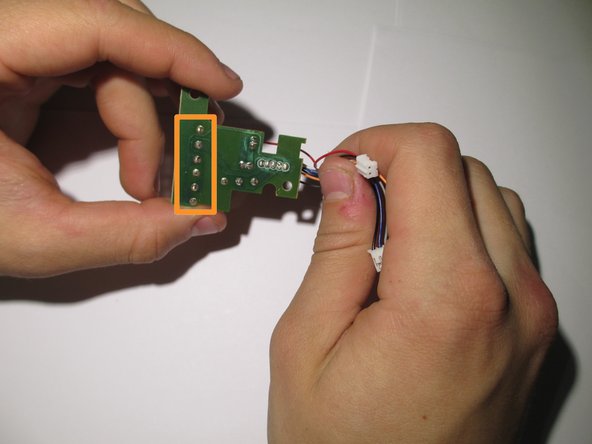
Flip the mouse over so that the bottom is facing up.
-
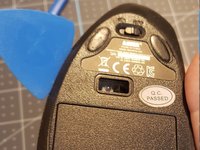
Using a prying tool to peel off the black stickers from the bottom of the mouse.
-
-


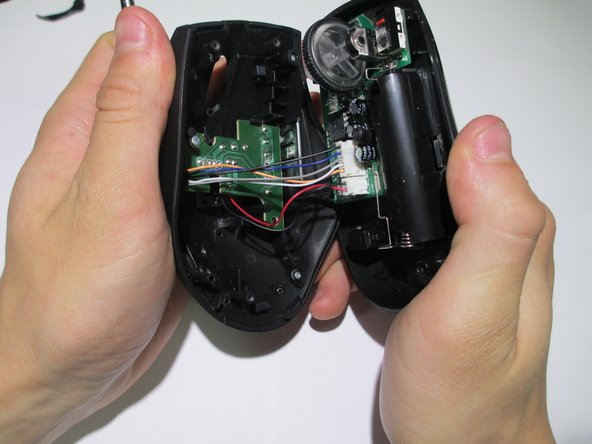


To reassemble your device, follow these instructions in reverse order.
To reassemble your device, follow these instructions in reverse order.
Team

Cal Poly, Team 1-39, Maness Winter 2014 Membro di Cal Poly, Team 1-39, Maness Winter 2014
CPSU-MANESS-W14S1G39
4 Membri
16 Guide realizzate