Salta al contenuto principale
Unisciti alla Community delle riparazioni - Crea un account
Android tablet Nobis NB09 Camera Replacement

Android tablet Nobis NB09 Camera Replacement

Sergey Kasyanov

Sergey Kasyanov e 6 altri collaboratori

Ultimo aggiornamento il 7 mag 2024

10 - 15 minuti
Facile

Introduzione

Vai al passo 1

This guide provides essential information and steps on how to replace a faulty camera, including a step by step disassembling and removing instructions. Follow steps 1-3 to open the device. Ignore steps 4 and 5 and go straight to step 6 after doing so.

Cosa ti serve

Ricambi

Strumenti

Mostra di più…

  1. Android tablet Nobis NB09 Camera Replacement, Back Cover: passo 1, immagine 1 di 1
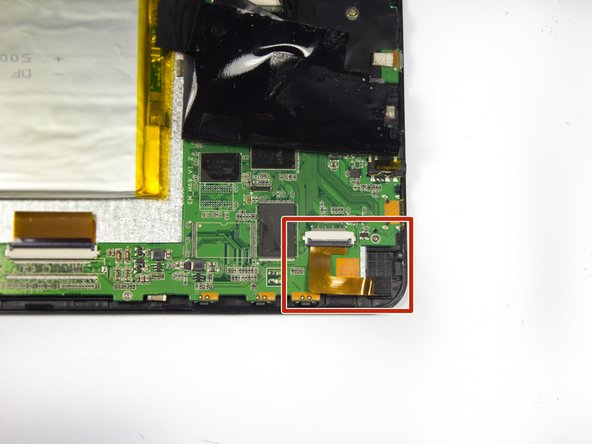
    • Remove the two 00 Phillips screws located in the right hand side of the tablet.

  2. Android tablet Nobis NB09 Camera Replacement: passo 2, immagine 1 di 3 Android tablet Nobis NB09 Camera Replacement: passo 2, immagine 2 di 3 Android tablet Nobis NB09 Camera Replacement: passo 2, immagine 3 di 3
    • Use plastic opening tools to loosen and pry off the back plate (pink piece).

    • When removing the cover, be careful not to pull too hard as there are wires connected to the motherboard attached to the back cover.

  3. Android tablet Nobis NB09 Camera Replacement, Camera: passo 3, immagine 1 di 2 Android tablet Nobis NB09 Camera Replacement, Camera: passo 3, immagine 2 di 2
    • It is recommended that a grounding bracelet be used in order to avoid damage to the device's circuits through ESD (Electro-Static Discharge)

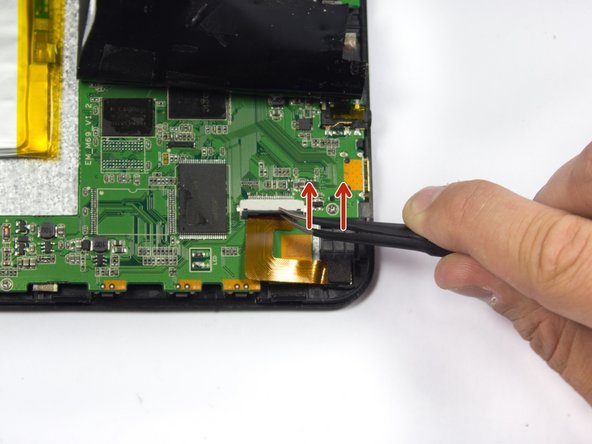
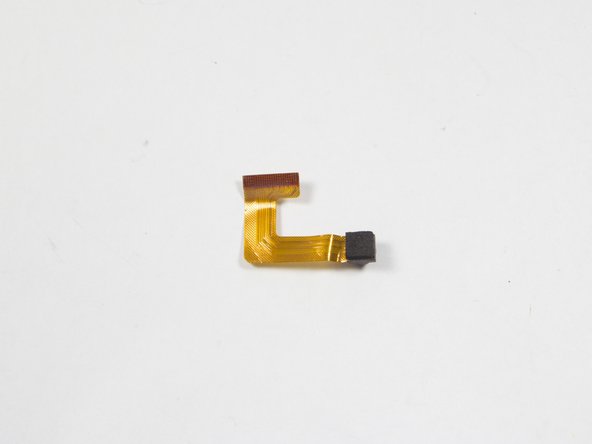
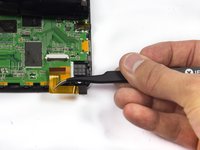
    • Start by removing the electrical tape covering the camera, located at the top left corner of the device.

    • Remove enough tape to expose the ZIF connector and the camera.

  4. Android tablet Nobis NB09 Camera Replacement: passo 4, immagine 1 di 1
    Attrezzo utilizzato in questo passaggio:
    Tweezers
    $4.99
    • Lift up the black plastic lock on the ZIF connector with tweezers.

    • ZIF stands for Zero Insertion Force connector. Make sure the connector is unlocked completely.

  5. Android tablet Nobis NB09 Camera Replacement: passo 5, immagine 1 di 2 Android tablet Nobis NB09 Camera Replacement: passo 5, immagine 2 di 2
    • Gently remove the camera by removing the power cord with tweezers. The camera should release easily: do not twist or pull too hard.

    • Replace the camera with a new one.

Conclusione

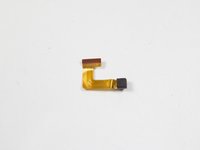
To reassemble your device, follow these instructions in reverse order. Do not forget to put electrical tape back in place.

Un'altra persona ha completato questa guida.

Team

0Commenti sulla guida

Aggiungi Commento

Visualizza Statistiche:

Ultime 24 Ore: 0

Ultimi 7 Giorni: 1

Ultimi 30 Giorni: 5

Tutti i Tempi: 210