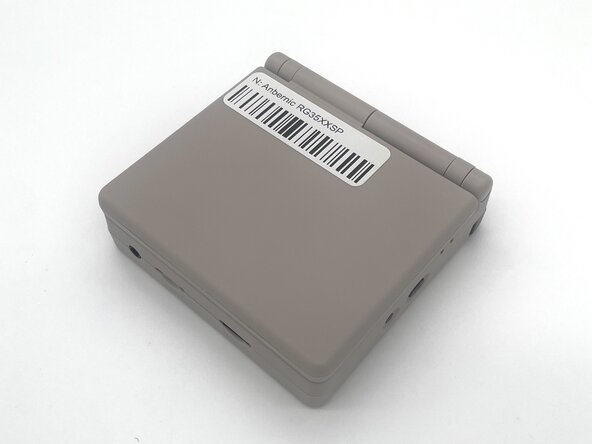
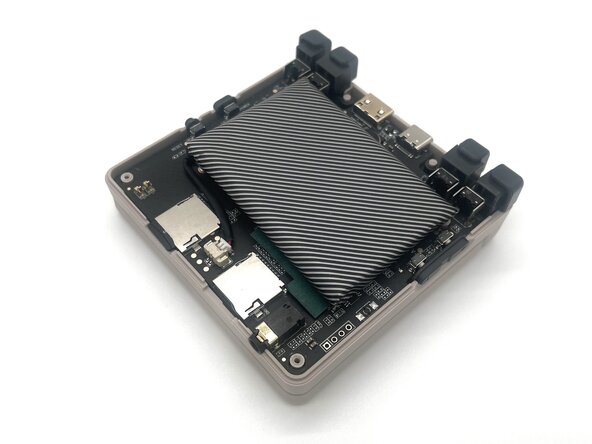
Salta al contenuto principale

Anbernic RG35XXSP Case Replacement

Cosa ti serve

  1. Anbernic RG35XXSP Case Replacement, Battery: passo 1, immagine 1 di 3 Anbernic RG35XXSP Case Replacement, Battery: passo 1, immagine 2 di 3 Anbernic RG35XXSP Case Replacement, Battery: passo 1, immagine 3 di 3
    • Power the device off before starting the disassembly process.

    • Close the device and turn it over so the bottom faces upward.

  2. Anbernic RG35XXSP Case Replacement: passo 2, immagine 1 di 2 Anbernic RG35XXSP Case Replacement: passo 2, immagine 2 di 2
    • Use a Phillips #00 screwdriver to remove the single 5 mm screw securing the battery cover.

    • Lift the battery door and remove it.

  3. Anbernic RG35XXSP Case Replacement: passo 3, immagine 1 di 2 Anbernic RG35XXSP Case Replacement: passo 3, immagine 2 di 2
    • Use a T6 Torx screwdriver to remove the four 5 mm screws.

    • Lift the whole back case with the battery from the device.

    • Don't pull it away because the battery is connected to the board.

  4. Anbernic RG35XXSP Case Replacement: passo 4, immagine 1 di 3 Anbernic RG35XXSP Case Replacement: passo 4, immagine 2 di 3 Anbernic RG35XXSP Case Replacement: passo 4, immagine 3 di 3
    • Remove the battery from the back compartment and fit it through the gap in the back case.

    • Put the plastic case aside for reassembly.

  5. Anbernic RG35XXSP Case Replacement: passo 5, immagine 1 di 3 Anbernic RG35XXSP Case Replacement: passo 5, immagine 2 di 3 Anbernic RG35XXSP Case Replacement: passo 5, immagine 3 di 3
    • Pinch the sides of the battery connector and slide it from the socket to disconnect the battery cable.

    • Remove the battery.

  6. Anbernic RG35XXSP Case Replacement, Motherboard: passo 6, immagine 1 di 2 Anbernic RG35XXSP Case Replacement, Motherboard: passo 6, immagine 2 di 2
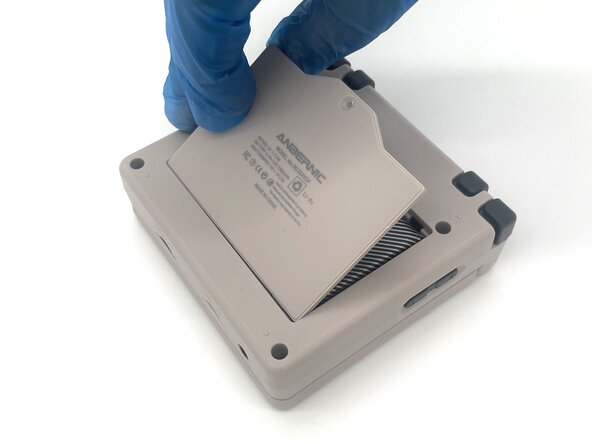
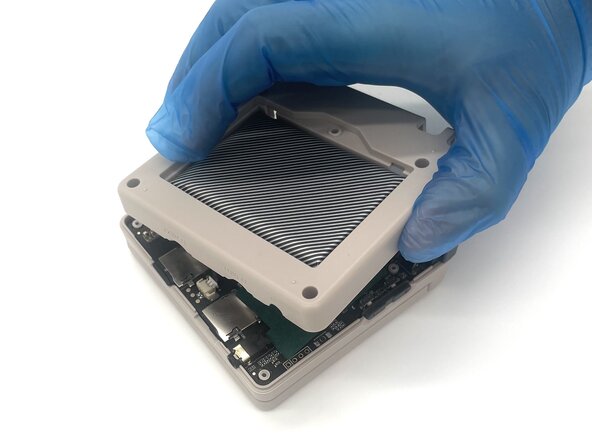
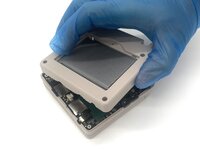
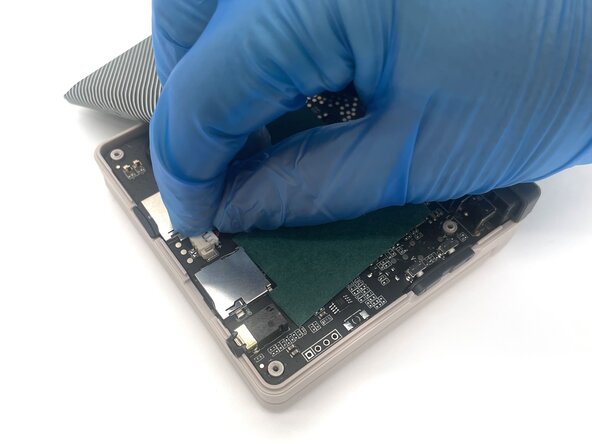
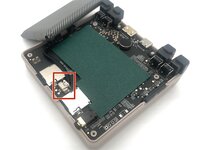
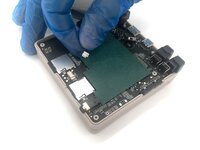
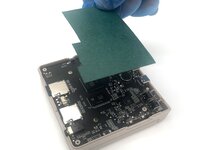
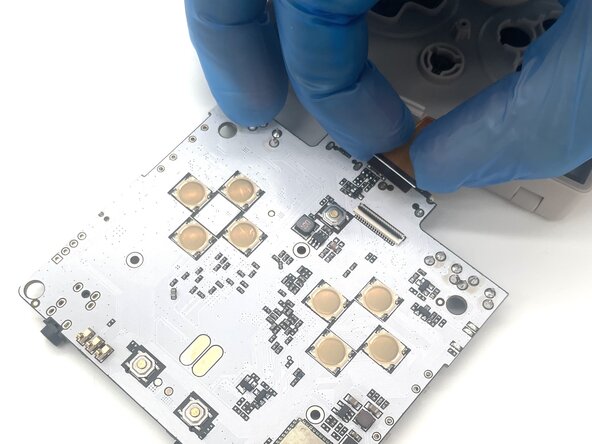
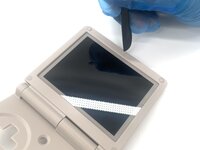
    • Lift up the green sheet of paper from the motherboard.

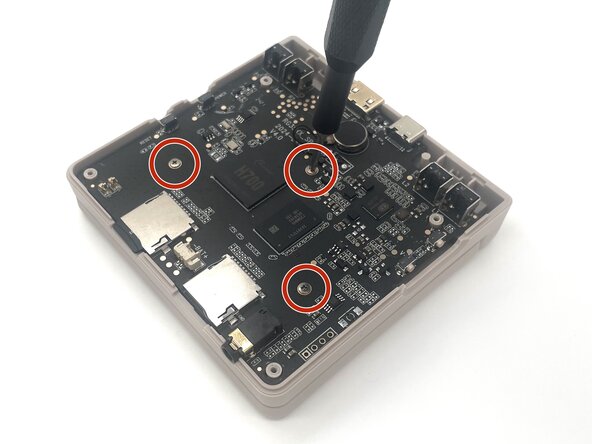
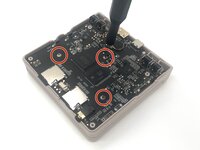
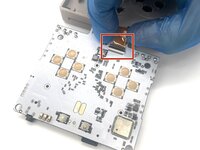
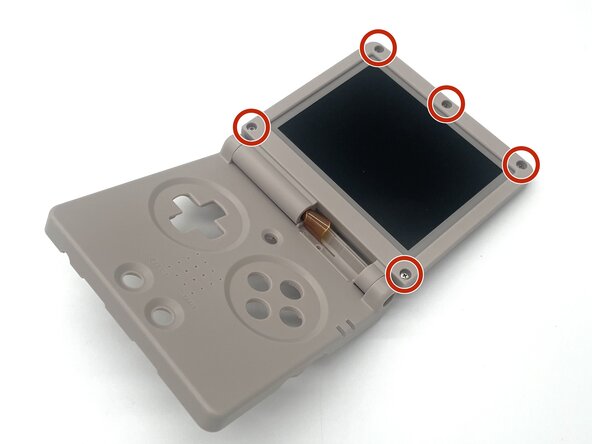
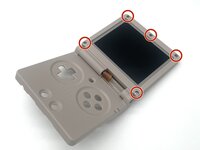
    • Use a Phillips #00 screwdriver to remove the three 5 mm screws from the motherboard.

  7. Anbernic RG35XXSP Case Replacement: passo 7, immagine 1 di 2 Anbernic RG35XXSP Case Replacement: passo 7, immagine 2 di 2
    • Be careful when moving the motherboard as it is connected to the display ribbon cable, and can be damaged if pulled on.

    • Pick up the motherboard and flip it over.

  8. Anbernic RG35XXSP Case Replacement: passo 8, immagine 1 di 3 Anbernic RG35XXSP Case Replacement: passo 8, immagine 2 di 3 Anbernic RG35XXSP Case Replacement: passo 8, immagine 3 di 3
    • Use a spudger or a clean fingernail to flip up the black locking flap—this is the unlocked position.

    • Use the widest tool possible to avoid damaging the delicate hinge pins.

    • Use tweezers or your fingers to gently pull the display cable out of its socket.

    • Remove the motherboard.

  9. Anbernic RG35XXSP Case Replacement, Case: passo 9, immagine 1 di 3 Anbernic RG35XXSP Case Replacement, Case: passo 9, immagine 2 di 3 Anbernic RG35XXSP Case Replacement, Case: passo 9, immagine 3 di 3
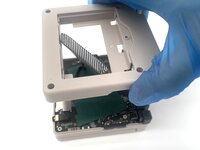
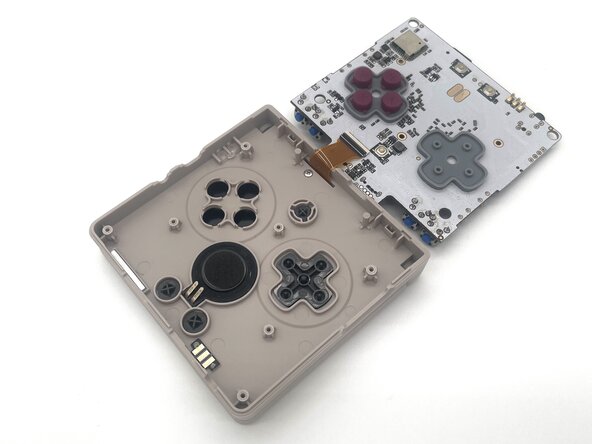
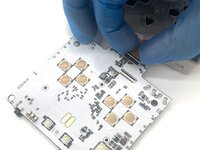
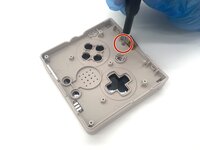
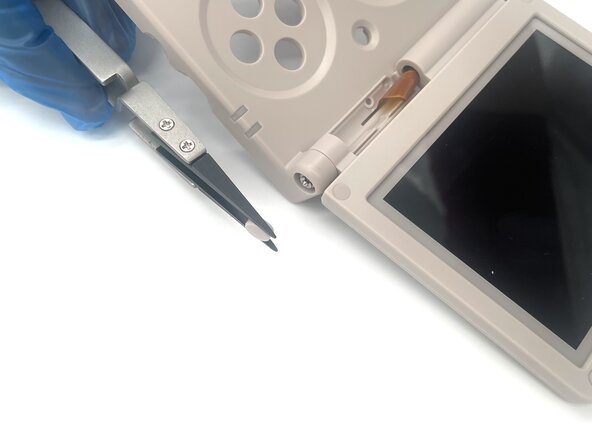
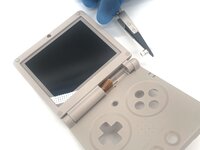
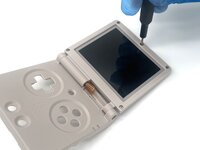
    • Use a Phillips #00 to remove the single 5 mm screw located next to the display ribbon cable.

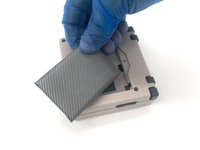
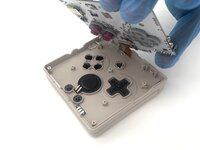
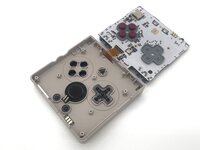
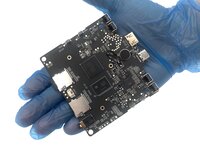
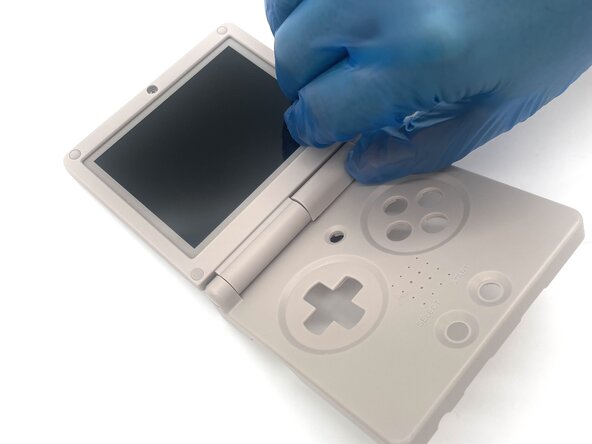
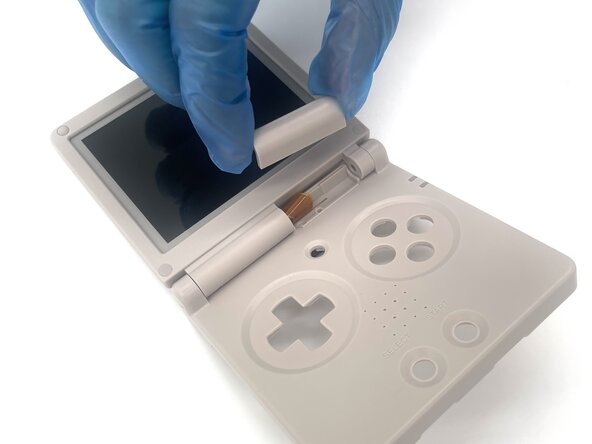
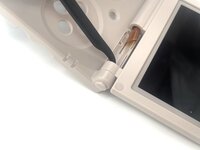
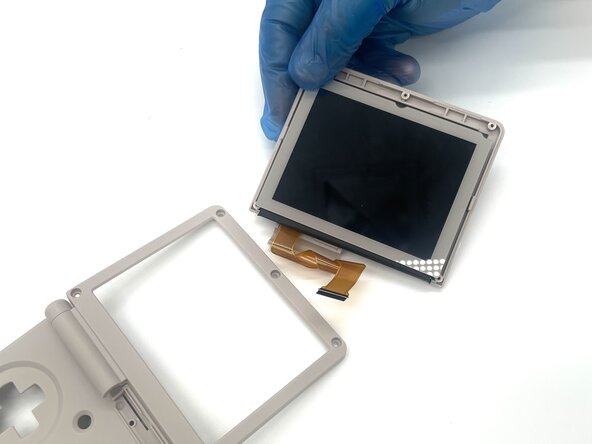
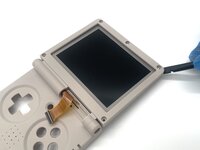
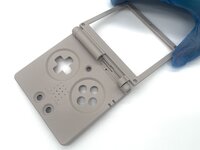
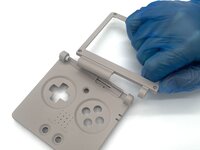
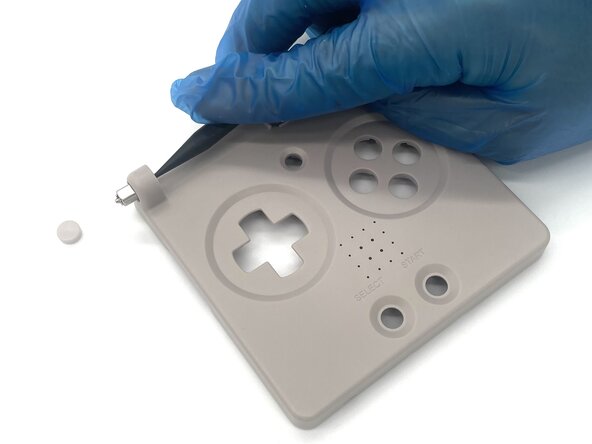
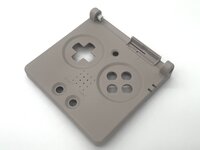
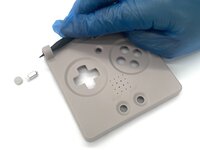
    • Flip the device over so it's facing up and remove the loose plastic hinge cover.

  10. Anbernic RG35XXSP Case Replacement: passo 10, immagine 1 di 3 Anbernic RG35XXSP Case Replacement: passo 10, immagine 2 di 3 Anbernic RG35XXSP Case Replacement: passo 10, immagine 3 di 3
    • Use the pointed end of a spudger to push out the pin from the edge of the hinges.

    • Use tweezers to pull both the plastic covering the pin and the pin itself.

  11. Anbernic RG35XXSP Case Replacement: passo 11, immagine 1 di 3 Anbernic RG35XXSP Case Replacement: passo 11, immagine 2 di 3 Anbernic RG35XXSP Case Replacement: passo 11, immagine 3 di 3
    • Use a spudger to pry off plastic screw covers from the screws around the edge of the screen.

    • Use a Phillips #00 screwdriver to remove the five 5 mm screws around the bezel of the screen.

  12. Anbernic RG35XXSP Case Replacement: passo 12, immagine 1 di 3 Anbernic RG35XXSP Case Replacement: passo 12, immagine 2 di 3 Anbernic RG35XXSP Case Replacement: passo 12, immagine 3 di 3
    • Place the end of a spudger in between the two layers of the screen cover and pry it open.

    • Remove the screen from the plastic casing.

    • Be sure not to apply too much pressure on the screen as it is very thin and prone to cracking.

  13. Anbernic RG35XXSP Case Replacement: passo 13, immagine 1 di 2 Anbernic RG35XXSP Case Replacement: passo 13, immagine 2 di 2
    • Detach the plastic screen cover from the device.

  14. Anbernic RG35XXSP Case Replacement: passo 14, immagine 1 di 3 Anbernic RG35XXSP Case Replacement: passo 14, immagine 2 di 3 Anbernic RG35XXSP Case Replacement: passo 14, immagine 3 di 3
    • Use the pointed end of a spudger to push the last pin out of the hinge.

Conclusione

To reassemble your device, follow these instructions in reverse order. Take your e-waste to an R2 or e-Stewards certified recycler.

Altre 4 persone hanno completato questa guida.

0Commenti sulla guida

Aggiungi Commento

Visualizza Statistiche:

Ultime 24 Ore: 3

Ultimi 7 Giorni: 9

Ultimi 30 Giorni: 43

Tutti i Tempi: 254