Salta al contenuto principale

Anbernic RG 40XXV Shoulder Button Replacement

Cosa ti serve

  1. Anbernic RG 40XXV Shoulder Button Replacement, Back Panel Assembly: passo 1, immagine 1 di 3 Anbernic RG 40XXV Shoulder Button Replacement, Back Panel Assembly: passo 1, immagine 2 di 3 Anbernic RG 40XXV Shoulder Button Replacement, Back Panel Assembly: passo 1, immagine 3 di 3
    • Remove the micro SD card located on the left and right sides of the device by pushing into the SD card slot and pulling the card out.

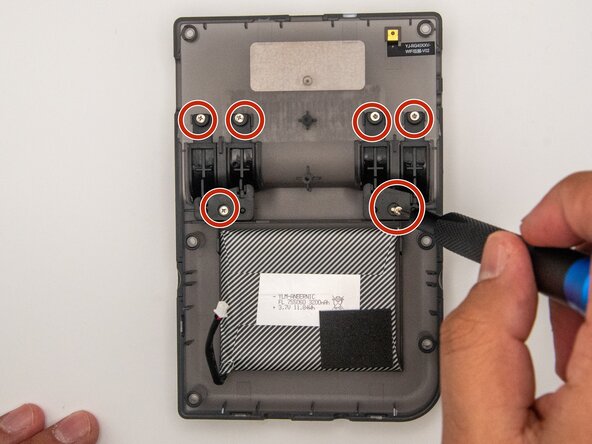
    • Unscrew all six 7.5 mm screws on the backside of the case using a 1.5 mm hex screwdriver.

  2. Anbernic RG 40XXV Shoulder Button Replacement: passo 2, immagine 1 di 2 Anbernic RG 40XXV Shoulder Button Replacement: passo 2, immagine 2 di 2
    • Take apart the case by separating the front and back sides using an iFixit opening tool.

    • When using the opening tool, carefully pry open the case to avoid damaging the device.

  3. Anbernic RG 40XXV Shoulder Button Replacement: passo 3, immagine 1 di 2 Anbernic RG 40XXV Shoulder Button Replacement: passo 3, immagine 2 di 2
    • Disconnect the battery connection cable by gently pulling it away with angled tweezers from the slot that connects the cable to the motherboard.

    • The cable connection to the motherboard is labeled "+BAT-" for easy identification.

  4. Anbernic RG 40XXV Shoulder Button Replacement, Shoulder Button: passo 4, immagine 1 di 3 Anbernic RG 40XXV Shoulder Button Replacement, Shoulder Button: passo 4, immagine 2 di 3 Anbernic RG 40XXV Shoulder Button Replacement, Shoulder Button: passo 4, immagine 3 di 3
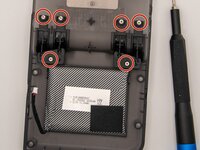
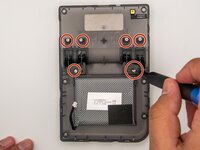
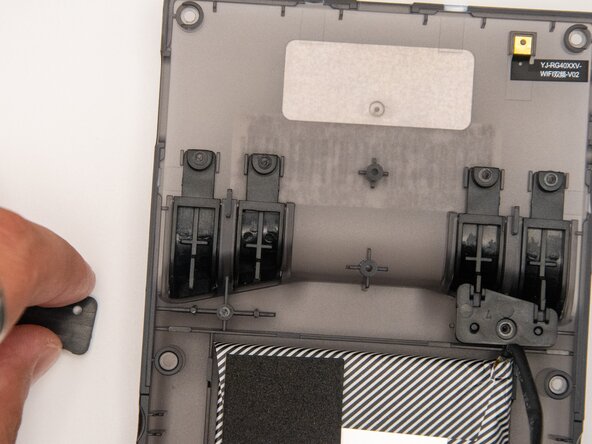
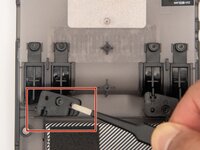
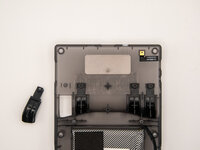
    • Using a Phillips #000 screwdriver, unscrew the six 5 mm screws holding the shoulder buttons in place.

  5. Anbernic RG 40XXV Shoulder Button Replacement: passo 5, immagine 1 di 2 Anbernic RG 40XXV Shoulder Button Replacement: passo 5, immagine 2 di 2
    • Use a pair of ESD-safe tweezers to remove the covers holding the shoulder buttons in place.

    • Place the shoulder button covers to the side to allow easy accessibility to the shoulder buttons for replacement.

  6. Anbernic RG 40XXV Shoulder Button Replacement: passo 6, immagine 1 di 2 Anbernic RG 40XXV Shoulder Button Replacement: passo 6, immagine 2 di 2
    • After removing the covers from the shoulder buttons, pull the buttons out. They will easily dislodge from the back of the case.

Conclusione

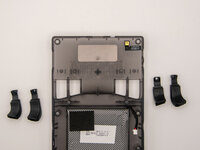
To reassemble your device, follow these instructions in reverse order.

0Commenti sulla guida

Aggiungi Commento

Visualizza Statistiche:

Ultime 24 Ore: 1

Ultimi 7 Giorni: 8

Ultimi 30 Giorni: 19

Tutti i Tempi: 212