Introduzione
If your Amazon Kindle 8 is suffering from hardware issues, like failure to boot, freezing, or displaying error messages, use this guide to replace the motherboard.
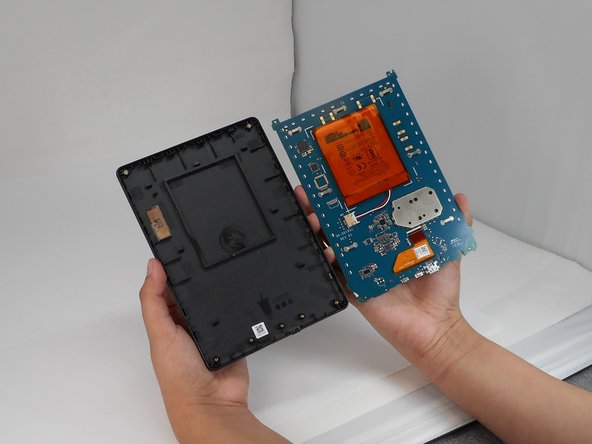
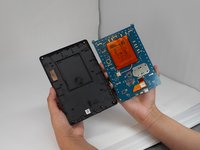
The motherboard is the core of the device. It manages all hardware operations. A damaged motherboard can cause the Kindle to malfunction or become completely unresponsive.
Before beginning, rule out simpler issue like a faulty battery or software glitches to confirm the motherboard is the problem.
Work cautiously with internal components to avoid static discharge or damage to delicate components.
Cosa ti serve
-
-
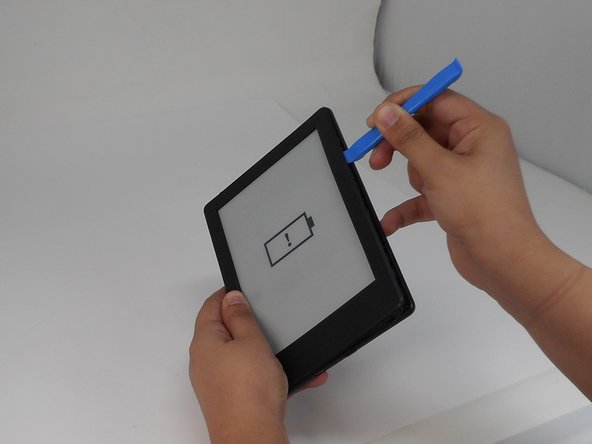
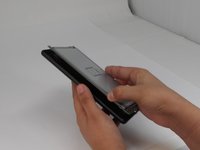
Insert the iFixit opening tool into any corner of the Kindle’s front cover.
-
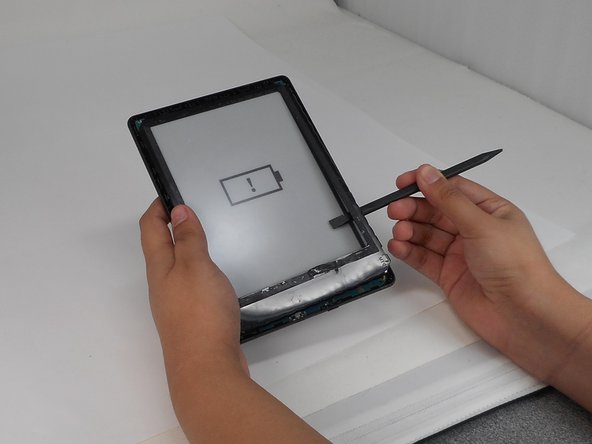
Gently slide the tool along the edges and carefully separate the front cover from the inner front cover.
-
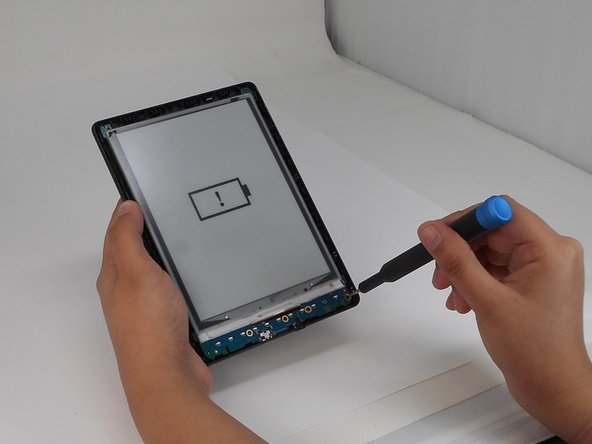
Lift front cover once all clips are disengaged.
-
-
-
-
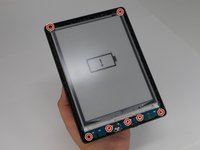
Use a T4 Torx screwdriver to remove the seven 3 mm screws around the perimeter of the device.
-


To reassemble your device, follow the above steps in reverse order.
Take your e-waste to an R2 or e-Stewards certified recycler.
Repair didn’t go as planned? Try some basic troubleshooting or ask our Answers community for help.
Team

University of Memphis, Team 1-5, Sneed Fall 2024 Membro di University of Memphis, Team 1-5, Sneed Fall 2024
UM-SNEED-F24S1G5
4 Membri
8 Guide realizzate