Introduzione
If your device is not working due to a faulty power cord, you can follow this guide to easily replace the faulty cord with a new one.
Cosa ti serve
-
-
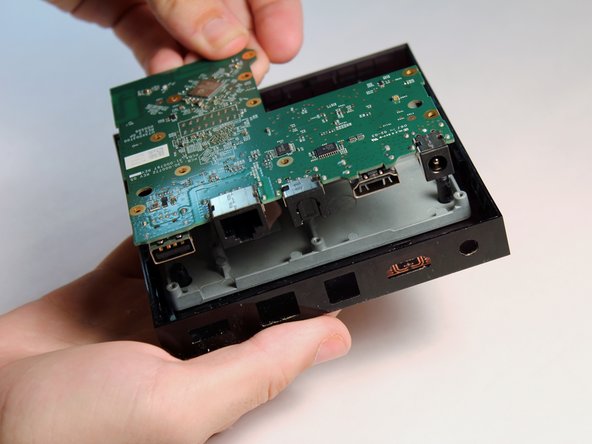
Place the plastic opening tool in the space between the rubber and the plastic case of the device.
-
Apply pressure by pushing upward on the case.
-
Separate the bottom square rubber piece from the case using the plastic opening tool until all clips are detached.
-
-
-
-
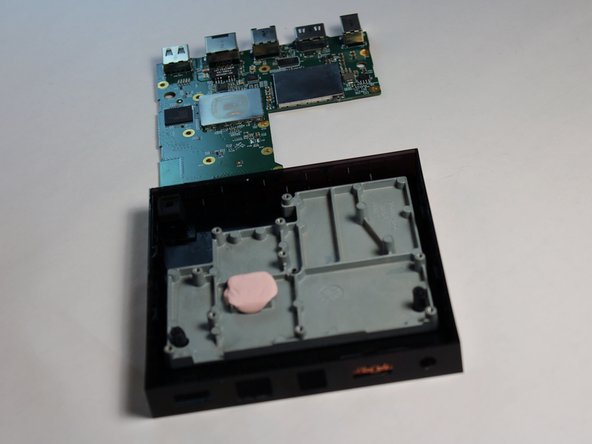
With the mother board back facing you locate the power cord port found on the far left end.
-
-
-
Locate the four soldering joints for the power cord port found on the top side of the mother board.
-
Desolder the joints of the power cord port to release it from the motherboard.
-
Place the new power cord port into its original location and solder its joints.
-
Use the iFixit soldering and desoldering guide.
-


To reassemble your device, follow these instructions in reverse order.
To reassemble your device, follow these instructions in reverse order.
Annulla: non ho completato questa guida.
Altre 5 persone hanno completato questa guida.
Team

USF Tampa, Team 16-3, Wollert Fall 2015 Membro di USF Tampa, Team 16-3, Wollert Fall 2015
USFT-WOLLERT-F15S16G3
4 Membri
16 Guide realizzate
2 Commenti
Aonde compro essa fonte ? wagnerj957@gmail.com
Ola moro no Brasil minha fonte queimou aonde compro outra?
Where is the internal storage chip located on this motherboard?
Johnny Marin - Replica