Salta al contenuto principale
Amazon Fire Game Controller Outer Shell Replacement

Amazon Fire Game Controller Outer Shell Replacement

Andrew Klopfenstein

Andrew Klopfenstein e 4 altri collaboratori

Ultimo aggiornamento il January 8, 2020

15 minuti
Moderato

Introduzione

Vai al passo 1

This guide will show you how to properly replace the outer shell of the Amazon Fire game controller. This procedure may be necessary when a part of the outer shell becomes damaged, and will remedy both functionality and cosmetic issues.

Cosa ti serve

Strumenti

Mostra di più…

  1. Amazon Fire Game Controller Outer Shell Replacement, Motherboard: passo 1, immagine 1 di 1
    • Use a Triangle #2 screwdriver to remove the six 10 mm screws from the back of the controller.

  2. Amazon Fire Game Controller Outer Shell Replacement: passo 2, immagine 1 di 1
    • Pry the two shell pieces from one another from the top orientation with a plastic opening tool.

    • The weights will fall out.

  3. Amazon Fire Game Controller Outer Shell Replacement: passo 3, immagine 1 di 1
    • Disconnect the battery terminal wires and the play, pause, and stop wires from the motherboard.

  4. Amazon Fire Game Controller Outer Shell Replacement: passo 4, immagine 1 di 1
    • Use a J1 screwdriver to unscrew the four 7 mm screws from the motherboard.

  5. Amazon Fire Game Controller Outer Shell Replacement: passo 5, immagine 1 di 1
    • Lift the motherboard out of the controller casing.

  6. Amazon Fire Game Controller Outer Shell Replacement, Outer Shell: passo 6, immagine 1 di 1
    • Use a JIS #0 screwdriver to remove the two 7 mm screws from the retaining bracket that secures the play, stop, and pause button wiring.

  7. Amazon Fire Game Controller Outer Shell Replacement: passo 7, immagine 1 di 1
    • Use a JIS #0 screwdriver to unscrew the 5 mm screws from the LED indicator assembly.

  8. Amazon Fire Game Controller Outer Shell Replacement: passo 8, immagine 1 di 2 Amazon Fire Game Controller Outer Shell Replacement: passo 8, immagine 2 di 2
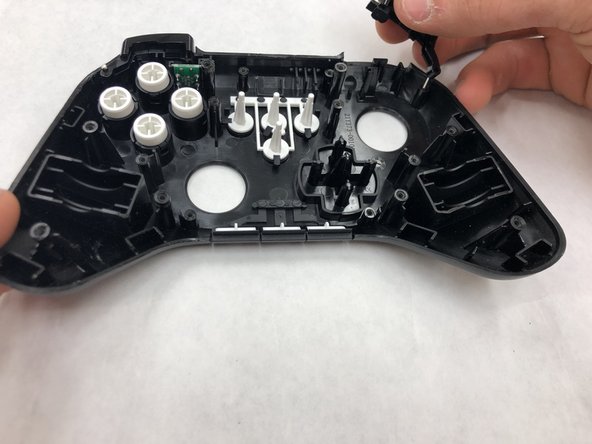
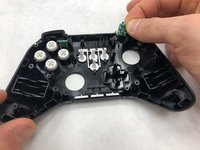
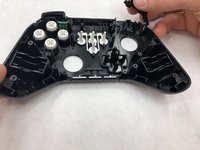
    • Slide out the triggers and bumpers.

Conclusione

To reassemble your device, follow these instructions in reverse order.

Un'altra persona ha completato questa guida.

Team

IUPUI, Team S4-G4, Wilson Summer 2019 Membro di IUPUI, Team S4-G4, Wilson Summer 2019

IUPUI-WILSON-SU19S4G4

4 Membri

4 Guide realizzate

0Commenti sulla guida

Aggiungi Commento

Visualizza Statistiche:

Ultime 24 Ore: 0

Ultimi 7 Giorni: 0

Ultimi 30 Giorni: 4

Tutti i Tempi: 681