Questa versione può contenere modifiche errate. Passa all'ultima istantanea verificata.
Cosa ti serve
-
Questo passaggio è privo di traduzione. Aiuta a tradurlo
-
Using your hands, gently remove the taped-in rubber foot from device.
-
-
Questo passaggio è privo di traduzione. Aiuta a tradurlo
-
Carefully peel off the bottom pad to expose the fastening screws.
-
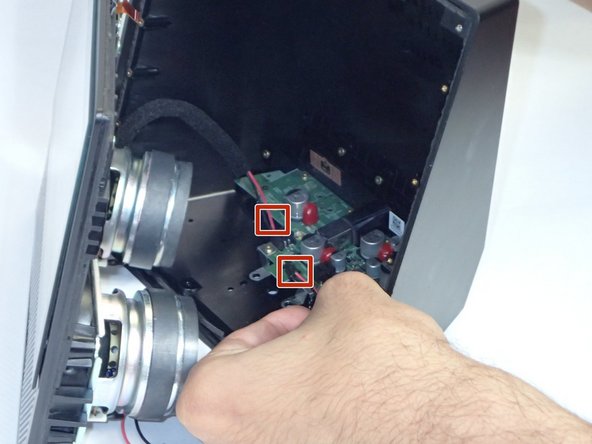
Remove three silver 1.4 T5 Torx screws on the top row.
-
Remove one green 1mm T5 Torx screw in the middle.
-
Remove a black 1.5mm T5 screw.
-
Remove three green 1mm T5 screws from the bottom row.
-
-
-
Questo passaggio è privo di traduzione. Aiuta a tradurlo
-
After the screws are removed, grip the front panel and remove, using a plastic opening tool if necessary. This will expose the inside of the device.
-
-
Questo passaggio è privo di traduzione. Aiuta a tradurlo
-
Use tweezers or your hands to carefully disconnect the red wires connecting the speakers to the power supply board.
-
Repeat this step for the other speaker, and lay the front section flat with the facing down.
-
-
Questo passaggio è privo di traduzione. Aiuta a tradurlo
-
Locate the panel holding the buttons on the top of the device. Using the T5 Torx screw head, remove the eight screws to detach the panel holding the buttons in place.
-
Once the panel is removed, the three plastic buttons can be easily accessed and removed for replacement/fixing.
-


Team

University of South Florida St. Petersburg, Team S1-G3, Stowe Fall 2018 Membro di University of South Florida St. Petersburg, Team S1-G3, Stowe Fall 2018
USFSP-STOWE-F18S1G3
4 Membri
6 Guide realizzate