Questa guida ha delle modifiche più recenti. Passa all'ultima versione non verificata.
Introduzione
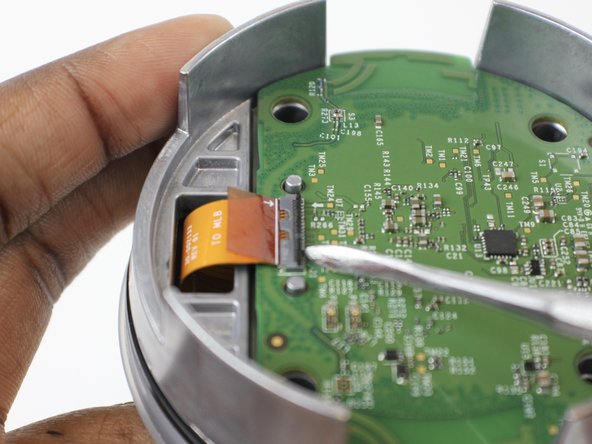
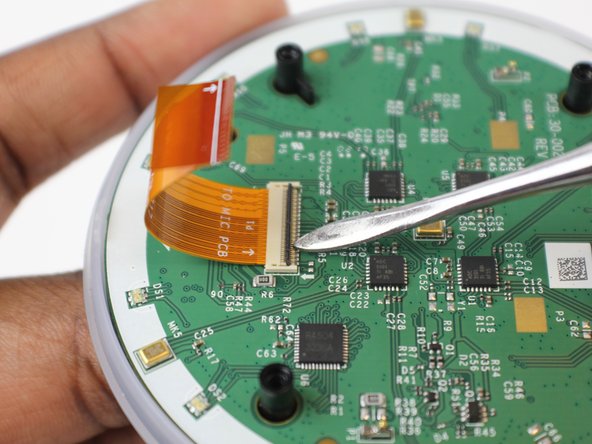
Use this guide to replace the ribbon cable in the Amazon Echo Dot 2nd Generation.
Cosa ti serve
-
-
Power off and unplug the echo
-
Using the plastic opening tool, peel off the rubber layer on the bottom of the echo
-
-


To reassemble your device, follow these instructions in reverse order.
To reassemble your device, follow these instructions in reverse order.
Annulla: non ho completato questa guida.
Altre 4 persone hanno completato questa guida.

Team

USF Tampa, Team S1-G3, Leahy Fall 2017 Membro di USF Tampa, Team S1-G3, Leahy Fall 2017
USFT-LEAHY-F17S1G3
3 Membri
12 Guide realizzate
5 Commenti
Where do you get the replacement cable from?
Yes, where can one get replacement ribbon cables?
Where do you get the replacement cable from?
I need a replacement as well now was using a pointed tweezers when putting it back together and stabbed the cable need to find part and order from the uk
no cable available, just waiting for donors