Introduzione
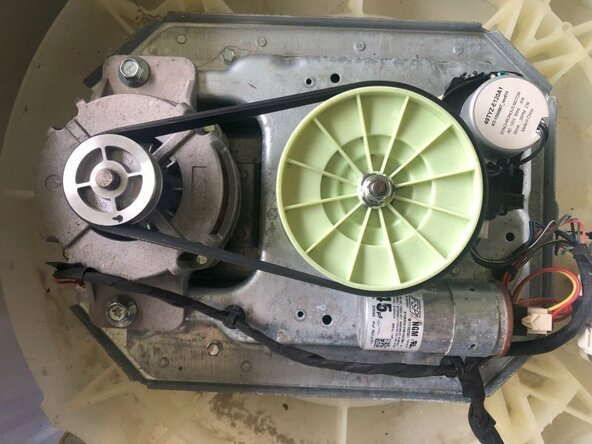
Even so we know this as a clutch assembly on other washers, "Splutch" is a term used for the Whirlpool washing machines. It refers to the cam assembly kit (or splutch kit). This assembly is a main component of the transmission system. It can wear out over time and running heavy loads with a full tub of water can shorten the lifetime of a splutch. Poor wash performance as well as grinding noises while washing, are a sign of a worn splutch.
Cosa ti serve
-
-
To work on this replacement, you will need to gain access to the bottom. It is best to place the washer on its front. Place a few old blankets etc. so as not to scratch the front to much. Since I did a total rebuild on this washer, I had also removed the control panel. It was easier for me to place the washer upside down :-)
-
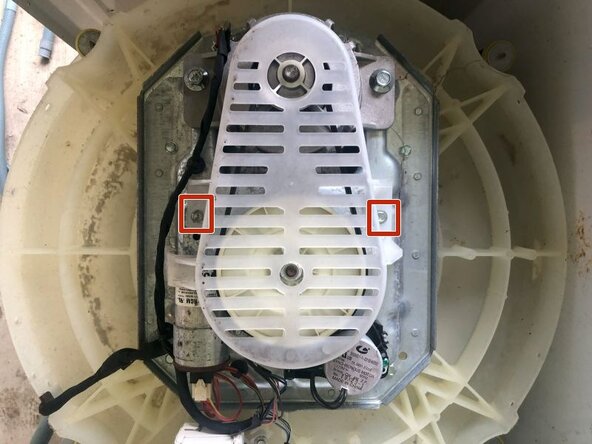
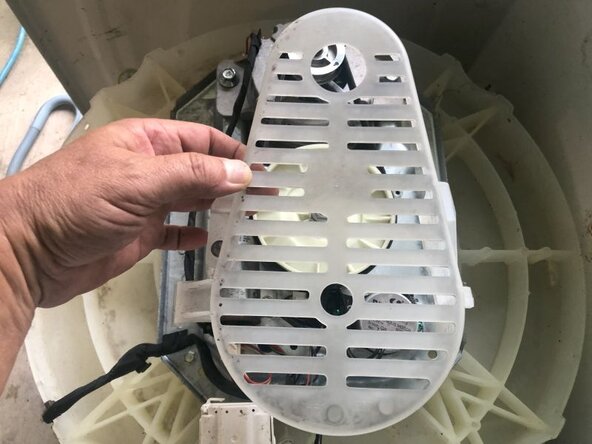
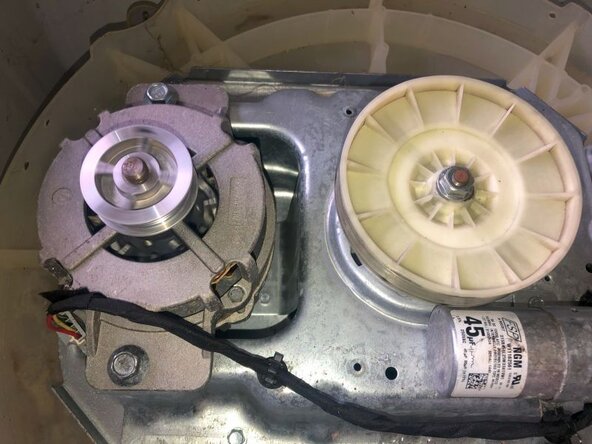
First the pulley cover has to be removed. It is attached via two 5/16 bolts
-
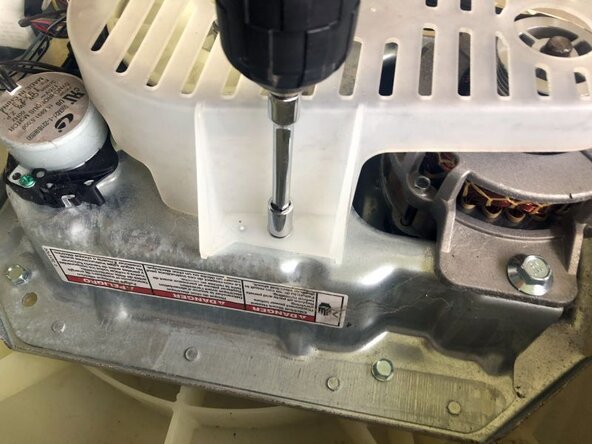
Use an electric screwdriver with a short extension and a 5/16 socket to remove the right screw,
-
-
-
-
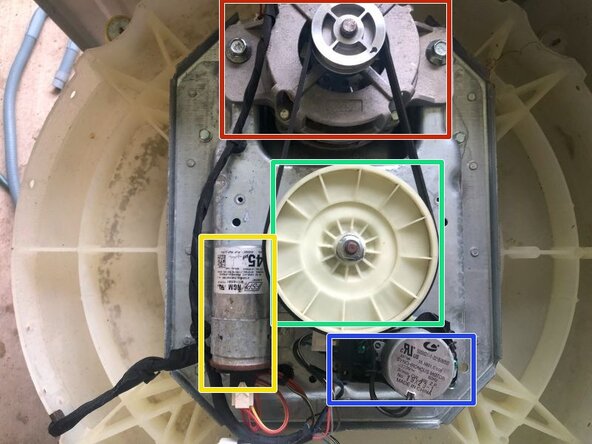
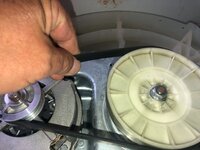
The pulley is held in place by a 13mm nut
-
Using a ratchet and socket to remove it.
-
Since the pulley will easily turn when using the ratchet, it is best to tap the ratchet handle by hand instead of trying a continues motion. It is common thread (Lefty Loosey). Of course, an impact wrench would be simpler :-)
-
The nut does come of fairly easy once it is loose.
-
-
-
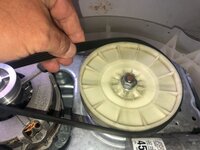
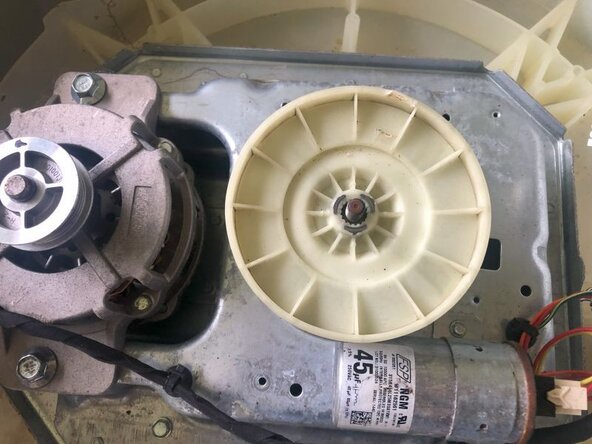
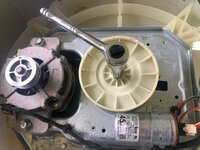
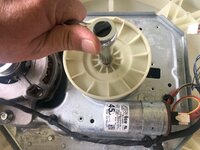
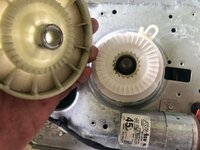
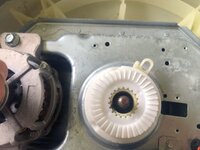
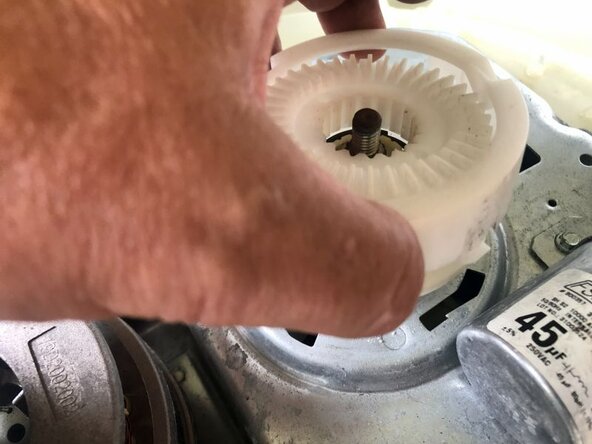
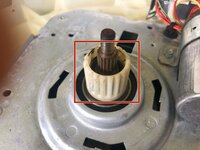
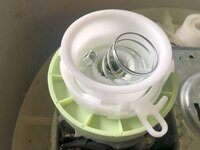
Remove the drive pulley from the shaft. Next is the drive basket gear.
-
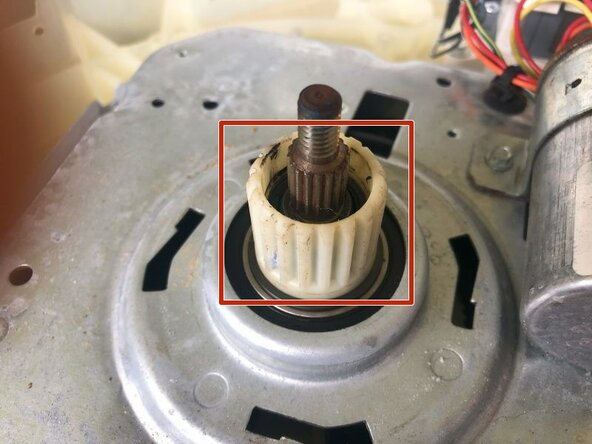
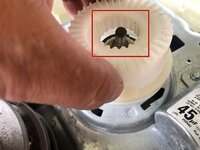
The drive basket gear sits on a spline on the drive shaft. Check the spline on the basket drive shaft if the teeth on the basket gear show damage.
-
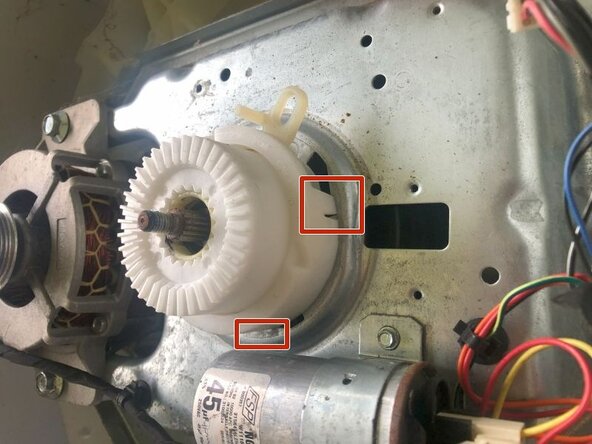
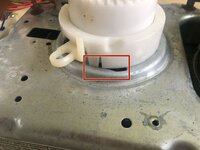
There are four tabs that hold the splatch housing to the gearcase
-


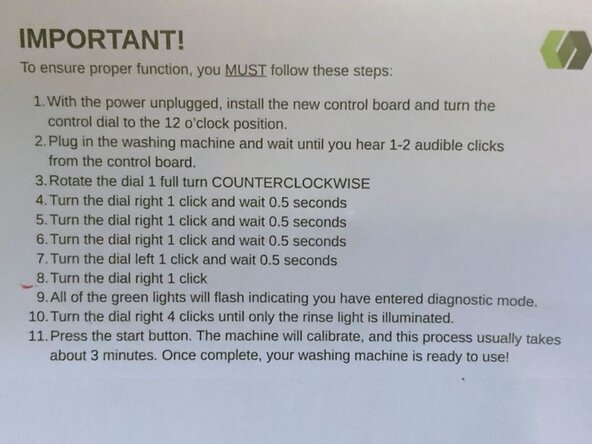

To reassemble your device, follow these instructions in reverse order.
Annulla: non ho completato questa guida.
Un'altra persona ha completato questa guida.
