Salta al contenuto principale

Alienware M17x Hard Drive Replacement

Cosa ti serve

  1. Alienware M17x Hard Drive Replacement, Battery: passo 1, immagine 1 di 2 Alienware M17x Hard Drive Replacement, Battery: passo 1, immagine 2 di 2
    • Turn off your laptop before starting.

    • Flip the laptop over so the model stickers face the ceiling.

  2. Alienware M17x Hard Drive Replacement: passo 2, immagine 1 di 1
    • Remove the two 3.5 mm Phillips #0 screws holding the cover in place.

    • Slide cover forward then carefully lift up.

  3. Alienware M17x Hard Drive Replacement: passo 3, immagine 1 di 1
    • Remove the two 5.5 mm Phillips #0 screws holding the battery in place.

  4. Alienware M17x Hard Drive Replacement: passo 4, immagine 1 di 2 Alienware M17x Hard Drive Replacement: passo 4, immagine 2 di 2
    • Carefully use the Plastic Opening Tool to unplug the battery.

    • Lift the battery up and out to remove.

  5. Alienware M17x Hard Drive Replacement, Hard Drive: passo 5, immagine 1 di 1
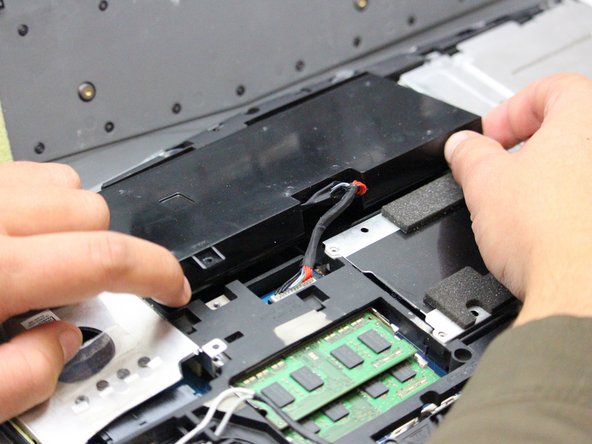
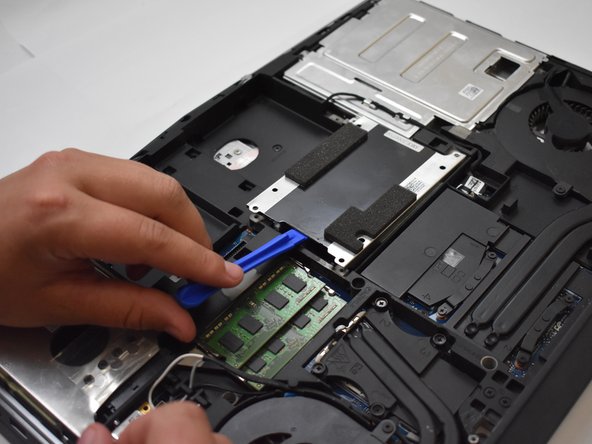
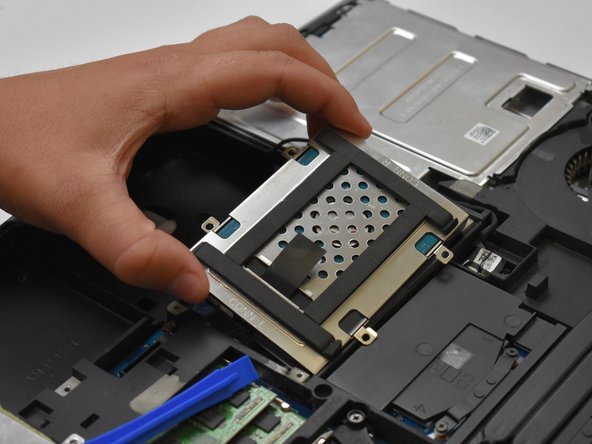
    • With the laptop flipped over, cover removed, and battery removed; continue by locating your hard drive(s).

  6. Alienware M17x Hard Drive Replacement: passo 6, immagine 1 di 3 Alienware M17x Hard Drive Replacement: passo 6, immagine 2 di 3 Alienware M17x Hard Drive Replacement: passo 6, immagine 3 di 3
    • Remove the eight 3.5 mm Phillips #0 screws.

    • Remove the hard drive(s), using the Plastic Opening Tool by lifting on the edges and pulling the hard drive up and out.

Conclusione

To reassemble your device, follow these instructions in reverse order.

Un'altra persona ha completato questa guida.

0 Commenti

Aggiungi Commento

Visualizza Statistiche:

Ultime 24 Ore: 1

Ultimi 7 Giorni: 5

Ultimi 30 Giorni: 14

Tutti i Tempi: 2,348