Introduzione
Use this guide to replace the RAM or memory in your Alienware Aurora M9700 laptop.
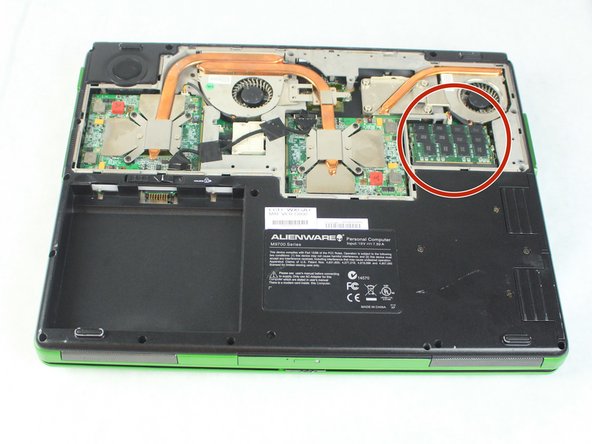
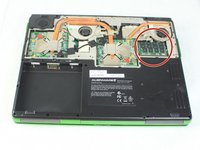
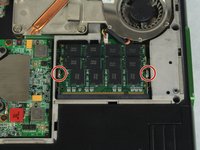
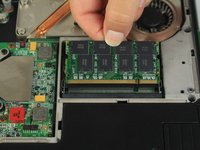
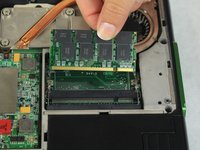
The RAM is a piece of hardware that temporarily stores the information your computer is actively using. Your RAM may need to be replaced if your laptop experiences sudden screen freezes, is slowing down, or does not run certain programs or games.
Before using this guide, make sure to review the troubleshooting page – oftentimes, malware can cause computer slowdown.
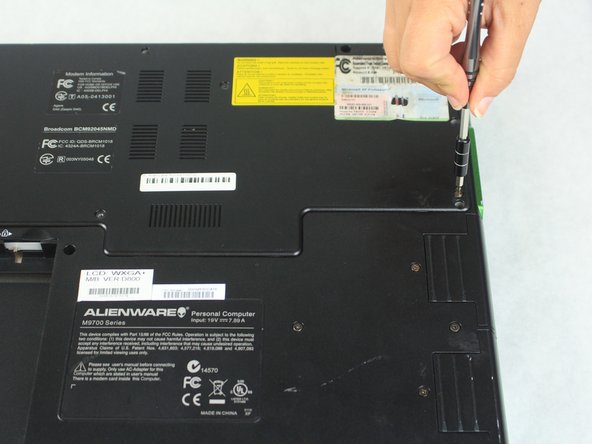
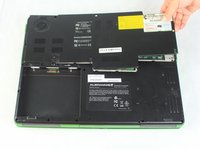
Be sure to power off the computer and disconnect it from any external power sources before you begin.
Cosa ti serve


To reassemble your device, follow these instructions in reverse order.
Team

Sam Houston State, Team S15-G3, Blackburne Fall 2018 Membro di Sam Houston State, Team S15-G3, Blackburne Fall 2018
SHSU-BLACKBURNE-F18S15G3
4 Membri
5 Guide realizzate