Questa versione può contenere modifiche errate. Passa all'ultima istantanea verificata.
Cosa ti serve
-
Questo passaggio è privo di traduzione. Aiuta a tradurlo
-
Remove all the selector knob covers by pulling them off.
-
-
Questo passaggio è privo di traduzione. Aiuta a tradurlo
-
Using needle nose pliers, remove the washers from the four corner selector knobs.
-
-
Questo passaggio è privo di traduzione. Aiuta a tradurlo
-
Flip the device over. Using a Philips #2 screw driver, remove the fourteen 10.3 mm black screws holding the back panel in place.
-
-
Questo passaggio è privo di traduzione. Aiuta a tradurlo
-
Carefully flip the device to the front making sure you secure the face plate and the chassis together.
-
-
-
Questo passaggio è privo di traduzione. Aiuta a tradurlo
-
Rotate the device 180 degrees and carefully remove the face plate by slightly lifting the screen side towards you and then sliding the bottom out from under the keys.
-
-
Questo passaggio è privo di traduzione. Aiuta a tradurlo
-
Using a Phillips #2 screwdriver, remove the thirteen 9.8mm silver screws holding the mother board to the face plate.
-
-
Questo passaggio è privo di traduzione. Aiuta a tradurlo
-
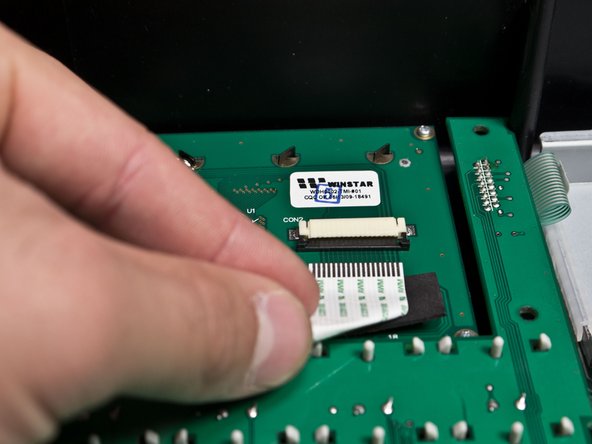
Using two plastic opening tools, slide the black locking mechanism on the ZIF connector towards you. This will remove the ribbon cable connecting the motherboard to the screen.
-
-
Questo passaggio è privo di traduzione. Aiuta a tradurlo
-
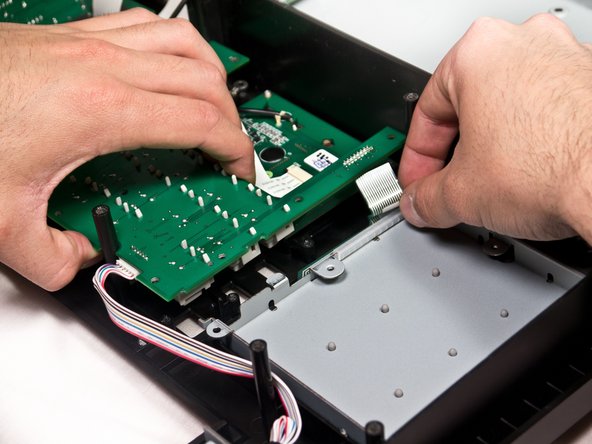
Wiggle and pull out the ribbon cable connecting the mother board to the beat pads.
-
-
Questo passaggio è privo di traduzione. Aiuta a tradurlo
-
Remove the mother board completely from the face plate and identify the broken potentiometer.
-
-
Questo passaggio è privo di traduzione. Aiuta a tradurlo
-
Flip the mother board back over so the potentiometers are facing down and the leads are facing up. Then identify which leads correspond to the broken potentiometer.
-
Use a soldering iron with solder wick (or a solder sucker) in order to free the potentiometer from the mother board.
-


Annulla: non ho completato questa guida.
Altre 6 persone hanno completato questa guida.
Team

Cal Poly, Team 20-6, Maness Winter 2013 Membro di Cal Poly, Team 20-6, Maness Winter 2013
CPSU-MANESS-W13S20G6
5 Membri
6 Guide realizzate
Un commento
Thanks for putting together this great tutorial. Does anybody out there have the part number of the potentiometer?