Salta al contenuto principale

Aiptek Pocket DVII 1.3M LCD Memory Ejecting Assembly Replacement

Cosa ti serve

  1. Aiptek Pocket DVII 1.3M LCD  Memory Ejecting Assembly Replacement, Memory Ejecting Assembly: passo 1, immagine 1 di 3 Aiptek Pocket DVII 1.3M LCD  Memory Ejecting Assembly Replacement, Memory Ejecting Assembly: passo 1, immagine 2 di 3 Aiptek Pocket DVII 1.3M LCD  Memory Ejecting Assembly Replacement, Memory Ejecting Assembly: passo 1, immagine 3 di 3
    • Remove the battery cover.

    • Remove the batteries.

  2. Aiptek Pocket DVII 1.3M LCD  Memory Ejecting Assembly Replacement: passo 2, immagine 1 di 1
    • Unscrew the three 4mm screws from the battery side of the device. Use a Phillips screw driver.

  3. Aiptek Pocket DVII 1.3M LCD  Memory Ejecting Assembly Replacement: passo 3, immagine 1 di 1
    • Remove the four screws from the back side.

  4. Aiptek Pocket DVII 1.3M LCD  Memory Ejecting Assembly Replacement: passo 4, immagine 1 di 2 Aiptek Pocket DVII 1.3M LCD  Memory Ejecting Assembly Replacement: passo 4, immagine 2 di 2
    • Remove the sticky black dot.

    • Remove the hidden screw.

  5. Aiptek Pocket DVII 1.3M LCD  Memory Ejecting Assembly Replacement: passo 5, immagine 1 di 2 Aiptek Pocket DVII 1.3M LCD  Memory Ejecting Assembly Replacement: passo 5, immagine 2 di 2
    • Remove the two screws from the top side of the device.

    • Remove the two screws from the bottom side of the device.

  6. Aiptek Pocket DVII 1.3M LCD  Memory Ejecting Assembly Replacement: passo 6, immagine 1 di 1
    • Remove the rear cover.

    • Be careful not to lose the spring inside.

  7. Aiptek Pocket DVII 1.3M LCD  Memory Ejecting Assembly Replacement: passo 7, immagine 1 di 1
    • Pull back the front cover so that you can dislodge the side cover.

  8. Aiptek Pocket DVII 1.3M LCD  Memory Ejecting Assembly Replacement: passo 8, immagine 1 di 1
    • Unfold the device and be careful not to tear the black and red power supply wires.

  9. Aiptek Pocket DVII 1.3M LCD  Memory Ejecting Assembly Replacement: passo 9, immagine 1 di 1
    • Remove the four screws from the motherboard.

  10. Aiptek Pocket DVII 1.3M LCD  Memory Ejecting Assembly Replacement: passo 10, immagine 1 di 1
    • Take out the motherboard while disconnecting the flip screen's cable from underneath.

  11. Aiptek Pocket DVII 1.3M LCD  Memory Ejecting Assembly Replacement: passo 11, immagine 1 di 1
    • Remove the side cover.

    • Flip the device and locate the ejecting assembly.

  12. Aiptek Pocket DVII 1.3M LCD  Memory Ejecting Assembly Replacement: passo 12, immagine 1 di 1
    • Remove the grey button.

  13. Aiptek Pocket DVII 1.3M LCD  Memory Ejecting Assembly Replacement: passo 13, immagine 1 di 1
    • Push the metal arm the button was on all the way up.

  14. Aiptek Pocket DVII 1.3M LCD  Memory Ejecting Assembly Replacement: passo 14, immagine 1 di 2 Aiptek Pocket DVII 1.3M LCD  Memory Ejecting Assembly Replacement: passo 14, immagine 2 di 2
    • Pop the main metal arm out of the other metal arm's socket.

    • Position the arm vertically like in the first picture. The arm should come off easily.

    • Replace the ejecting arm.

Conclusione

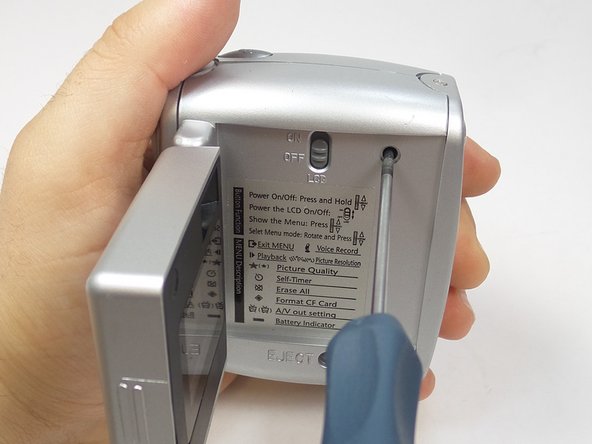
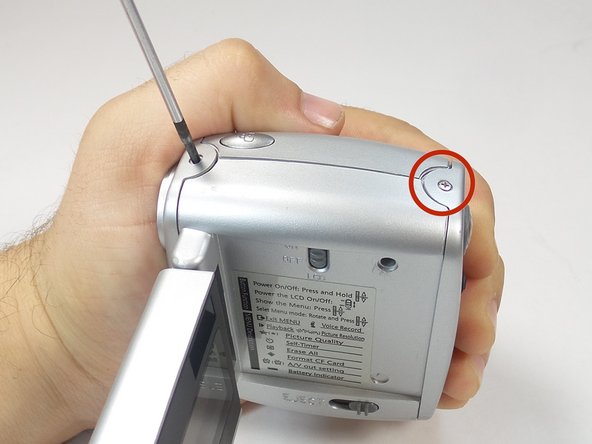
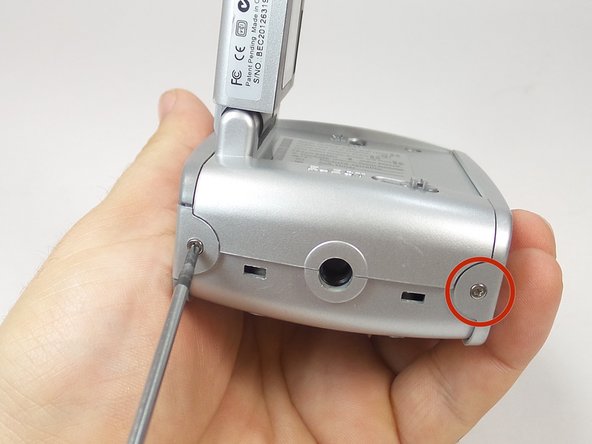
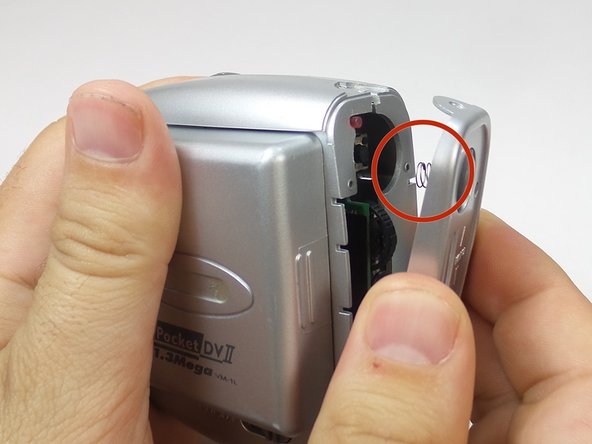
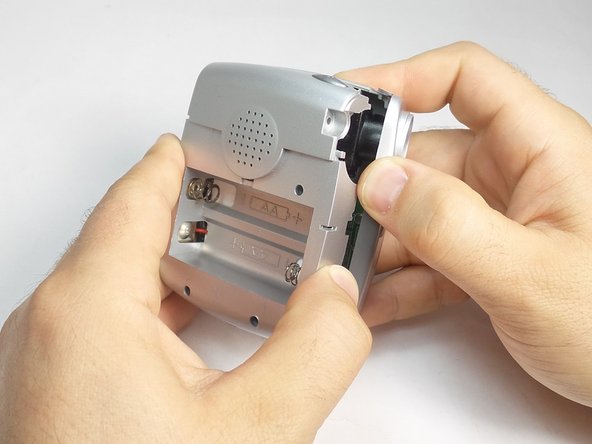
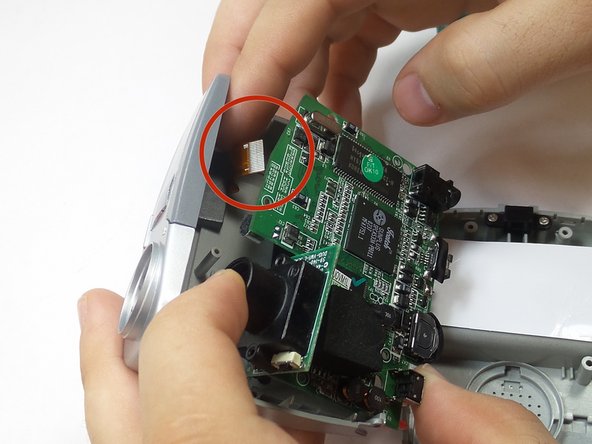
To reassemble your device, follow these instructions in reverse order.

Un'altra persona ha completato questa guida.

Team

USF Tampa, Team 6-4, Brown Winter 2015 Membro di USF Tampa, Team 6-4, Brown Winter 2015

USFT-BROWN-W15S6G4

3 Membri

10 Guide realizzate

0 Commenti

Aggiungi Commento

Visualizza Statistiche:

Ultime 24 Ore: 0

Ultimi 7 Giorni: 2

Ultimi 30 Giorni: 10

Tutti i Tempi: 119