Introduzione
In this guide you will learn how to replace the WiFi card inside the Acer Spin 7 SP714-51. A WiFi card is the device in the laptop that allows the laptop to connect to the WiFi. You may want to replace this if the user's laptop won't connect to the WiFi.
Make sure you disconnect the battery before working by removing the WiFi card for safety reasons and so the laptop has a less change of getting damage while working with it. This is seen in the guide on how to replace the battery found here.
Cosa ti serve
-
-
Turn the laptop so that the back cover is visible and facing you. Make sure it is on a flat surface, such as a table.
-
Using a standard PH0 Phillips-head screwdriver, work your way around the edge removing the 6mm screws along the way.
-
Once all the screws are removed, you should easily be able to remove the back cover. This can be done by hand or by using a Spudger as seen in the tools list.
-
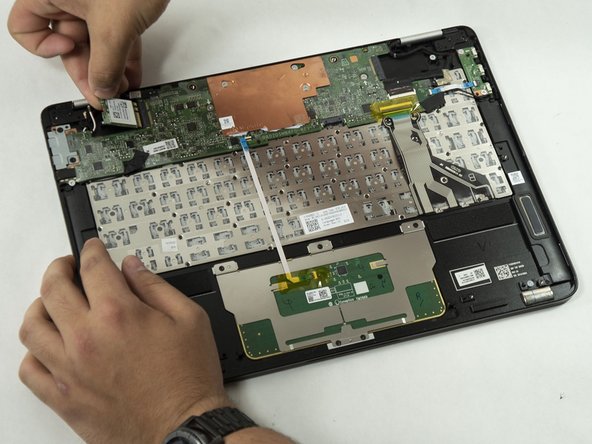
Once the back cover is removed, make sure you disconnect the battery cable.
-
-


To reassemble your device, follow these instructions in reverse order.
To reassemble your device, follow these instructions in reverse order.
Team

UMass Dartmouth, Team 7-3, Sinclaire Spring 2022 Membro di UMass Dartmouth, Team 7-3, Sinclaire Spring 2022
UMASSD-SINCLAIRE-S22S7G3
4 Membri
5 Guide realizzate