Introduzione
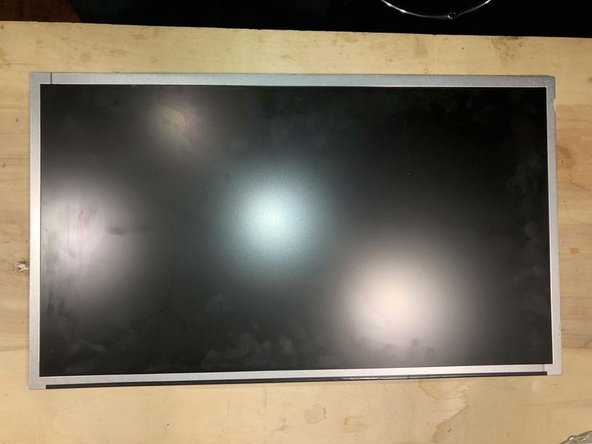
Here is a Acer K202HQL monitor that had fallen. The owner reports that it displays lots of colors but no image. Turns out that this is a cracked LCD screen.
Cosa ti serve
-
-
Here is what the monitor shows after having fallen of a desk. Obviously broken LCD panel
-
The monitor is a K202HQL with LCD backlight and made in 2020
-
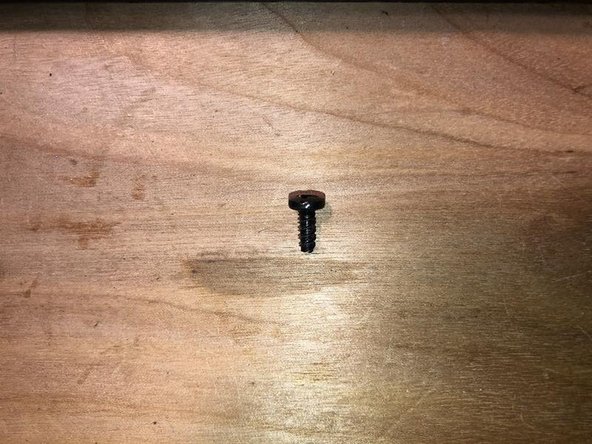
First we have to remove the stand. It is comprised of the foot (round plate) and the leg (between foot and monitor). Acer actually has a wing screw on the bottom of the foot. Simply flip up the wing to turn the screw to remove it.
-
-
-
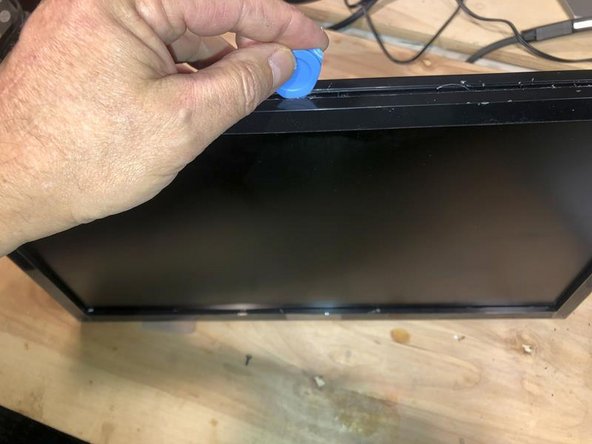
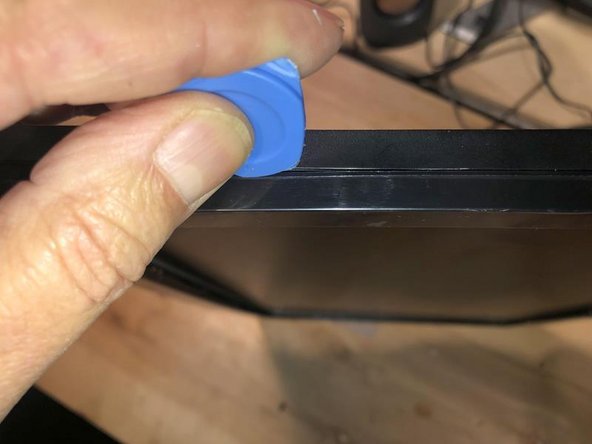
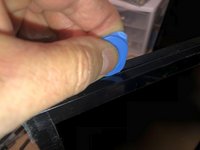
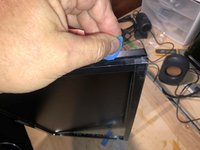
Here the housing is not a press-fit, but there are tabs that hold it together. Slide the opening tool along the seam
-
once you find the next tab, apply some downward pressure to release it.
-
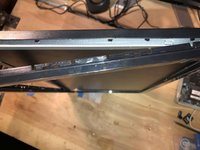
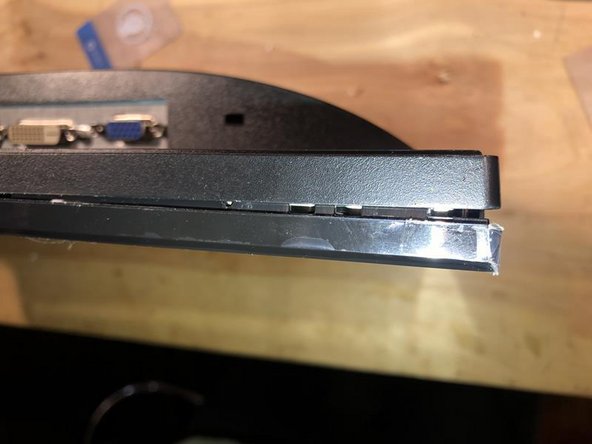
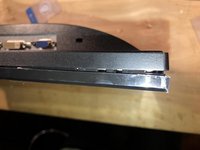
Once released, the bezel will slowly fall away. Make sure it does not crack while it is trying to do this.
-
-
-
-
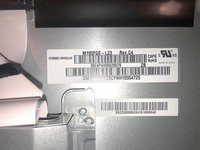
Let's take a quick look around. This is the label which we will use to find a replacement LCD panel. It has the model as well as revision number on it.
-
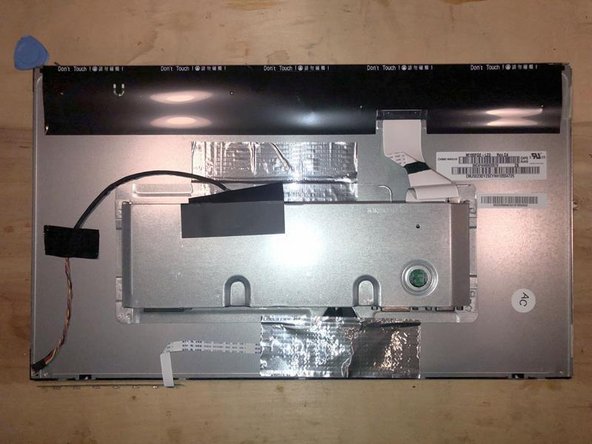
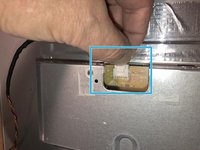
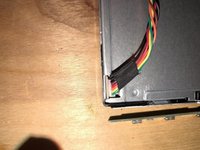
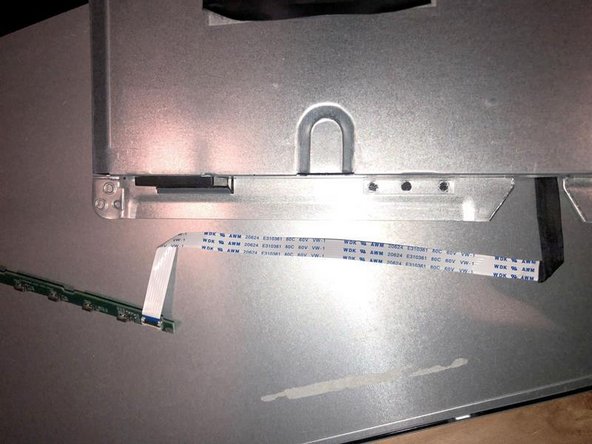
Here is the complete cabling as well as something hiding under the "Do Not Touch" warning. Ha, lets touch!
-
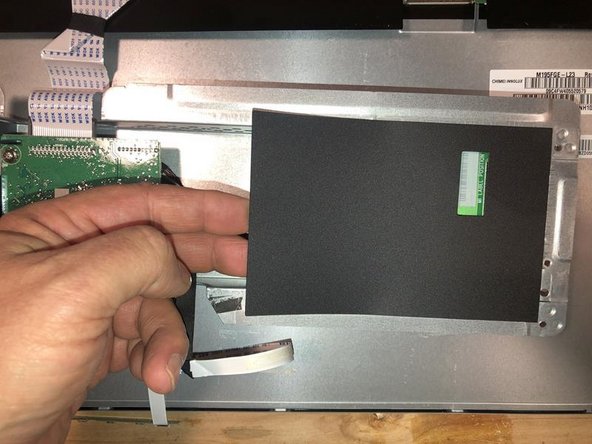
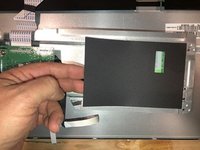
That is the LCD Driver board. It is adhered to the LCD panel via a special process. It is not (yet) replaceable by DIY'er means. This is not a T-Con board
-
-
-
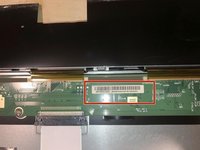
Here is the label just in case anybody looks and can find information on it. There is not much information on these boards.
-
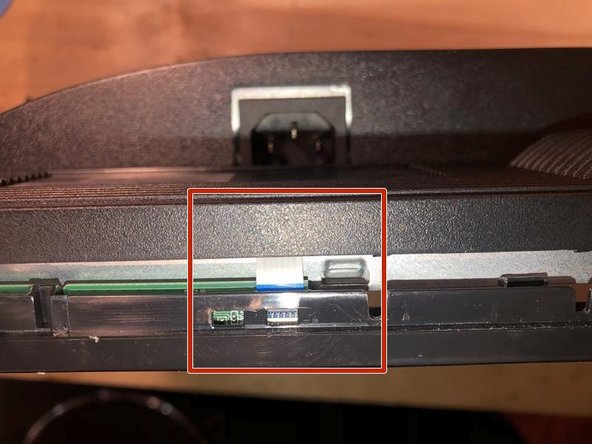
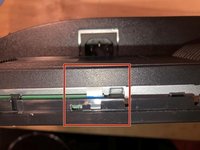
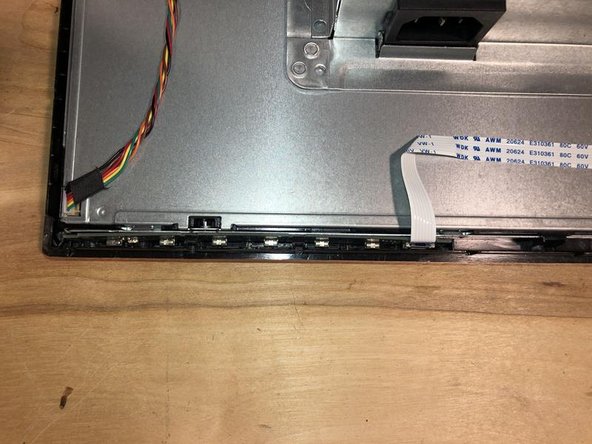
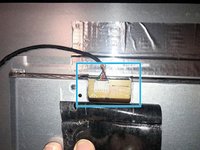
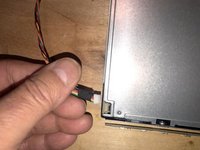
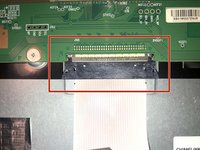
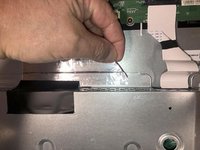
First cable we are going to remove is the backlight cable.
-
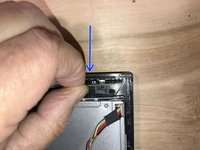
Pushing down on the center of the connection will lift the locking tab and the cable can be pulled out.
-
-
-
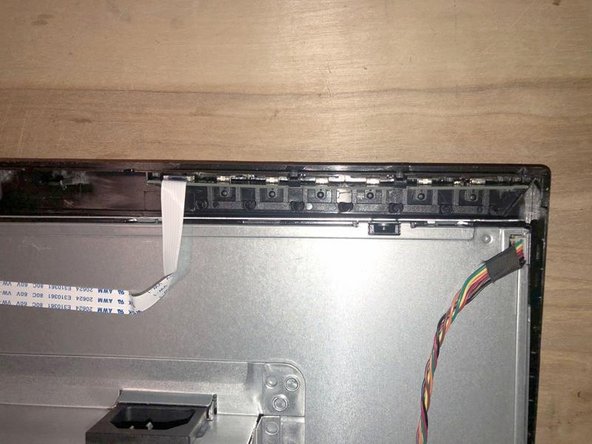
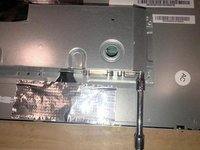
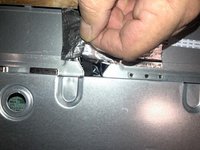
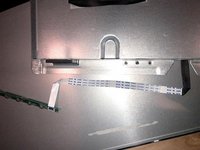
There are two strips of what feels like thick aluminum tape. Those are actually used as EMI shielding and will have to be transferred to the new LCD panel
-
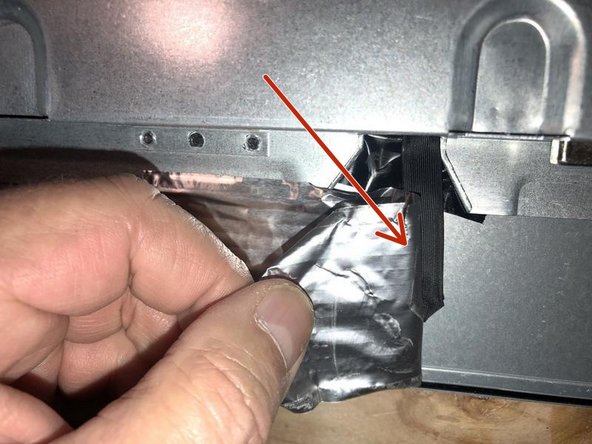
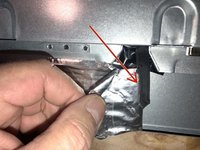
Careful with the one on the bottom. The button bar flex cable in stuck to the panel with this tape.
-
The flex cable is adhered to the panel with some light adhesive
-
-
-
Now remove the aluminum stick tape from the top part. It adheres the main and power board
-
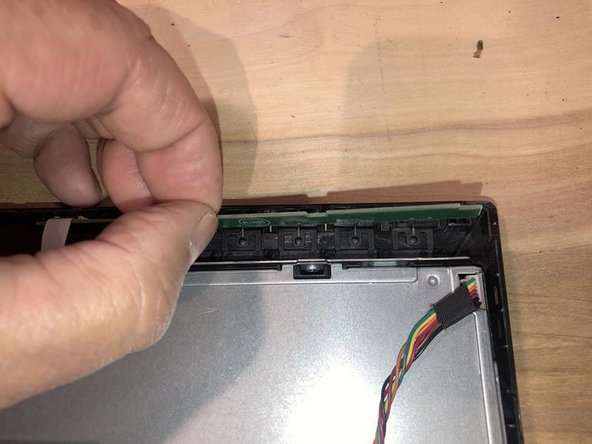
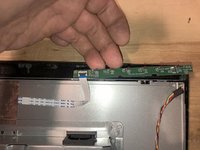
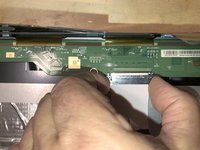
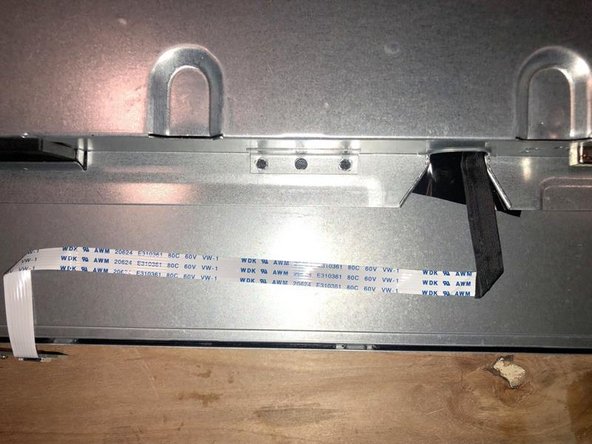
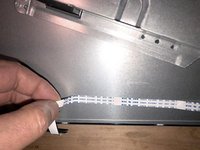
Next, gently lift the button bar cable from the back of the display. Keep your fingers short to where you remove it so it does not tear
-
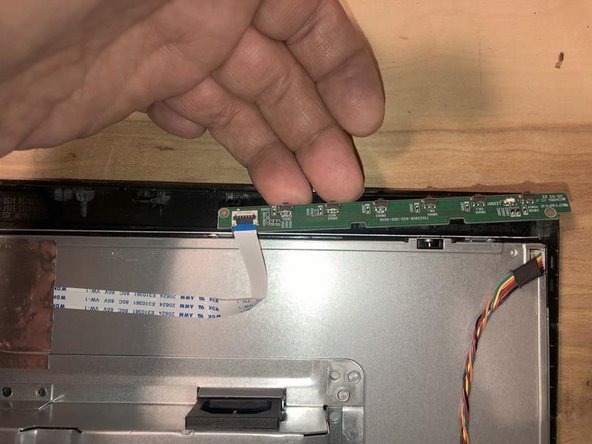
The button bar cable will now be completely off and free.
-
-
-
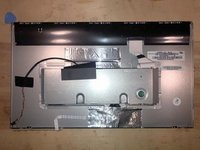
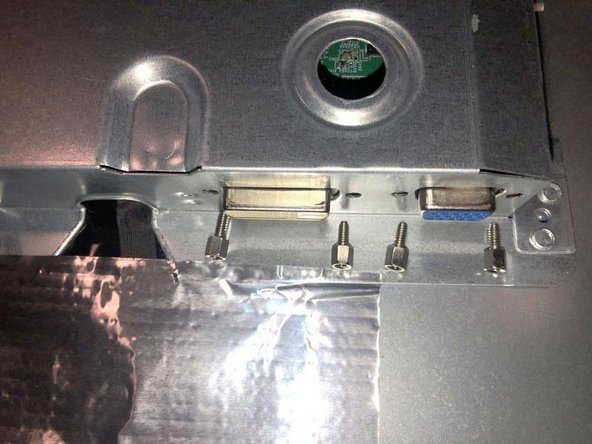
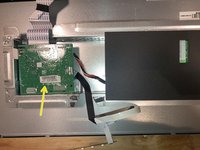
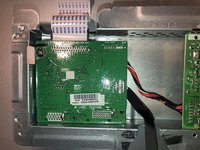
You can now turn the assembly that holds the power board and the main board over or just remove it.
-
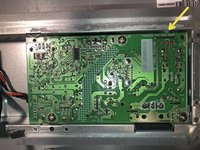
Left is the main (video) board and right the power board. Just a quick removal of the insulator sheet (separate power board from metallic rear cover of the panel)
-
Here is the power board. The part numbers for the boards are silk screened to the boards.
-


To reassemble your device, follow these instructions in reverse order.
Annulla: non ho completato questa guida.
Altre 3 persone hanno completato questa guida.

Team
