Salta al contenuto principale

Acer Iconia Tab A501 Speaker Replacement

Cosa ti serve

  1. Acer Iconia Tab A501 Speaker Replacement, Back Cover: passo 1, immagine 1 di 3 Acer Iconia Tab A501 Speaker Replacement, Back Cover: passo 1, immagine 2 di 3 Acer Iconia Tab A501 Speaker Replacement, Back Cover: passo 1, immagine 3 di 3
    • Turn off your device before opening it.

    • Use a plastic opening tool to carefully separate the back cover, starting at the volume buttons.

    • Continue separating the back cover along the short side closest to the camera and around the device.

  2. Acer Iconia Tab A501 Speaker Replacement: passo 2, immagine 1 di 1
    • When separated enough, a little more than halfway around the device, the back cover will be easy to take off.

  3. Acer Iconia Tab A501 Speaker Replacement, Speaker: passo 3, immagine 1 di 3 Acer Iconia Tab A501 Speaker Replacement, Speaker: passo 3, immagine 2 di 3 Acer Iconia Tab A501 Speaker Replacement, Speaker: passo 3, immagine 3 di 3
    Attrezzo utilizzato in questo passaggio:
    Tweezers
    $3.99
    Compra
    • In the next step, be careful not to squeeze too hard or scratch the motherboard.

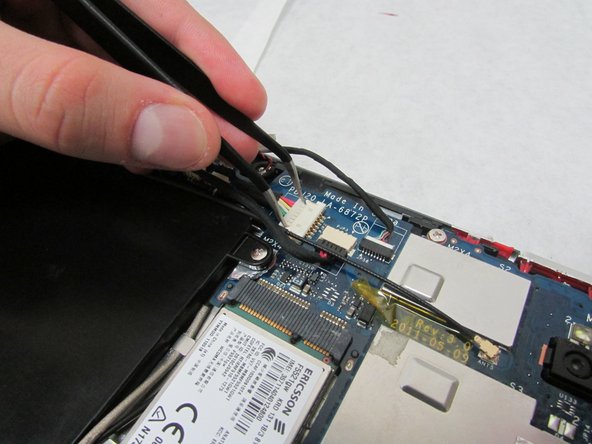
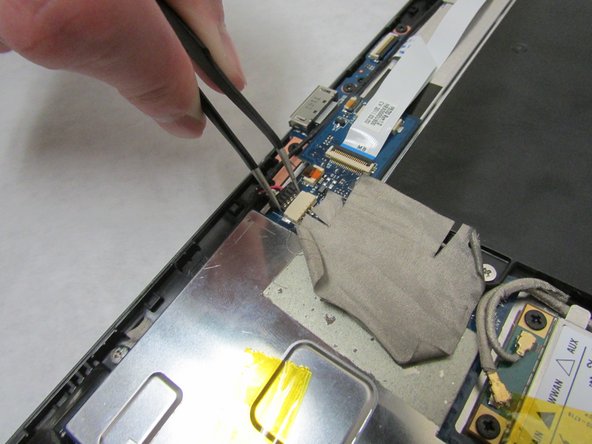
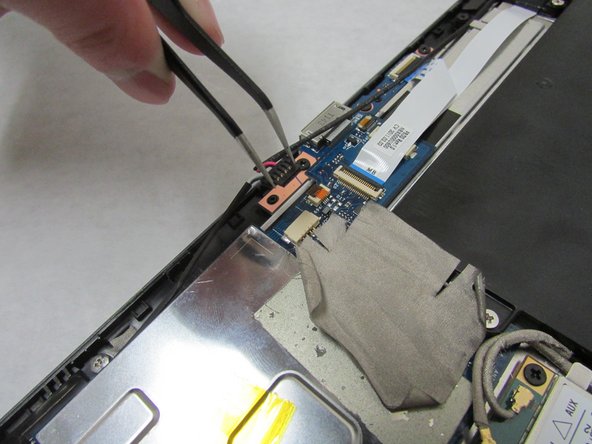
    • Use the angled tweezers to disconnect the white motherboard-battery connector in the middle of the side opposite the docking port.

  4. Acer Iconia Tab A501 Speaker Replacement: passo 4, immagine 1 di 3 Acer Iconia Tab A501 Speaker Replacement: passo 4, immagine 2 di 3 Acer Iconia Tab A501 Speaker Replacement: passo 4, immagine 3 di 3
    • In this step, be careful not to squeeze too hard or scratch the motherboard.

    • Use the angled tweezers to disconnect the cable with red, white and green wires from the beige connector slightly toward the side with the Micro-HDMI port relative to the docking port.

  5. Acer Iconia Tab A501 Speaker Replacement: passo 5, immagine 1 di 3 Acer Iconia Tab A501 Speaker Replacement: passo 5, immagine 2 di 3 Acer Iconia Tab A501 Speaker Replacement: passo 5, immagine 3 di 3
    • Unscrew the 3.0 mm Phillips head screw on each speaker using a Phillips #1 screwdriver.

    • Unscrew the 4.0 mm Phillips head screw on each speaker using a Phillips #1 screwdriver.

  6. Acer Iconia Tab A501 Speaker Replacement: passo 6, immagine 1 di 3 Acer Iconia Tab A501 Speaker Replacement: passo 6, immagine 2 di 3 Acer Iconia Tab A501 Speaker Replacement: passo 6, immagine 3 di 3
    • Remove the speakers.

Conclusione

To reassemble your device, follow these instructions in reverse order.

0 Commenti

Aggiungi Commento

Visualizza Statistiche:

Ultime 24 Ore: 0

Ultimi 7 Giorni: 0

Ultimi 30 Giorni: 7

Tutti i Tempi: 143