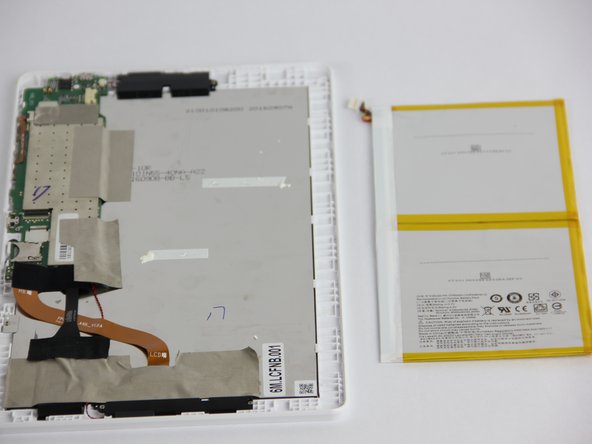
Salta al contenuto principale

Acer Iconia One 10 B3-A30 Repair Power Switch Replacement

Cosa ti serve

  1. Acer Iconia One 10 B3-A30 Repair Power Switch Replacement, Battery: passo 1, immagine 1 di 2 Acer Iconia One 10 B3-A30 Repair Power Switch Replacement, Battery: passo 1, immagine 2 di 2
    • Make sure the device is powered off.

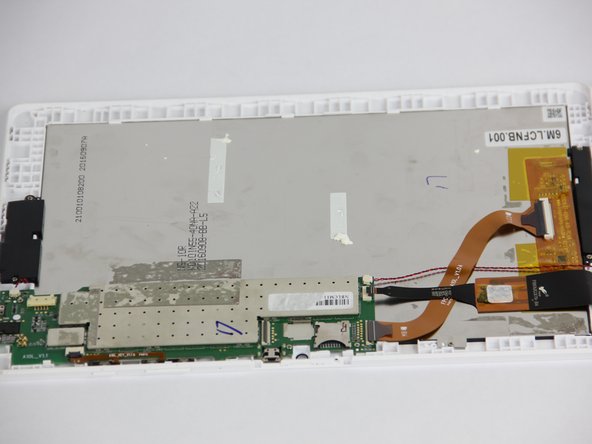
    • Open media port cover at the top of the tablet.

    • Use the Phillips #00 screwdriver to remove the 1 mm screw.

  2. Acer Iconia One 10 B3-A30 Repair Power Switch Replacement: passo 2, immagine 1 di 3 Acer Iconia One 10 B3-A30 Repair Power Switch Replacement: passo 2, immagine 2 di 3 Acer Iconia One 10 B3-A30 Repair Power Switch Replacement: passo 2, immagine 3 di 3
    • Using the metal spudger, carefully pry open the back cover.

  3. Acer Iconia One 10 B3-A30 Repair Power Switch Replacement: passo 3, immagine 1 di 1
    • Remove small section of grey tape.

  4. Acer Iconia One 10 B3-A30 Repair Power Switch Replacement: passo 4, immagine 1 di 2 Acer Iconia One 10 B3-A30 Repair Power Switch Replacement: passo 4, immagine 2 di 2
    • Unplug the connection cord from the motherboard.

  5. Acer Iconia One 10 B3-A30 Repair Power Switch Replacement: passo 5, immagine 1 di 3 Acer Iconia One 10 B3-A30 Repair Power Switch Replacement: passo 5, immagine 2 di 3 Acer Iconia One 10 B3-A30 Repair Power Switch Replacement: passo 5, immagine 3 di 3
    • Try to remove the battery by pulling on the blue tabs.

    • If unsuccessful, use the black plastic spudger to gently break the glue bonds underneath and pull up to remove the battery.

    • Be very cautious not to puncture or bend the battery.

  6. Acer Iconia One 10 B3-A30 Repair Power Switch Replacement, Motherboard: passo 6, immagine 1 di 3 Acer Iconia One 10 B3-A30 Repair Power Switch Replacement, Motherboard: passo 6, immagine 2 di 3 Acer Iconia One 10 B3-A30 Repair Power Switch Replacement, Motherboard: passo 6, immagine 3 di 3
    • Remove all of the tape surrounding the motherboard.

  7. Acer Iconia One 10 B3-A30 Repair Power Switch Replacement: passo 7, immagine 1 di 2 Acer Iconia One 10 B3-A30 Repair Power Switch Replacement: passo 7, immagine 2 di 2
    • Starting with the 2 large connections use the plastic opening tool to gently pry on the connections and pop them out.

    • Now, disconnect the two smaller black and red cords from the motherboard.

  8. Acer Iconia One 10 B3-A30 Repair Power Switch Replacement: passo 8, immagine 1 di 1
    • Scrape away the small square sticker to reveal one small screw. Use the Phillips #00 screwdriver to remove the screw.

    • Using the same screwdriver remove the other three screws on the motherboard.

  9. Acer Iconia One 10 B3-A30 Repair Power Switch Replacement: passo 9, immagine 1 di 2 Acer Iconia One 10 B3-A30 Repair Power Switch Replacement: passo 9, immagine 2 di 2
    • Using the small plastic tool, carefully pry the motherboard out of the device.

  10. Acer Iconia One 10 B3-A30 Repair Power Switch Replacement, Power Switch: passo 10, immagine 1 di 2 Acer Iconia One 10 B3-A30 Repair Power Switch Replacement, Power Switch: passo 10, immagine 2 di 2
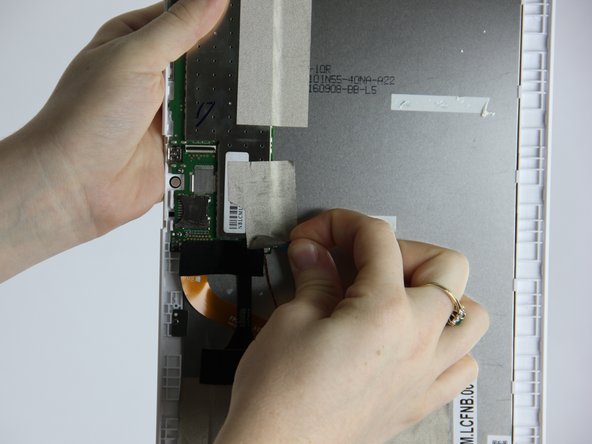
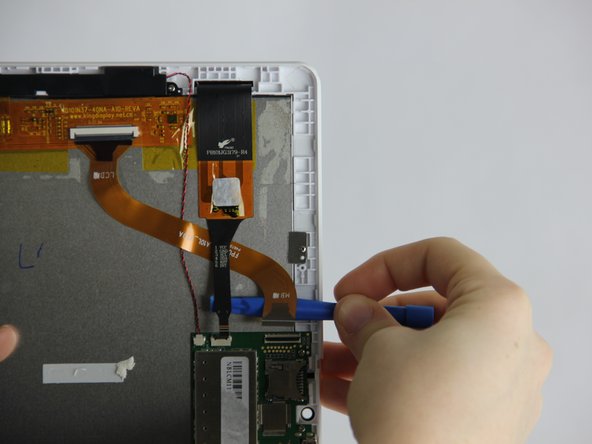
    • Depress power switch using finger, and simultaneously pry in same direction with a plastic opening tool.

Conclusione

To reassemble your device, follow these instructions in reverse order.

Un'altra persona ha completato questa guida.

Team

USF Tampa, Team S1-G5, Nance Fall 2017 Membro di USF Tampa, Team S1-G5, Nance Fall 2017

USFT-NANCE-F17S1G5

4 Membri

5 Guide realizzate

0 Commenti

Aggiungi Commento

Visualizza Statistiche:

Ultime 24 Ore: 2

Ultimi 7 Giorni: 3

Ultimi 30 Giorni: 12

Tutti i Tempi: 1,976