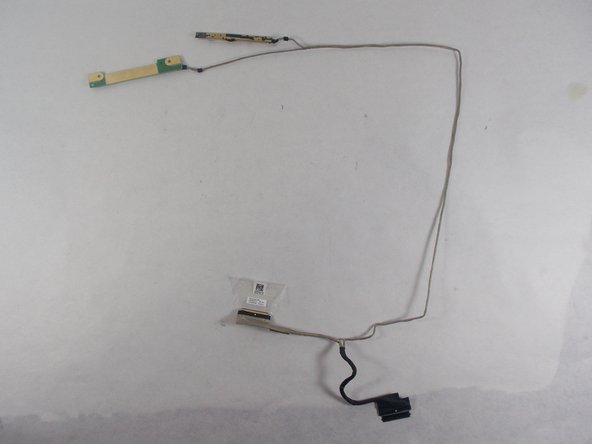
Salta al contenuto principale

Acer Chromebook Spin 15 CP315-1H-P1K8 Microphone Replacement

Cosa ti serve

  1. Acer Chromebook Spin 15 CP315-1H-P1K8 Microphone Replacement, Back Cover: passo 1, immagine 1 di 2 Acer Chromebook Spin 15 CP315-1H-P1K8 Microphone Replacement, Back Cover: passo 1, immagine 2 di 2
    • Make sure the device is fully powered off.

    • Flip the computer over so that the back is facing up.

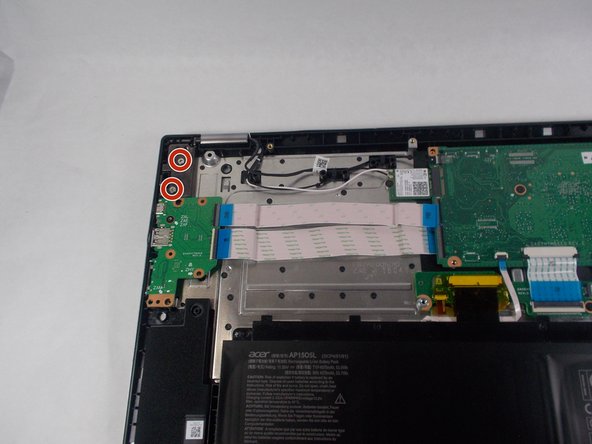
    • Remove the twelve 6mm Phillips #1 screws from the bottom of the laptop.

  2. Acer Chromebook Spin 15 CP315-1H-P1K8 Microphone Replacement: passo 2, immagine 1 di 3 Acer Chromebook Spin 15 CP315-1H-P1K8 Microphone Replacement: passo 2, immagine 2 di 3 Acer Chromebook Spin 15 CP315-1H-P1K8 Microphone Replacement: passo 2, immagine 3 di 3
    • Use the iFixit opening tools as wedges to pry the back of the laptop off.

    • Go slow, making sure not to snap the plastic. With enough of a gap made, you can use your hand to finish taking off the back.

  3. Acer Chromebook Spin 15 CP315-1H-P1K8 Microphone Replacement, Display Screen: passo 3, immagine 1 di 2 Acer Chromebook Spin 15 CP315-1H-P1K8 Microphone Replacement, Display Screen: passo 3, immagine 2 di 2
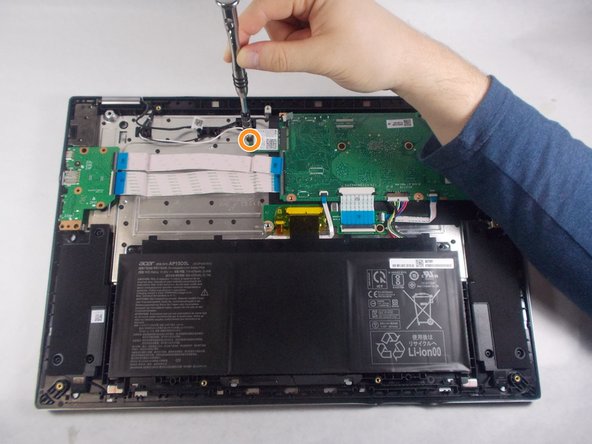
    • Remove the five 6mm Phillips #1 screws from the hinges on either side of the laptop.

  4. Acer Chromebook Spin 15 CP315-1H-P1K8 Microphone Replacement: passo 4, immagine 1 di 3 Acer Chromebook Spin 15 CP315-1H-P1K8 Microphone Replacement: passo 4, immagine 2 di 3 Acer Chromebook Spin 15 CP315-1H-P1K8 Microphone Replacement: passo 4, immagine 3 di 3
    • Unplug the camera/microphone ribbon cable from the circuit board.

    • Remove the single 3mm Phillips #1 screw from the Intel core.

    • Unplug the cable from the circuit board.

  5. Acer Chromebook Spin 15 CP315-1H-P1K8 Microphone Replacement: passo 5, immagine 1 di 3 Acer Chromebook Spin 15 CP315-1H-P1K8 Microphone Replacement: passo 5, immagine 2 di 3 Acer Chromebook Spin 15 CP315-1H-P1K8 Microphone Replacement: passo 5, immagine 3 di 3
    • Use the plastic opening tool, create a gap between the back and front of the display.

    • Lift the front out with your hands.

  6. Acer Chromebook Spin 15 CP315-1H-P1K8 Microphone Replacement, Microphone: passo 6, immagine 1 di 1
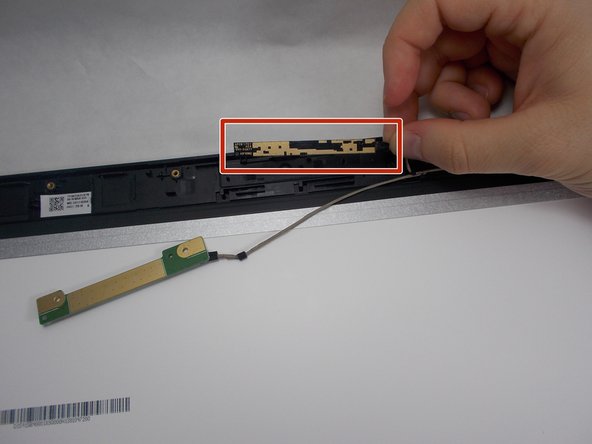
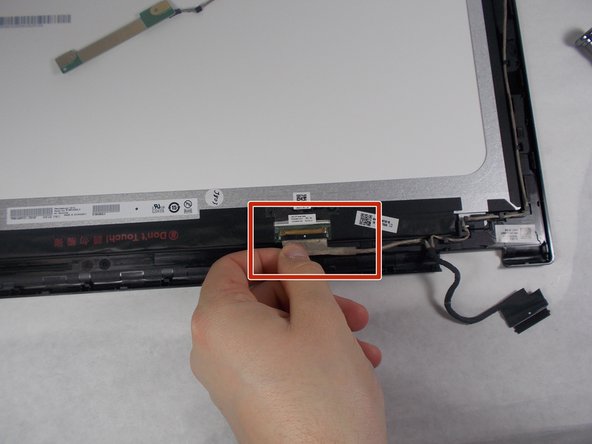
    • Remove the two 3 mm Phillips #1 black screws from the microphone at the top of the display cover.

  7. Acer Chromebook Spin 15 CP315-1H-P1K8 Microphone Replacement: passo 7, immagine 1 di 2 Acer Chromebook Spin 15 CP315-1H-P1K8 Microphone Replacement: passo 7, immagine 2 di 2
    • Remove the microphone component from the rest of the computer by detaching the connected wire.

    • The camera component of the laptop is connected to the same wire, so remove this as well.

    • The camera is only held down with adhesives, so there is no need to use any tools.

  8. Acer Chromebook Spin 15 CP315-1H-P1K8 Microphone Replacement: passo 8, immagine 1 di 2 Acer Chromebook Spin 15 CP315-1H-P1K8 Microphone Replacement: passo 8, immagine 2 di 2
    • Remove the microphone and camera wire out from around the display screen.

    • Remove the ribbon cable at the bottom of the display screen to completely free the wire.

    • Carefully remove the adhesive tape and take out the ribbon cable.

  9. Acer Chromebook Spin 15 CP315-1H-P1K8 Microphone Replacement: passo 9, immagine 1 di 2 Acer Chromebook Spin 15 CP315-1H-P1K8 Microphone Replacement: passo 9, immagine 2 di 2
    • Remove the microphone from the laptop.

Conclusione

To reassemble your device, follow these instructions in reverse order.

Ian Sullivan

Membro da: 10/29/19

116 Reputazione

1 Guida realizzata

Team

0 Commenti

Aggiungi Commento

Visualizza Statistiche:

Ultime 24 Ore: 0

Ultimi 7 Giorni: 4

Ultimi 30 Giorni: 14

Tutti i Tempi: 638