Questa versione può contenere modifiche errate. Passa all'ultima istantanea verificata.
Cosa ti serve
-
Questo passaggio è privo di traduzione. Aiuta a tradurlo
-
Power down the Chromebook and disconnect the power adapter.
-
-
Questo passaggio è privo di traduzione. Aiuta a tradurlo
-
Place the chromebook bottom side up on a flat surface.
-
Remove the thirteen 7 mm screws with a Phillips #0 screwdriver.
-
-
-
Questo passaggio è privo di traduzione. Aiuta a tradurlo
-
Insert the plastic opening tool into the slit near the hinges and pry upwards to lift the back panel.
-
-
Questo passaggio è privo di traduzione. Aiuta a tradurlo
-
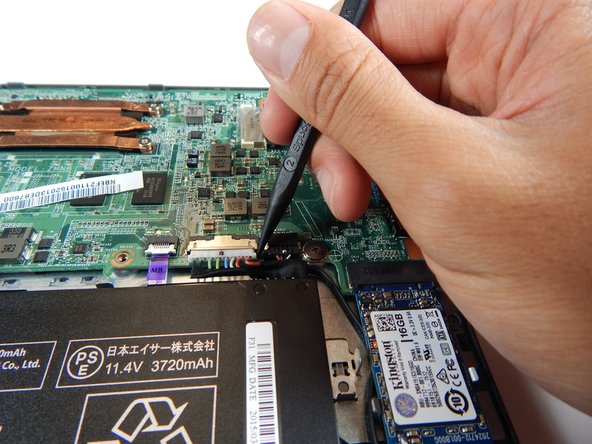
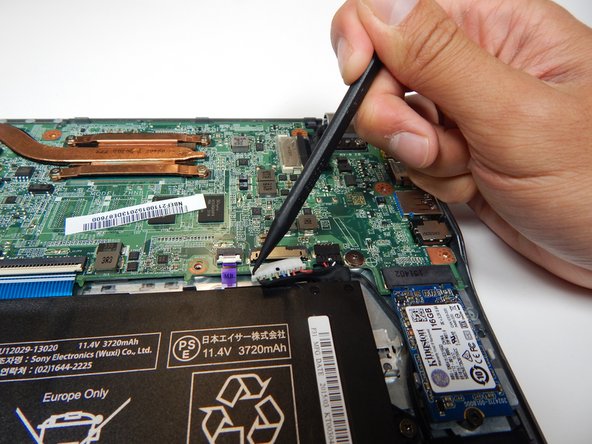
Unplug the white 8-wire battery connector from the motherboard by using a spudger to push the two L-shaped indentations towards the battery.
-
-
Questo passaggio è privo di traduzione. Aiuta a tradurlo
-
Remove the the two 3.7 mm screws with a Phillips #0 screwdriver.
-


Annulla: non ho completato questa guida.
Altre 7 persone hanno completato questa guida.
Team

Cal Poly, Team S22-G2, Livingston Spring 2017 Membro di Cal Poly, Team S22-G2, Livingston Spring 2017
CPSU-LIVINGSTON-S17S22G2
4 Membri
12 Guide realizzate