Salta al contenuto principale

Acer Aspire V3-551-8469 Hard Drive Replacement

Cosa ti serve

  1. Acer Aspire V3-551-8469 Hard Drive Replacement, Hard Drive: passo 1, immagine 1 di 2 Acer Aspire V3-551-8469 Hard Drive Replacement, Hard Drive: passo 1, immagine 2 di 2
    • To release the battery, slide the orange tab to the right with a spudger.

    • The battery is now released and can be picked up and set to the side.

  2. Acer Aspire V3-551-8469 Hard Drive Replacement: passo 2, immagine 1 di 2 Acer Aspire V3-551-8469 Hard Drive Replacement: passo 2, immagine 2 di 2
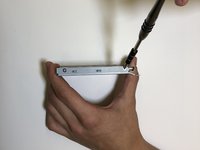
    • Remove the two 5.3 mm Phillips #0 screws.

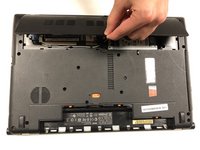
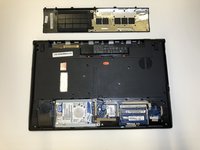
  3. Acer Aspire V3-551-8469 Hard Drive Replacement: passo 3, immagine 1 di 2 Acer Aspire V3-551-8469 Hard Drive Replacement: passo 3, immagine 2 di 2
    • Pull off the back panel.

  4. Acer Aspire V3-551-8469 Hard Drive Replacement: passo 4, immagine 1 di 1
    • Pull the plastic tab on top of the hard drive.

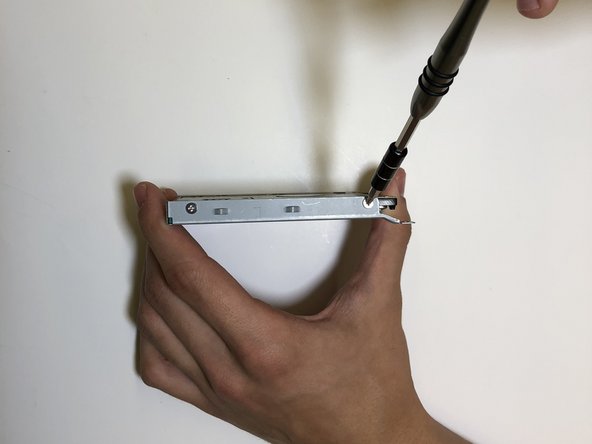
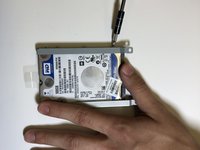
  5. Acer Aspire V3-551-8469 Hard Drive Replacement: passo 5, immagine 1 di 2 Acer Aspire V3-551-8469 Hard Drive Replacement: passo 5, immagine 2 di 2
    • Remove the four 5.3 mm screws that secure the hard drive in the frame.

Conclusione

After replacing the old hard drive, reassemble your device by following these instructions in reverse order.

Altre 2 persone hanno completato questa guida.

Team

Baylor, Team S1-G4, Williams Fall 2018 Membro di Baylor, Team S1-G4, Williams Fall 2018

BU-WILLIAMS-F18S1G4

3 Membri

5 Guide realizzate

0 Commenti

Aggiungi Commento

Visualizza Statistiche:

Ultime 24 Ore: 0

Ultimi 7 Giorni: 2

Ultimi 30 Giorni: 7

Tutti i Tempi: 564