Introduzione
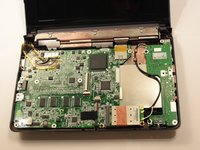
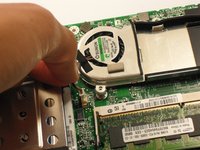
Once the motherboard is out, it is relatively straight forward to get to the fan.
Cosa ti serve
-
-
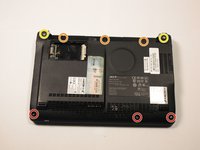
Turn the netbook upside down with the battery at the top, facing away from you.
-
-
-
Gently loosen the two Phillips #0 screws in the small panel that covers the wireless card.
-
-
-
Gently lift up the left side of the wireless card and slide the card out of its socket.
-
-
-
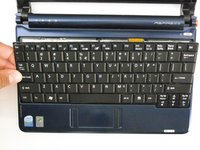
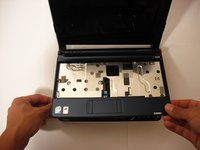
Turn the netbook over and open the display so that the keyboard is facing you.
-
-
-
-
Close the display and turn the ZG5 over so that the battery compartment faces away from you.
-
-
-
Disconnect the two antenna cables from the right side of the wireless card.
-
-
-
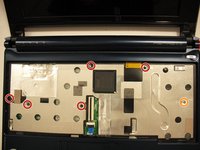
Gently lift the I/O board up from the right side of the case.
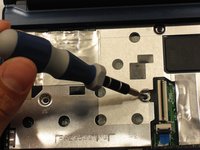
there are 2 silver screws that need to be removed in this step your picture shows them still installed (one is located neer audio plug, the other is located neer keyboard plug) in step 27 (next step) they have been removed without mention
I have added 1 gb of memory to my ZG5 thanks to this helpful guide. Total cost, including a spudger and a new mini screwdriver, to tackle the 00 Philips, GBP 17.57
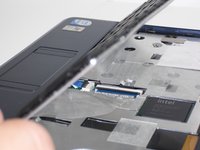
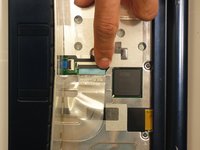
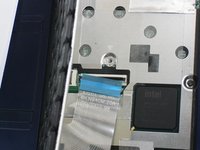
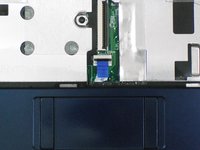
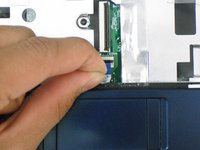
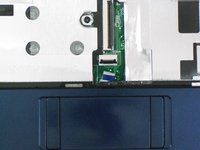
I fear I haven't put the trackpad connector back properly, but device works great with a wireless mouse. Very many thanks.
-
-
-
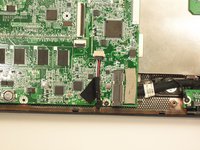
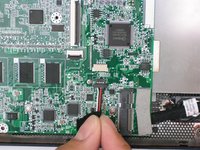
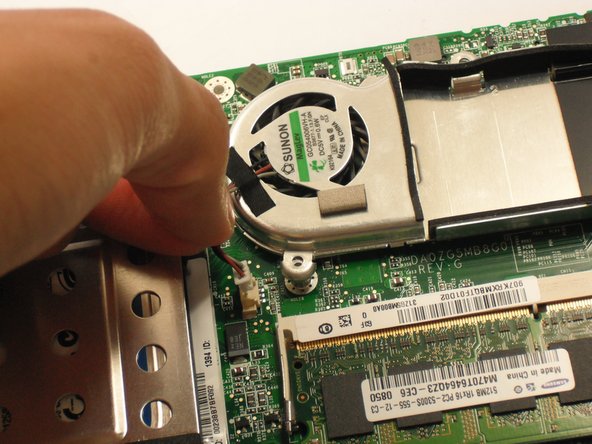
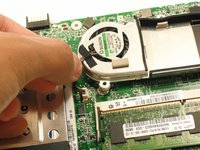
Disconnect the fan cable from the motherboard.
-
To reassemble your device, follow these instructions in reverse order.
To reassemble your device, follow these instructions in reverse order.
Annulla: non ho completato questa guida.
Altre 10 persone hanno completato questa guida.
4Commenti sulla guida
Steps 4~8 show to remove the wireless card from its access panel outside the computer, then steps 19~21 show to remove it from the inside once the case is off.
Redundant?
There are two wireless cards -- for that exact model it looks like bluetooth and 802.11n but different models may be different
nathan -
The page layout is good.well done job.thanks for providing the repairing information about Acer aspire one.it is the very interesting web page.http://djnni.com


