Introduzione
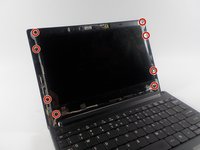
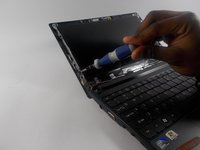
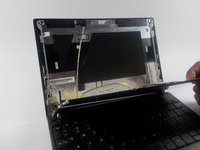
Damaged screens are one of the most common issues that will occur with a computer. While most laptops require the complete disassembly of the computer to replace the screen, the Acer Aspire One D255E requires significantly less work. You should read through the entire guide before performing the repair and should have all necessary tools readily available. You should also find a safe location to store the various screws taken out of the computer to ensure that they do not get mixed up or lost.
When working with electronics, it's important to choose a tool that's ESD-safe to avoid accidental damage to the device. The metal spudger is great when you need serious prying power, but the regular black nylon spudger or a plastic opening tool should be used whenever possible.
Cosa ti serve
To reassemble your device, follow these instructions in reverse order.
To reassemble your device, follow these instructions in reverse order.
Annulla: non ho completato questa guida.
Altre 3 persone hanno completato questa guida.


