Salta al contenuto principale

Acer Aspire ES1-512-C80E Disk Drive Replacement

Cosa ti serve

  1. Acer Aspire ES1-512-C80E Disk Drive Replacement, Back Cover: passo 1, immagine 1 di 1
    • Place the device upside down on a flat surface.

    • Using a Phillips #00 screwdriver, remove all nineteen 1.2mm screws that secure the bottom cover of the device.

  2. Acer Aspire ES1-512-C80E Disk Drive Replacement: passo 2, immagine 1 di 3 Acer Aspire ES1-512-C80E Disk Drive Replacement: passo 2, immagine 2 di 3 Acer Aspire ES1-512-C80E Disk Drive Replacement: passo 2, immagine 3 di 3
    • Pry around the edges with a spudger to remove the back cover.

    • The two hinges on the back require additional force to be popped open.

  3. Acer Aspire ES1-512-C80E Disk Drive Replacement, Keyboard: passo 3, immagine 1 di 3 Acer Aspire ES1-512-C80E Disk Drive Replacement, Keyboard: passo 3, immagine 2 di 3 Acer Aspire ES1-512-C80E Disk Drive Replacement, Keyboard: passo 3, immagine 3 di 3
    • The keyboard is the silver piece located by itself on the upper half of the laptop.

    • Using a Phillips #00 screwdriver, remove the four 1.2mm screws from the keyboard.

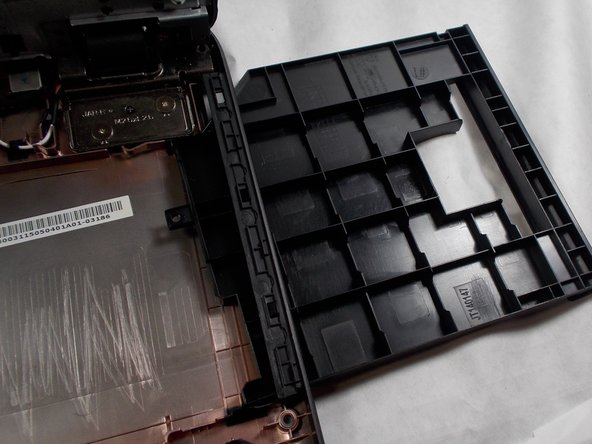
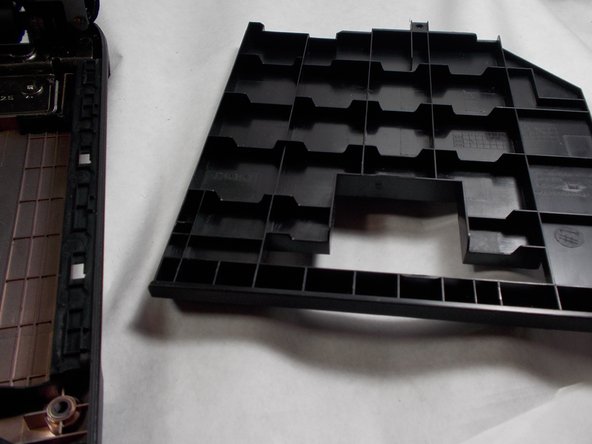
    • Using a spudger, go around the edges and pry off the keyboard.

    • All black clips will have to be removed before the keyboard can be removed.

  4. Acer Aspire ES1-512-C80E Disk Drive Replacement: passo 4, immagine 1 di 3 Acer Aspire ES1-512-C80E Disk Drive Replacement: passo 4, immagine 2 di 3 Acer Aspire ES1-512-C80E Disk Drive Replacement: passo 4, immagine 3 di 3
    • Remove the ribbon cable connection from the keyboard.

    • Peel back the two pieces of tape to separate the keyboard.

    • Remove the keyboard from under the plastic covering.

    • Remove the silver plate back cover of the keyboard from the bottom base.

  5. Acer Aspire ES1-512-C80E Disk Drive Replacement: passo 5, immagine 1 di 2 Acer Aspire ES1-512-C80E Disk Drive Replacement: passo 5, immagine 2 di 2
    • Remove the large silver plate from the keyboard.

    • You can not remove the silver backing with the attached wire from the back of the keyboard.

  6. Acer Aspire ES1-512-C80E Disk Drive Replacement: passo 6, immagine 1 di 1
    • The keyboard is removed and ready to be replaced.

  7. Acer Aspire ES1-512-C80E Disk Drive Replacement, Disk Drive: passo 7, immagine 1 di 3 Acer Aspire ES1-512-C80E Disk Drive Replacement, Disk Drive: passo 7, immagine 2 di 3 Acer Aspire ES1-512-C80E Disk Drive Replacement, Disk Drive: passo 7, immagine 3 di 3
    • Push the disk drive out of the side slot.

Conclusione

To reassemble your device, follow the steps in reverse order.

Un'altra persona ha completato questa guida.

Peter Bulman

Membro da: 10/31/19

231 Reputazione

1 Guida realizzata

Team

0 Commenti

Aggiungi Commento

Visualizza Statistiche:

Ultime 24 Ore: 1

Ultimi 7 Giorni: 1

Ultimi 30 Giorni: 19

Tutti i Tempi: 454