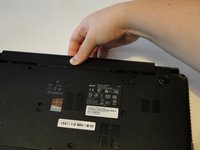
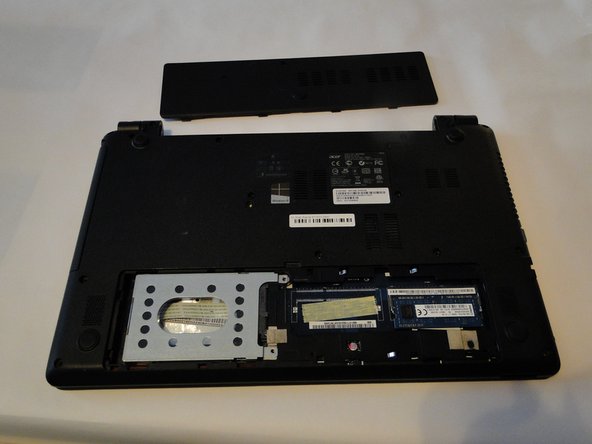
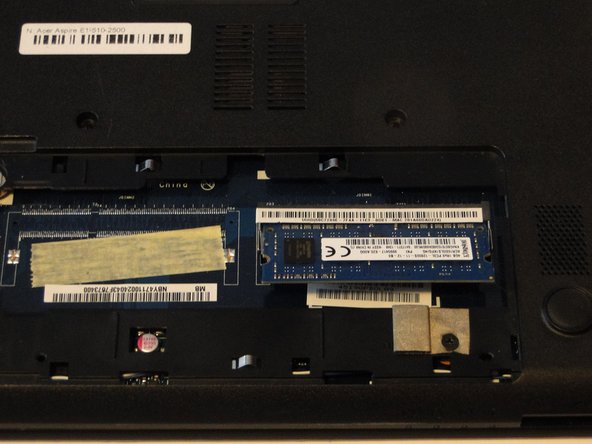
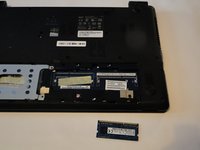
Salta al contenuto principale

Acer Aspire E1-510-2500 RAM Card Replacement

Cosa ti serve

  1. Acer Aspire E1-510-2500 RAM Card Replacement, Battery: passo 1, immagine 1 di 1
    • Ensure that your laptop is completely switched off, and disconnected from the power source.

    • Flip the laptop so that the base of the laptop is facing up.

  2. Acer Aspire E1-510-2500 RAM Card Replacement: passo 2, immagine 1 di 2 Acer Aspire E1-510-2500 RAM Card Replacement: passo 2, immagine 2 di 2
    • Insert a spudger into the battery release latch.

    • Slide the battery release latch to the right, this will eject the battery for safe removal.

  3. Acer Aspire E1-510-2500 RAM Card Replacement: passo 3, immagine 1 di 2 Acer Aspire E1-510-2500 RAM Card Replacement: passo 3, immagine 2 di 2
    • Carefully slide the battery out of the battery's home.

  4. Acer Aspire E1-510-2500 RAM Card Replacement, RAM Card: passo 4, immagine 1 di 2 Acer Aspire E1-510-2500 RAM Card Replacement, RAM Card: passo 4, immagine 2 di 2
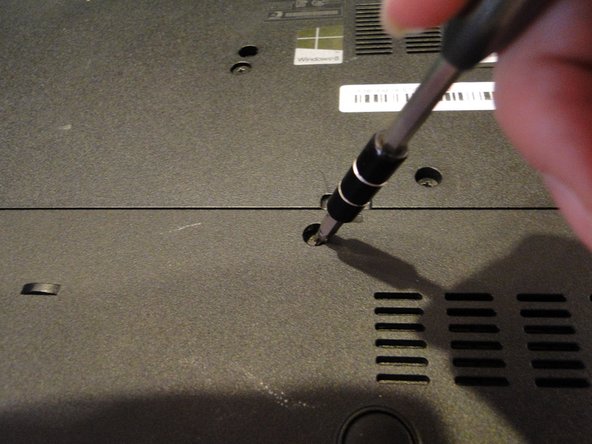
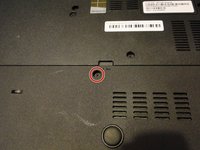
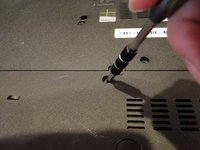
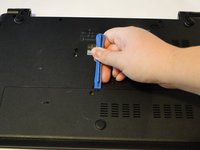
    • Using a Phillips 1 screwdriver, remove the 9 mm screw which secures the back panel.

  5. Acer Aspire E1-510-2500 RAM Card Replacement: passo 5, immagine 1 di 2 Acer Aspire E1-510-2500 RAM Card Replacement: passo 5, immagine 2 di 2
    • Use a plastic opening tool to carefully pry the back panel from its home.

    • When reassembling, insert the panel from the edge opposite the screw first.

  6. Acer Aspire E1-510-2500 RAM Card Replacement: passo 6, immagine 1 di 3 Acer Aspire E1-510-2500 RAM Card Replacement: passo 6, immagine 2 di 3 Acer Aspire E1-510-2500 RAM Card Replacement: passo 6, immagine 3 di 3
    • Locate the tabs on either side of the RAM card.

    • Push out on both tabs simultaneously to release the RAM card.

    • The RAM card should raise slightly at the unattached edge.

  7. Acer Aspire E1-510-2500 RAM Card Replacement: passo 7, immagine 1 di 2 Acer Aspire E1-510-2500 RAM Card Replacement: passo 7, immagine 2 di 2
    • Carefully remove the RAM card from its home.

Conclusione

To reassemble your device, follow these instructions in reverse order.

Un'altra persona ha completato questa guida.

Team

0 Commenti

Aggiungi Commento

Visualizza Statistiche:

Ultime 24 Ore: 0

Ultimi 7 Giorni: 2

Ultimi 30 Giorni: 13

Tutti i Tempi: 560