Introduzione
In this guide, you will be instructed on how to replace the optical drive in your laptop. Your optical drive allows for your computer to read CD ROMs.
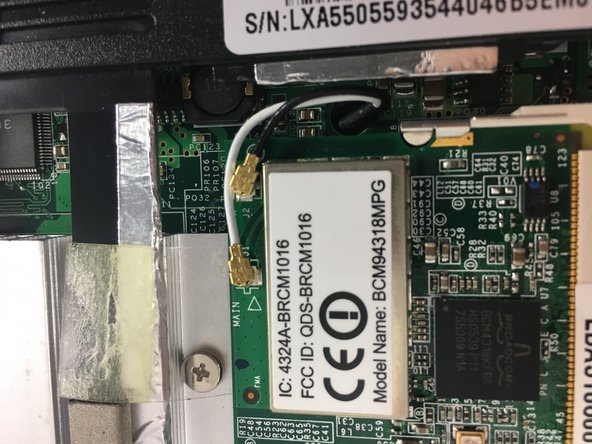
This replacement is a bit difficult, and will take you 9 steps to complete. However, you must remove the hard drive, internal fan, and battery first.
Cosa ti serve
-
-
Turn the Acer Aspire 3003WLCi so that the bottom of the laptop is facing up. Orient it so that the battery is on your left.
-
-
-
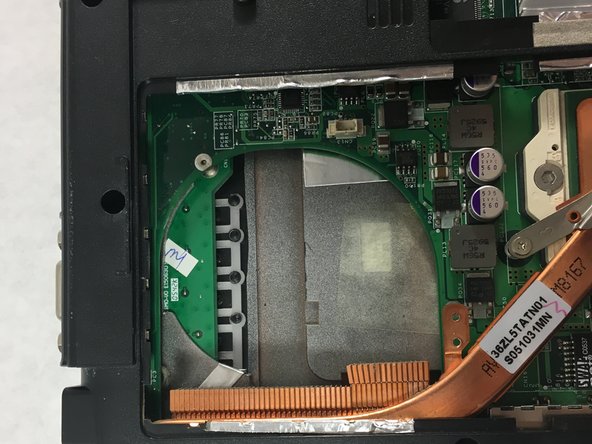
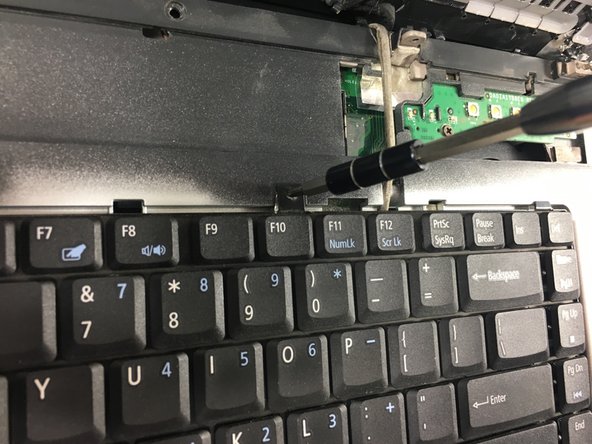
The panel you will be removing to access the internal fan is located at the bottom of the laptop.
-
-
-
-
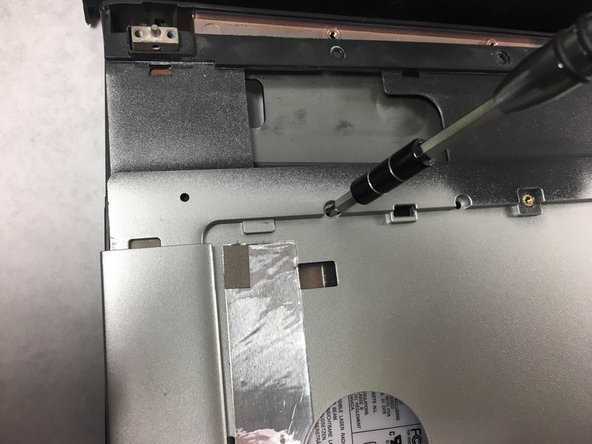
Locate the hard drive access panel in the upper right corner of the laptop.
-
-
-
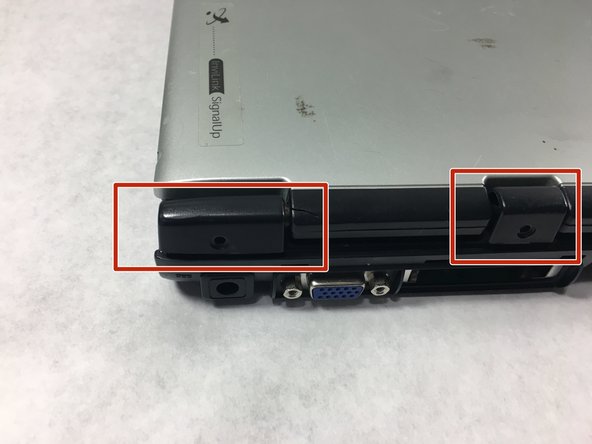
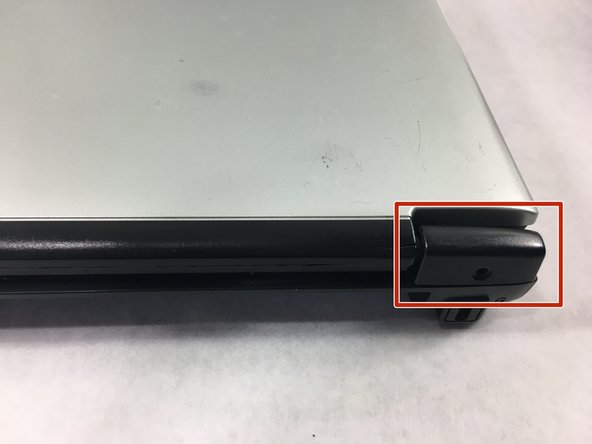
Turn the Acer Aspire 3003WLCi so that the back of the laptop is facing towards you.
-
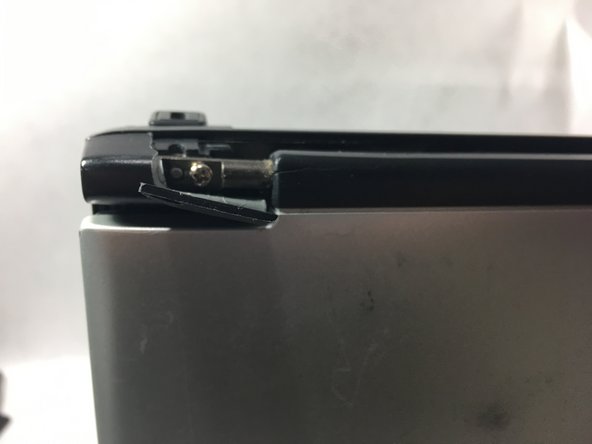
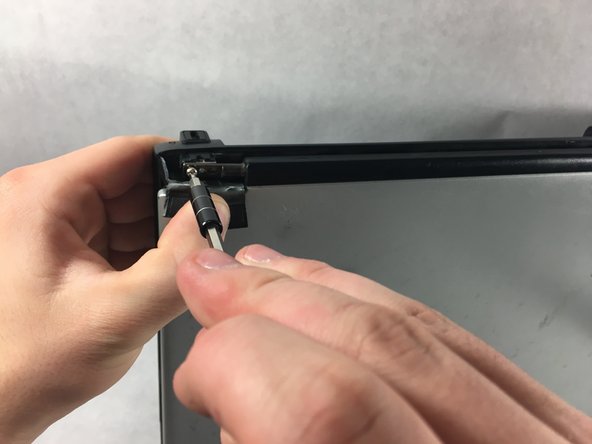
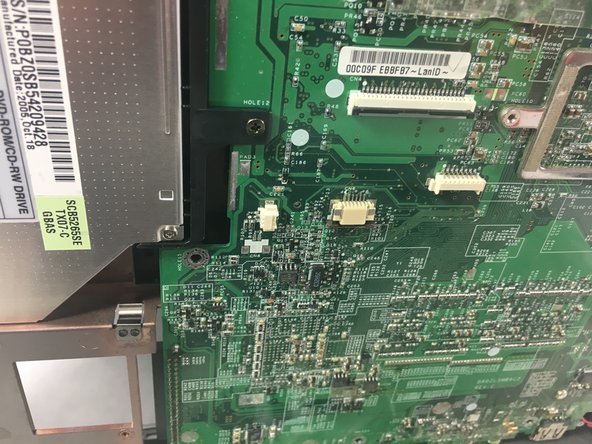
You will be opening the tabs on the back of the laptop in order to access the internal components.
-


To reassemble your device, follow these instructions in reverse order.
To reassemble your device, follow these instructions in reverse order.
Team

UMass Dartmouth, Team S2-G2, Bailey Spring 2019 Membro di UMass Dartmouth, Team S2-G2, Bailey Spring 2019
UMASSD-BAILEY-S19S2G2
4 Membri
5 Guide realizzate