Questa guida ha delle modifiche più recenti. Passa all'ultima versione non verificata.
Introduzione
The VGA input transfers information from the computer to the monitor, so having one that is working properly is important.
Cosa ti serve
-
-
Remove the five 9.5 mm Phillips #2 screws located around the perimeter of the monitor.
-
-
-
Starting at the corner of the monitor, wedge the small plastic opening tool between the back cover and the display bezel.
-
Tilt the plastic opening tool up to separate the back cover from the display bezel.
-
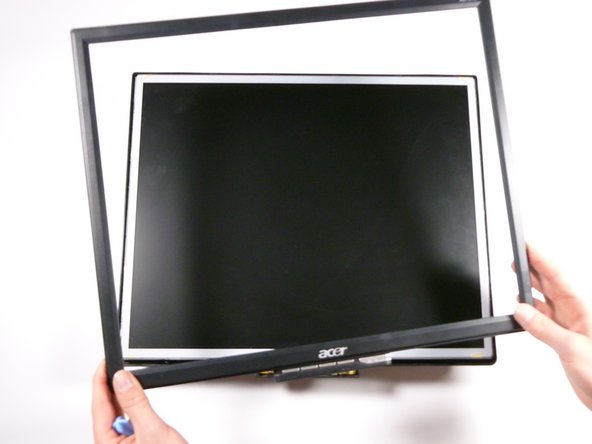
Continue around the perimeter of the monitor until the display bezel comes off.
-
-
-
-
Remove the two 5.7 mm Phillips #2 screws located on either side of the EMI shield.
-
-
-
Remove the beige control cable to the left of the VGA input by pulling it up.
-
-
-
Set the circuit board down on its own, removed from the rest of the monitor.
-
-
-
Using the soldering iron, desolder the VGA input at the indicated locations.
-
Solder the new VGA input into the circuit board at the same locations.
-
Click here for more information on component-level soldering.
-


To reassemble your device, follow these instructions in reverse order.
To reassemble your device, follow these instructions in reverse order.
Team

Cal Poly, Team 20-26, Maness Fall 2011 Membro di Cal Poly, Team 20-26, Maness Fall 2011
CPSU-MANESS-F11S20G26
4 Membri
14 Guide realizzate