Questa versione può contenere modifiche errate. Passa all'ultima istantanea verificata.
Cosa ti serve
-
Questo passaggio è privo di traduzione. Aiuta a tradurlo
-
Grab the hinge cover with both hands on either side of the stand.
-
Squeeze inwards with your thumbs and fingers and lift up to remove the hinge cover.
-
-
Questo passaggio è privo di traduzione. Aiuta a tradurlo
-
Remove the four 12.1 mm Phillips #2 screws that hold the stand to the monitor.
-
Lift up to detach the stand.
-
-
Questo passaggio è privo di traduzione. Aiuta a tradurlo
-
Remove the five 9.5 mm Phillips #2 screws located around the perimeter of the monitor.
-
-
Questo passaggio è privo di traduzione. Aiuta a tradurlo
-
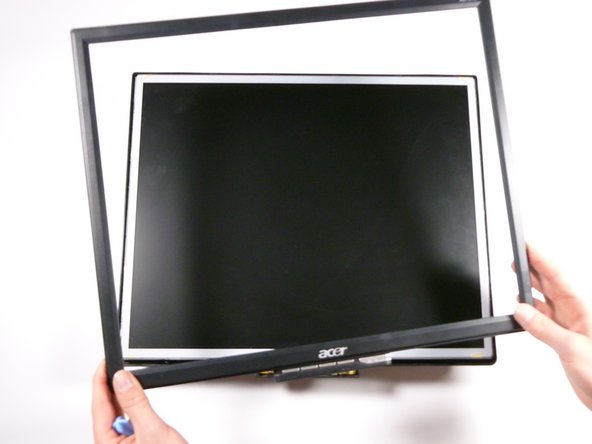
Starting at the corner of the monitor, wedge the small plastic opening tool between the back cover and the display bezel.
-
Tilt the plastic opening tool up to separate the back cover from the display bezel.
-
Continue around the perimeter of the monitor until the display bezel comes off.
-
-
-
Questo passaggio è privo di traduzione. Aiuta a tradurlo
-
Grab the corners of the monitor and jiggle them upwards to detach the back cover from the inside of the monitor.
-
Lift the back cover up.
-
-
Questo passaggio è privo di traduzione. Aiuta a tradurlo
-
Remove the two 5.7 mm Phillips #2 screws located on either side of the EMI shield.
-
-
Questo passaggio è privo di traduzione. Aiuta a tradurlo
-
Using a nut driver (or if necessary, needle-nose pliers), remove the two nuts on either side of the VGA input.
-
-
Questo passaggio è privo di traduzione. Aiuta a tradurlo
-
Grab the metal casing by the sides and slide it down towards the bottom of the monitor.
-
Lift up to remove the metal casing.
-
-
Questo passaggio è privo di traduzione. Aiuta a tradurlo
-
Remove the beige control cable to the left of the VGA input by pulling it up.
-
-
Questo passaggio è privo di traduzione. Aiuta a tradurlo
-
Remove the rainbow-colored power cable by pulling it straight up.
-
-
Questo passaggio è privo di traduzione. Aiuta a tradurlo
-
Remove the display cable located at the top of the motherboard by pulling it out towards the top of the monitor.
-
-
Questo passaggio è privo di traduzione. Aiuta a tradurlo
-
Remove the three 7.7 mm Phillips #2 screws from the motherboard, and take out the motherboard by lifting it up.
-


Annulla: non ho completato questa guida.
Altre 4 persone hanno completato questa guida.
Team

Cal Poly, Team 20-26, Maness Fall 2011 Membro di Cal Poly, Team 20-26, Maness Fall 2011
CPSU-MANESS-F11S20G26
4 Membri
14 Guide realizzate
3 Commenti
How does one know weather it's the Motherboard or the PSU? What should the PSU be outputting to check it first? Or any other ways to check it
there are a few things that can help diagnose whether it is the power supply or the circuit board but sometimes it can be both. One thing you can do is just knowing the conditions of the home, did you have some power outage, or blinking of lights during storms and things like that. If you don't have a battery backup sometimes surge protectors are not going to save a system from failure just from power blinking on and off. This can cause backfire like issues that can glitch out the control board or power supply or domino the both. If you see power and the light turns on but when you hit the buttons nothing happens that either means the circuit board is failed because it is unable to process commands, or the power supply is only providing enough power to turn on the circuit board but nothing else. If you can not get a light at all and have tried plugging it in and out over and over and nothing no lights or anything than it is a good bet the power board has failed. If you don'twant to pay repairs take best guess
Very often, espacially if the PSU is som years old, the electrolyt capacitors will dry out.
You can see it when the surface has blown up and is rounded. Normally this capacitors are flat. If you see, that one or more of this capacitors is bended, than replace all with the same values (capacity and voltage).