Questa versione può contenere modifiche errate. Passa all'ultima istantanea verificata.
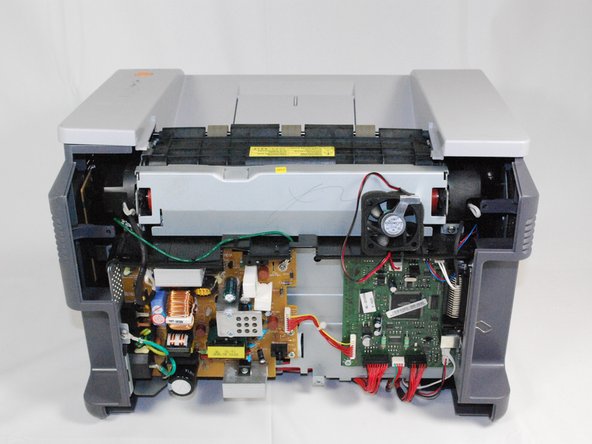
Cosa ti serve
-
Questo passaggio è privo di traduzione. Aiuta a tradurlo
-
Remove the top hinged panel by taking out the pins at the bottom of this panel.
-
-
Questo passaggio è privo di traduzione. Aiuta a tradurlo
-
Using a Phillips #2 screwdriver, remove the four screws on the back of the printer.
-
-
Questo passaggio è privo di traduzione. Aiuta a tradurlo
-
Gently lift the top panel while simultaneously pulling off the back panel.
-
-
Questo passaggio è privo di traduzione. Aiuta a tradurlo
-
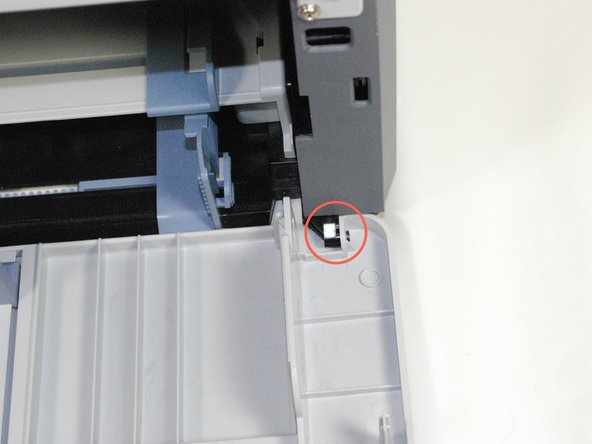
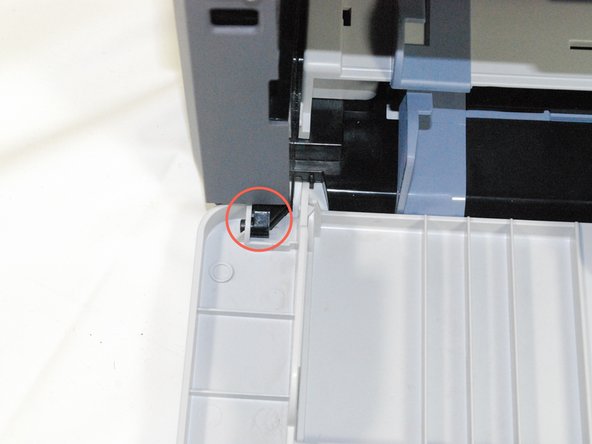
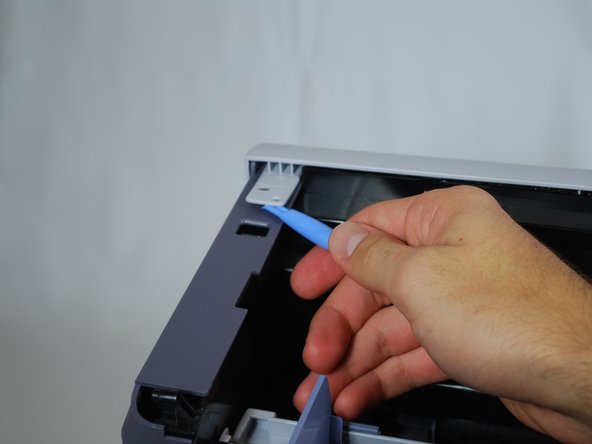
Remove the front panel by gently freeing the holes on the panel from the pegs attached to the main printer body one at a time. Make sure to remove the entire front panel, not just the flap on the paper tray.
-
-
-
Questo passaggio è privo di traduzione. Aiuta a tradurlo
-
Using a Phillips #2 screwdriver, remove the two 1" screws on the front face of the printer.
-
-
Questo passaggio è privo di traduzione. Aiuta a tradurlo
-
Using a plastic opening tool, gently lift one side of the top panel from its peg.
-
Repeat the process for the other side.
-
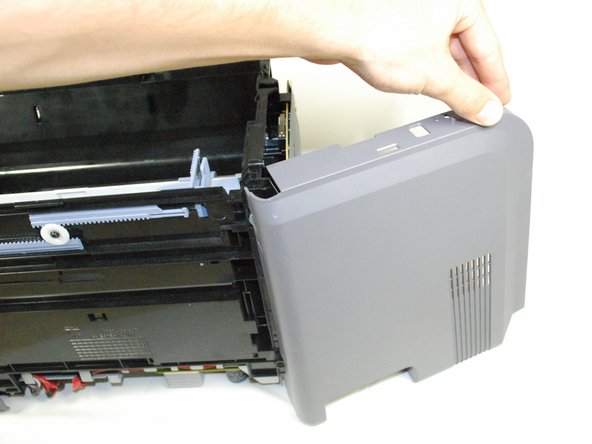
Lift the top panel from the front to remove it entirely.
-
-
Questo passaggio è privo di traduzione. Aiuta a tradurlo
-
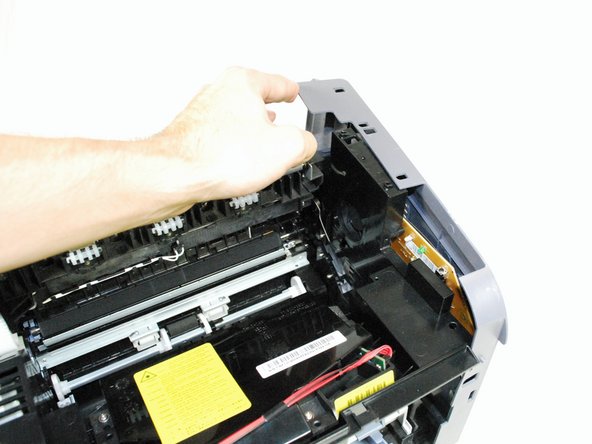
Lift the right panel up from the raised stops.
-
Rotate the panel gently as indicated in the picture to remove the panel entirely.
-
-
Questo passaggio è privo di traduzione. Aiuta a tradurlo
-
Using a Phillips #2 screwdriver, remove the four 1" screws attaching the gray plate to the printer.
-
Remove the plastic cover by sliding it carefully under the silver hinges on the right.
-
-
Questo passaggio è privo di traduzione. Aiuta a tradurlo
-
Using a Phillips #2 screwdriver, remove the 1" screw attaching the circuit board to the printer.
-
-
Questo passaggio è privo di traduzione. Aiuta a tradurlo
-
Turn over the circuit board to access main wiring.
-
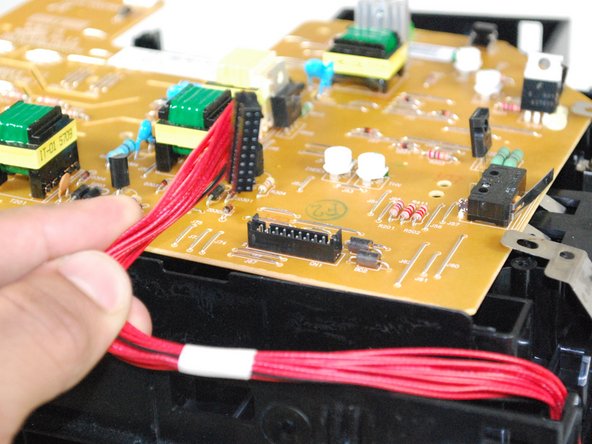
Unplug the wiring from the circuit board gently.
-


Annulla: non ho completato questa guida.
Altre 3 persone hanno completato questa guida.

Team

Cal Poly, Team 17-18, Regan Fall 2011 Membro di Cal Poly, Team 17-18, Regan Fall 2011
CPSU-REGAN-F11S17G18
4 Membri
12 Guide realizzate