Introduzione
Use this guide to install a new Graphics card into your personal computer.
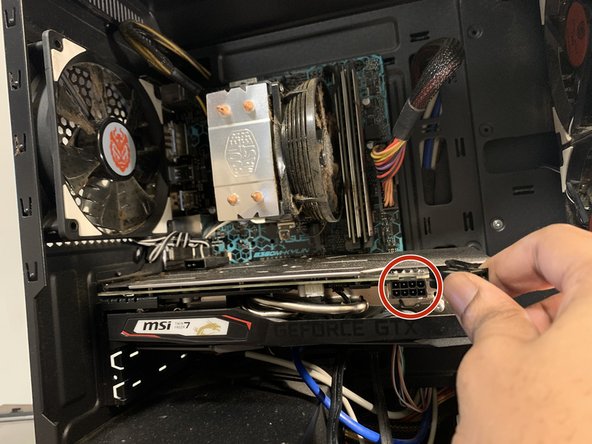
In this Guide we successfully installed an Nvidia GeForce GTX 1660 SUPER on a ASUSTeK B360-KYLIN Motherboard using only a crosshead screwdriver.
Be careful to set up your system in a static free environment so as to mitigate the likelihood of being electrocuted.
Before using this guide make sure you have deleted all old driver files on your system so as to prepare your system for a fresh driver install.
Cosa ti serve
-
-
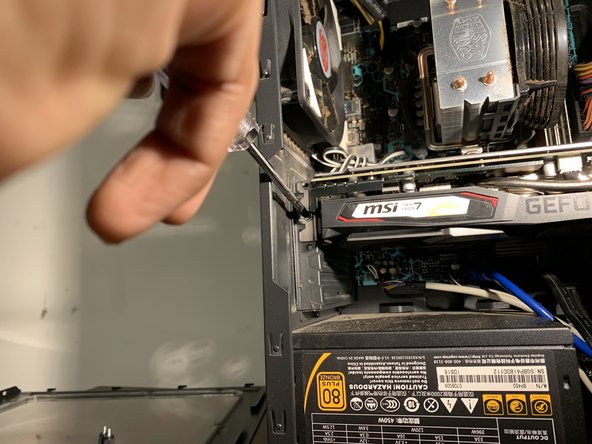
Remove the two screws holding the cover to the rest of the computer case.
-
-


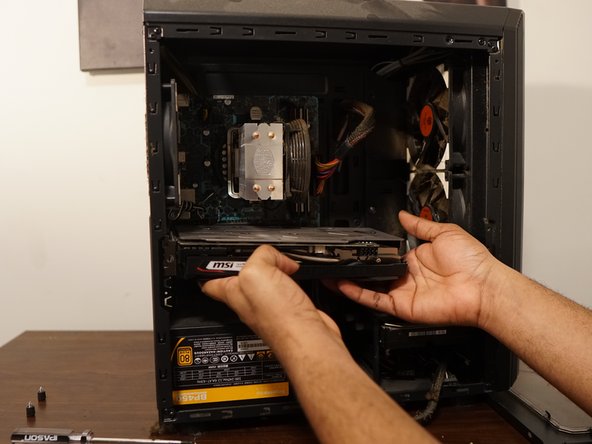


To reassemble your device, follow these instructions in reverse order.
Annulla: non ho completato questa guida.
Altre 10 persone hanno completato questa guida.

Team

York University, Team S1-G5, Melo-Thaiss Winter 2021 Membro di York University, Team S1-G5, Melo-Thaiss Winter 2021
YORK-MELO-THAISS-W21S1G5
1 Membro
3 Guide realizzate