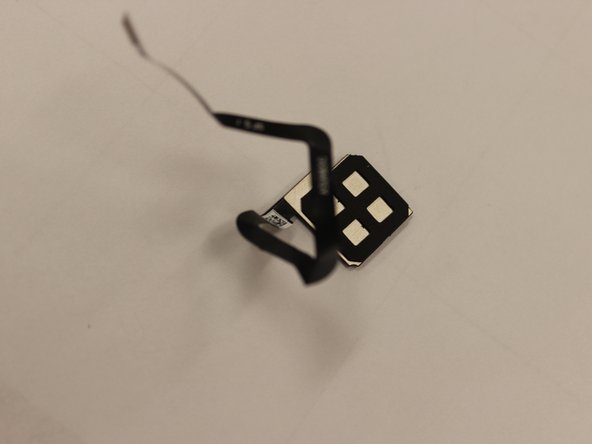
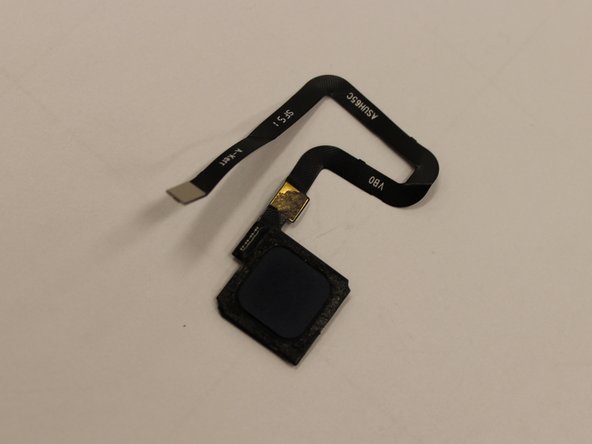
Salta al contenuto principale

ASUS ZENFONE 3 Zoom Fingerprint Scanner Replacement

Cosa ti serve

  1. ASUS ZENFONE 3 Zoom Fingerprint Scanner Replacement, Battery: passo 1, immagine 1 di 2 ASUS ZENFONE 3 Zoom Fingerprint Scanner Replacement, Battery: passo 1, immagine 2 di 2
    • Using a pair of tweezers, pull put the SIM card tray and set it to the side.

  2. ASUS ZENFONE 3 Zoom Fingerprint Scanner Replacement: passo 2, immagine 1 di 1
    • Remove the two 2 mm screws using a Torx T2 screwdriver.

  3. ASUS ZENFONE 3 Zoom Fingerprint Scanner Replacement: passo 3, immagine 1 di 2 ASUS ZENFONE 3 Zoom Fingerprint Scanner Replacement: passo 3, immagine 2 di 2
    • Insert a prying tool between the screen and the metal backing of the phone at the bottom to remove backing from phone.

    • There will be a thin film connecting the two pieces. You do not need to remove this. Just fold the two pieces apart with the inside facing up.

  4. ASUS ZENFONE 3 Zoom Fingerprint Scanner Replacement: passo 4, immagine 1 di 1
    • Remove the two 3 mm screws, using the Phillips #00 screwdriver, on the silver band at the top of the battery and remove the band.

  5. ASUS ZENFONE 3 Zoom Fingerprint Scanner Replacement: passo 5, immagine 1 di 1
    • Peel back the silver tape.

  6. ASUS ZENFONE 3 Zoom Fingerprint Scanner Replacement: passo 6, immagine 1 di 1
    • Disconnect the battery connections.

  7. ASUS ZENFONE 3 Zoom Fingerprint Scanner Replacement: passo 7, immagine 1 di 1
    • Pry and remove the battery.

    • The underside of the battery is adhesive so make sure to pry the battery off gently.

  8. ASUS ZENFONE 3 Zoom Fingerprint Scanner Replacement, Fingerprint Scanner: passo 8, immagine 1 di 1
    • Unplug the wire connecting the two large pieces of the device. Next, seperate the two halves of the phone.

  9. ASUS ZENFONE 3 Zoom Fingerprint Scanner Replacement: passo 9, immagine 1 di 3 ASUS ZENFONE 3 Zoom Fingerprint Scanner Replacement: passo 9, immagine 2 di 3 ASUS ZENFONE 3 Zoom Fingerprint Scanner Replacement: passo 9, immagine 3 di 3
    • Using the plastic opening tool, pry the fingerprint scanner out.

Conclusione

To reassemble your device, follow these instructions in reverse order.

0 Commenti

Aggiungi Commento

Visualizza Statistiche:

Ultime 24 Ore: 0

Ultimi 7 Giorni: 4

Ultimi 30 Giorni: 6

Tutti i Tempi: 668