Introduzione
In this guide we will be going through the process of replacing the keyboard. Be sure to keep track of screws by placing them in a cup or bowl while working on the laptop!
Cosa ti serve
-
-
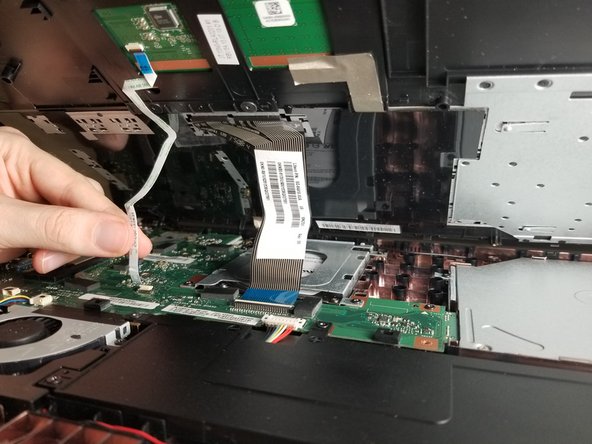
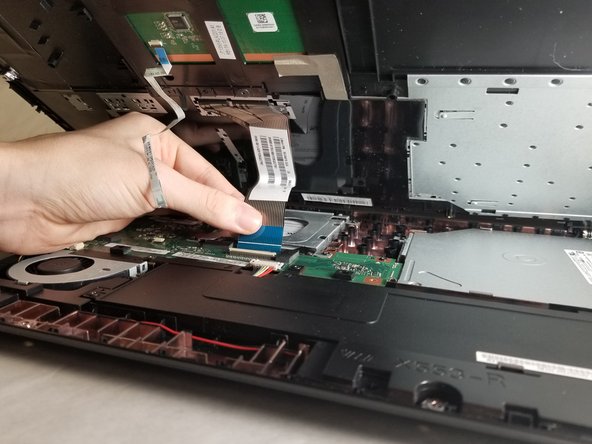
Power off laptop.
-
Flip over the laptop so the model stickers are pointing towards the ceiling.
-
-


To reassemble your device, follow these instructions in reverse order.
To reassemble your device, follow these instructions in reverse order.
Annulla: non ho completato questa guida.
Un'altra persona ha completato questa guida.
Team

IUPUI, Team S2-G4, Harley Fall 2018 Membro di IUPUI, Team S2-G4, Harley Fall 2018
IUPUI-HARLEY-F18S2G4
3 Membri
2 Guide realizzate