Introduzione
If you are having problems connecting to wifi and its not because your internet is down, it may be time to replace the wifi module. Replacing the module will help reconnect your laptop to the wifi and let you explore the internet without any problem. This guide will help you in a step-by-step direction, replacing your wifi module for the ASUS Vivobook Q301LA-BSI5T17.
Cosa ti serve
-
-
Remove all ten 6mm Phillips #1 screws from the bottom of the computer chassis.
-
-
-
-
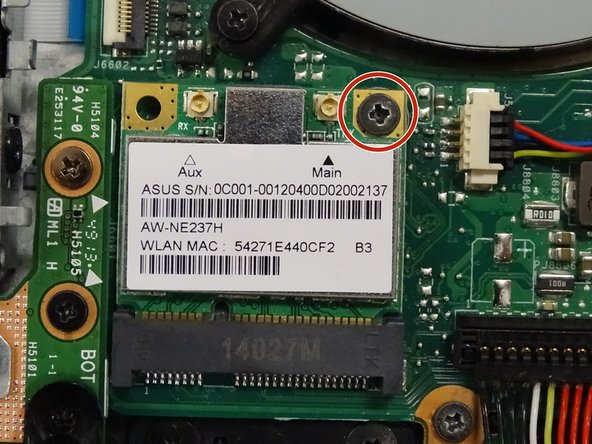
Locate the wifi module on the back of your laptop.
-
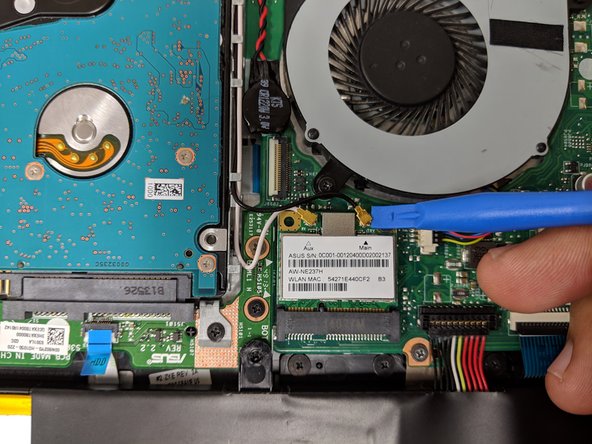
Use an iFixit opening tool to pry the black (Main) and the white (Aux) coaxial cable connectors upward.
-


To reassemble your device, follow these instructions in reverse order.
To reassemble your device, follow these instructions in reverse order.
Team

IUPUI, Team S1-G2, Hovde Spring 2019 Membro di IUPUI, Team S1-G2, Hovde Spring 2019
IUPUI-HOVDE-S19S1G2
3 Membri
4 Guide realizzate