Salta al contenuto principale

ASUS Q536F Motherboard Replacement

Cosa ti serve

  1. ASUS Q536F Motherboard Replacement, Back Panel: passo 1, immagine 1 di 2 ASUS Q536F Motherboard Replacement, Back Panel: passo 1, immagine 2 di 2
    • Remove ten 2 mm screws using a Phillips #0 screwdriver.

    • Remove the screw in the center using a T4 Torx screwdriver.

    • Use an iFixit opening tool to pry open the back panel.

    • It's normal to hear some cracking, but proceed with caution.

  2. ASUS Q536F Motherboard Replacement, Battery: passo 2, immagine 1 di 2 ASUS Q536F Motherboard Replacement, Battery: passo 2, immagine 2 di 2
    Attrezzo utilizzato in questo passaggio:
    Tweezers
    $4.99
    Compra
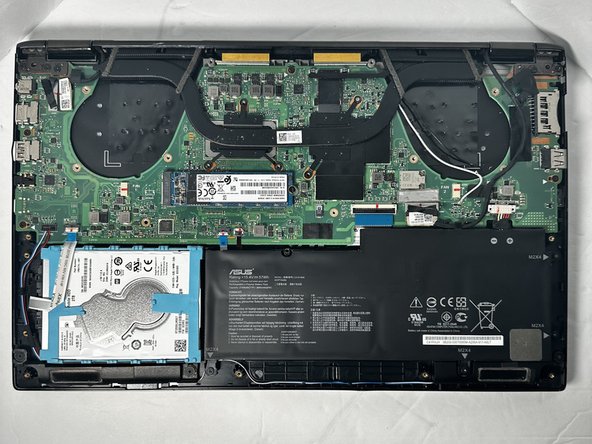
    • Remove the four 2 mm screws from the battery using a Phillips #1 screwdriver.

    • Detach the battery cable from the motherboard using a pair of tweezers.

  3. ASUS Q536F Motherboard Replacement: passo 3, immagine 1 di 3 ASUS Q536F Motherboard Replacement: passo 3, immagine 2 di 3 ASUS Q536F Motherboard Replacement: passo 3, immagine 3 di 3
    • Unhinge the fan cable using your fingers or a pair of tweezers.

    • Remove the battery from its slot.

    • There should be no resistance from any cable wiring at this point. If there happens to be resistance, make sure to double check and confirm nothing is being pulled.

  4. ASUS Q536F Motherboard Replacement, Fan: passo 4, immagine 1 di 2 ASUS Q536F Motherboard Replacement, Fan: passo 4, immagine 2 di 2
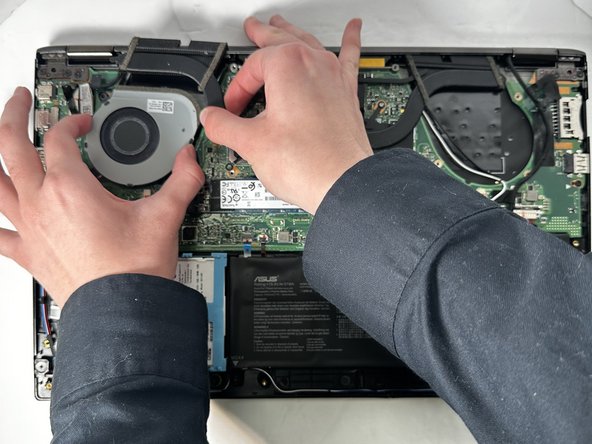
    • Use a Phillips #0 screwdriver to remove the six 2 mm fan screws.

    • Use a Phillips #0 screwdriver to remove the five 2 mm heatsink screws.

    • Warped Screw

    • Heatsink shown has warped screw, so unable to remove

  5. ASUS Q536F Motherboard Replacement: passo 5, immagine 1 di 1
    Attrezzo utilizzato in questo passaggio:
    Tweezers
    $4.99
    Compra
    • Disconnect white and black antennae cables.

    • Using tweezers for this would be helpful.

  6. ASUS Q536F Motherboard Replacement: passo 6, immagine 1 di 2 ASUS Q536F Motherboard Replacement: passo 6, immagine 2 di 2
    • Disconnect fan cables pulling outwards as shown.

  7. ASUS Q536F Motherboard Replacement: passo 7, immagine 1 di 3 ASUS Q536F Motherboard Replacement: passo 7, immagine 2 di 3 ASUS Q536F Motherboard Replacement: passo 7, immagine 3 di 3
    • Carefully lift heatsink upward using a Ifixit opening tool or Fingers pull fan out from under the heat sink.

    • The fan can be removed without removing the heatsink, although it may be easier to remove.

  8. ASUS Q536F Motherboard Replacement, Hard Drive: passo 8, immagine 1 di 2 ASUS Q536F Motherboard Replacement, Hard Drive: passo 8, immagine 2 di 2
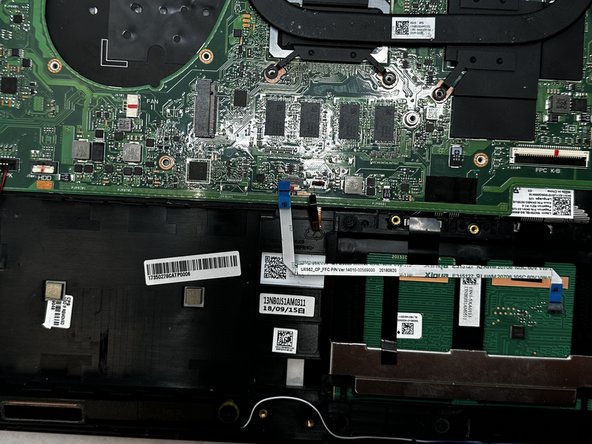
    • Disconnect the white ribbon cable from the connection lever using a Jimmy.

  9. ASUS Q536F Motherboard Replacement: passo 9, immagine 1 di 2 ASUS Q536F Motherboard Replacement: passo 9, immagine 2 di 2
    • Using the Jimmy, lift the hard drive out of its slot.

  10. ASUS Q536F Motherboard Replacement, SSD: passo 10, immagine 1 di 1
    • Remove the single 2 mm screw from the SSD with a Phillips #0 screwdriver.

  11. ASUS Q536F Motherboard Replacement: passo 11, immagine 1 di 1
    • Pull the SSD out of its slot.

  12. ASUS Q536F Motherboard Replacement, Motherboard: passo 12, immagine 1 di 2 ASUS Q536F Motherboard Replacement, Motherboard: passo 12, immagine 2 di 2
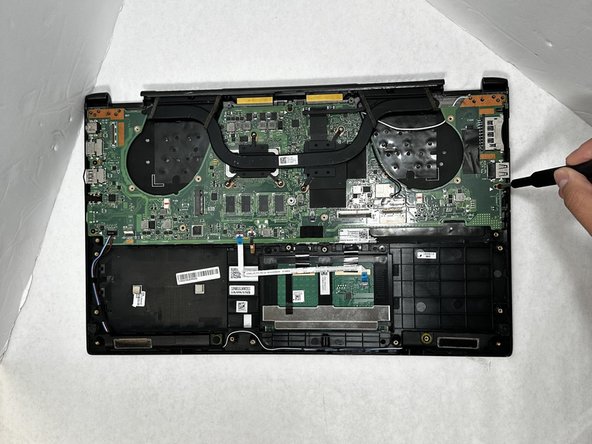
    • Use a Phillips #0 screwdriver to remove the four 2 mm screws that secure the motherboard.

  13. ASUS Q536F Motherboard Replacement: passo 13, immagine 1 di 1
    • Using a Jimmy, pull up on power cable

  14. ASUS Q536F Motherboard Replacement: passo 14, immagine 1 di 3 ASUS Q536F Motherboard Replacement: passo 14, immagine 2 di 3 ASUS Q536F Motherboard Replacement: passo 14, immagine 3 di 3
    • Using opening tool, lift up on both ribbon cable clamps, releasing the connection point.

    • Notice both ribbon cables out of connection point.

Conclusione

To reassemble your device, follow these instructions in reverse order.

Adra Ledward

Membro da: 09/07/23

557 Reputazione

5 Guide realizzate

Team

Gateway, Team 88-8, Gonzalez Fall 2023 Membro di Gateway, Team 88-8, Gonzalez Fall 2023

GCC-GONZALEZ-F23S88G8

5 Membri

6 Guide realizzate

0 Commenti

Aggiungi Commento

Visualizza Statistiche:

Ultime 24 Ore: 0

Ultimi 7 Giorni: 0

Ultimi 30 Giorni: 17

Tutti i Tempi: 184