Salta al contenuto principale

ASUS Padfone X mini Station Speaker Replacement

Cosa ti serve

  1. ASUS Padfone X mini Station Speaker Replacement, Battery: passo 1, immagine 1 di 1
    • Insert the plastic opening tool between the edge of the screen and the back cover.

    • Gently pry them apart. Use hands to pull them apart if necessary.

  2. ASUS Padfone X mini Station Speaker Replacement: passo 2, immagine 1 di 2 ASUS Padfone X mini Station Speaker Replacement: passo 2, immagine 2 di 2
    • Remove the three pieces of tape that secure the battery and its wires. Peel gently so you don’t damage any wires.

  3. ASUS Padfone X mini Station Speaker Replacement: passo 3, immagine 1 di 3 ASUS Padfone X mini Station Speaker Replacement: passo 3, immagine 2 di 3 ASUS Padfone X mini Station Speaker Replacement: passo 3, immagine 3 di 3
    • Disconnect the ribbon from the motherboard by gently pulling with your fingers.

    • Using the opening tools, pry the battery off of the adhesive.

    • Be careful not to pull the battery out right away. The ribbon cable is tucked beneath another wire.

  4. ASUS Padfone X mini Station Speaker Replacement, Speaker: passo 4, immagine 1 di 1
    • Use a Phillips #00 screwdriver to remove the three 2.5mm screws that secure the speaker case to the motherboard.

    • Remove all tape covering the screws before removing them.

  5. ASUS Padfone X mini Station Speaker Replacement: passo 5, immagine 1 di 3 ASUS Padfone X mini Station Speaker Replacement: passo 5, immagine 2 di 3 ASUS Padfone X mini Station Speaker Replacement: passo 5, immagine 3 di 3
    Attrezzo utilizzato in questo passaggio:
    Tweezers
    $4.99
    Compra
    • Use tweezers to remove the three pieces of tape that are covering the metal.

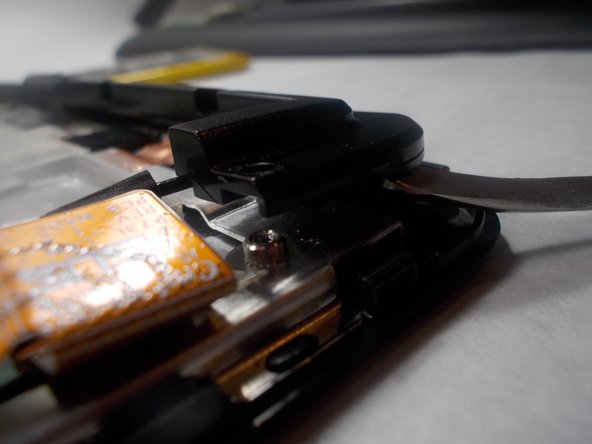
    • Insert the metal spudger beneath the speaker case and wedge it upwards to remove speaker case from the device body.

  6. ASUS Padfone X mini Station Speaker Replacement: passo 6, immagine 1 di 2 ASUS Padfone X mini Station Speaker Replacement: passo 6, immagine 2 di 2
    • Use tweezers to detach the connecter from the motherboard.

Conclusione

To reassemble your device, follow these instructions in reverse order.

0 Commenti

Aggiungi Commento

Visualizza Statistiche:

Ultime 24 Ore: 1

Ultimi 7 Giorni: 2

Ultimi 30 Giorni: 8

Tutti i Tempi: 163