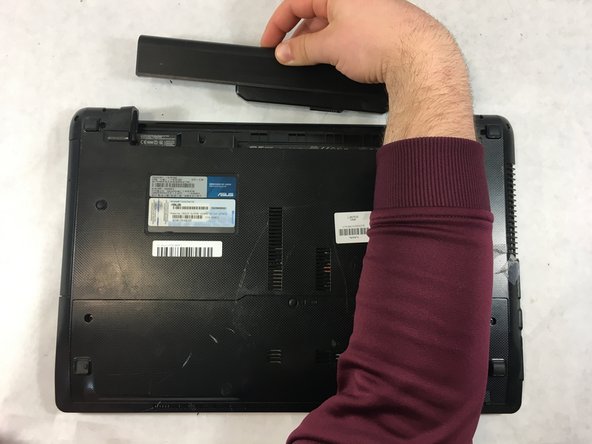
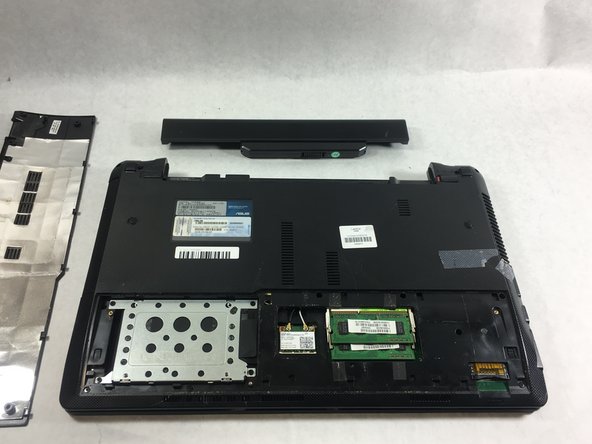
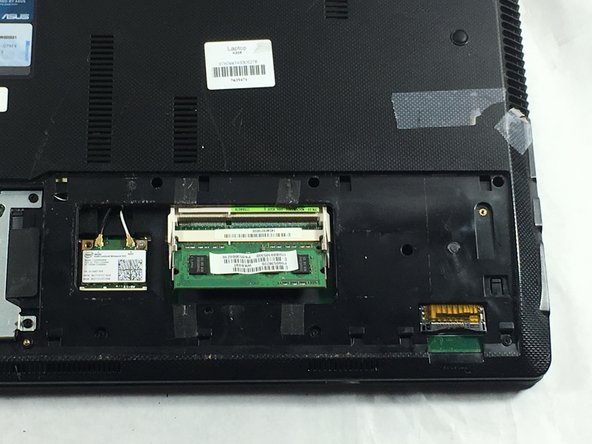
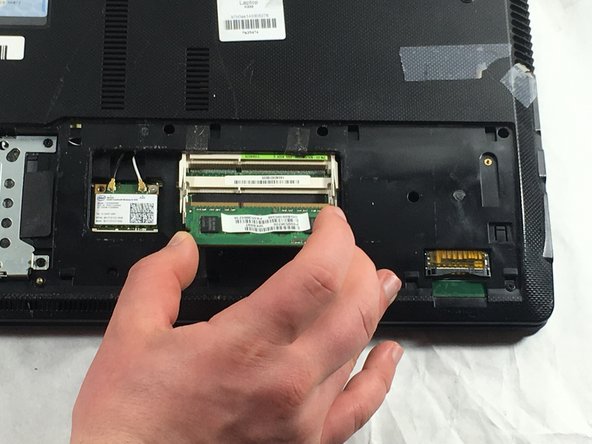
Salta al contenuto principale

ASUS K53E-BBR1 RAM Replacement

Cosa ti serve

  1. ASUS K53E-BBR1 RAM Replacement, Battery: passo 1, immagine 1 di 1
    • Flip the laptop over so you can see the battery.

  2. ASUS K53E-BBR1 RAM Replacement: passo 2, immagine 1 di 1
    • Slide the lock on the right side of the battery to the right. If done correctly the slider will stay in place and there will be a red indicator.

  3. ASUS K53E-BBR1 RAM Replacement: passo 3, immagine 1 di 3 ASUS K53E-BBR1 RAM Replacement: passo 3, immagine 2 di 3 ASUS K53E-BBR1 RAM Replacement: passo 3, immagine 3 di 3
    • Slide the other sliding lock on the left side of the battery to the left, and with your other hand slide the battery out from the laptop.

  4. ASUS K53E-BBR1 RAM Replacement, RAM: passo 4, immagine 1 di 2 ASUS K53E-BBR1 RAM Replacement, RAM: passo 4, immagine 2 di 2
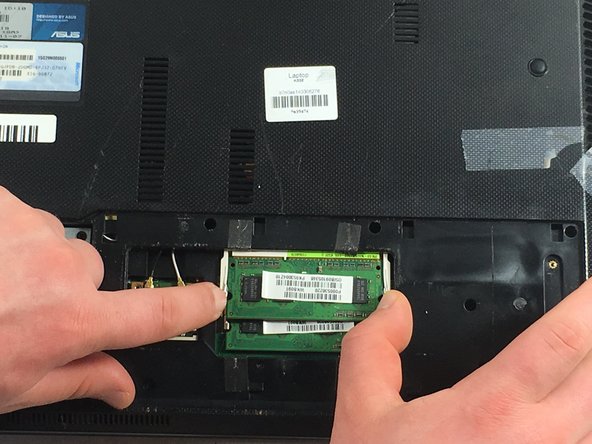
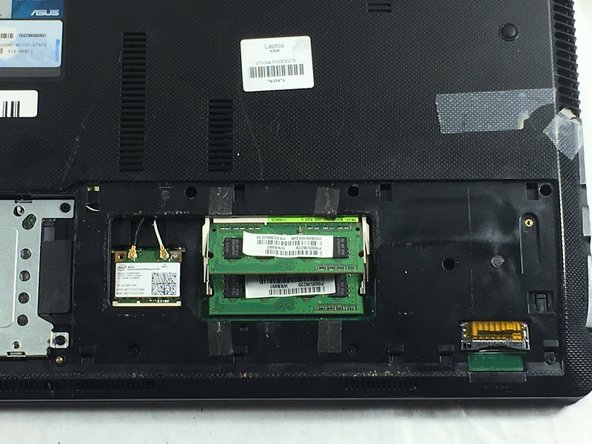
    • Remove the two 4mm Phillips #0 screws located on the opposite ends of the laptop.

  5. ASUS K53E-BBR1 RAM Replacement: passo 5, immagine 1 di 2 ASUS K53E-BBR1 RAM Replacement: passo 5, immagine 2 di 2
    • Slide the back panel backwards until it stops.

    • You can now lift the panel up and out of the laptop casing.

  6. ASUS K53E-BBR1 RAM Replacement: passo 6, immagine 1 di 3 ASUS K53E-BBR1 RAM Replacement: passo 6, immagine 2 di 3 ASUS K53E-BBR1 RAM Replacement: passo 6, immagine 3 di 3
    • The RAM is now visible.

    • Remove the RAM by pressing out on both tabs visible on each side of the RAM.

    • To work the tabs, take your finger tips and press outwards from the indents on the RAM.

  7. ASUS K53E-BBR1 RAM Replacement: passo 7, immagine 1 di 2 ASUS K53E-BBR1 RAM Replacement: passo 7, immagine 2 di 2
    • The RAM is now angled up and you can remove the RAM by pulling it out in the direction it is facing.

    • Gently Pull the RAM out of its connector without pushing down or pulling up.

  8. ASUS K53E-BBR1 RAM Replacement: passo 8, immagine 1 di 3 ASUS K53E-BBR1 RAM Replacement: passo 8, immagine 2 di 3 ASUS K53E-BBR1 RAM Replacement: passo 8, immagine 3 di 3
    • Repeat the previous two steps for the second stick of RAM.

Conclusione

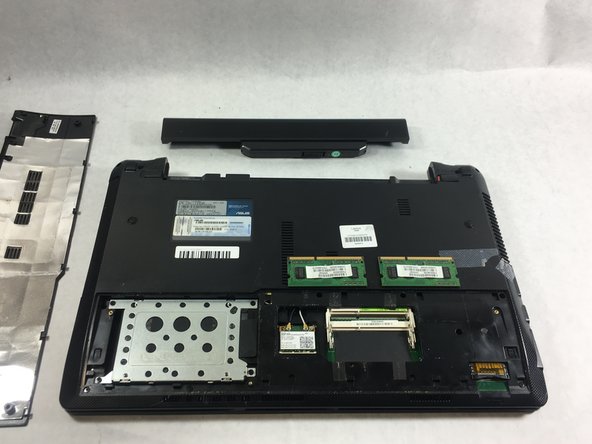
To reassemble your device, follow these instructions in reverse order.

0 Commenti

Aggiungi Commento

Visualizza Statistiche:

Ultime 24 Ore: 0

Ultimi 7 Giorni: 2

Ultimi 30 Giorni: 3

Tutti i Tempi: 201