Introduzione
If you're having problems with your AKASO KingPad A90's battery, it might be time to replace it.
The battery may occasionally stop charging or short-circuit, requiring a replacement for the device to turn on and work properly.
Before starting with this procedure, it is recommended that you thoroughly inspect the battery for any signs of damage and that you have all of the necessary tools for the replacement.
Make sure your tablet is completely switched off and removed from any external power sources before beginning the repair process.
Cosa ti serve
-
-
Remove screws.
-
Insert spudger tool on the middle of the left side, between the white and black plastic.
-
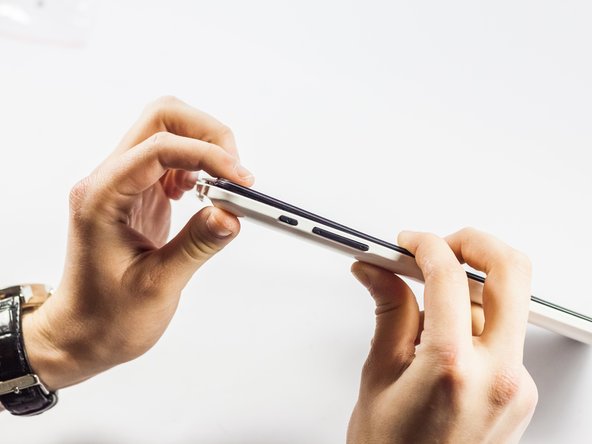
Slide in a plastic opening tool and use it to further pull the back off.
-
Work your way around the edge of the tablet with the plastic opening tool and insert more as needed.
-
Pull off the back cover.
-
-
-
-
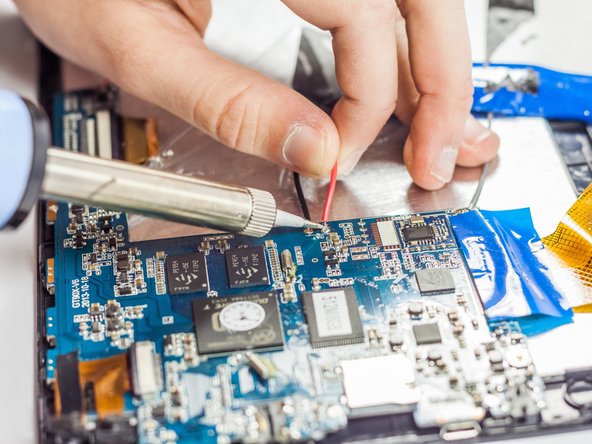
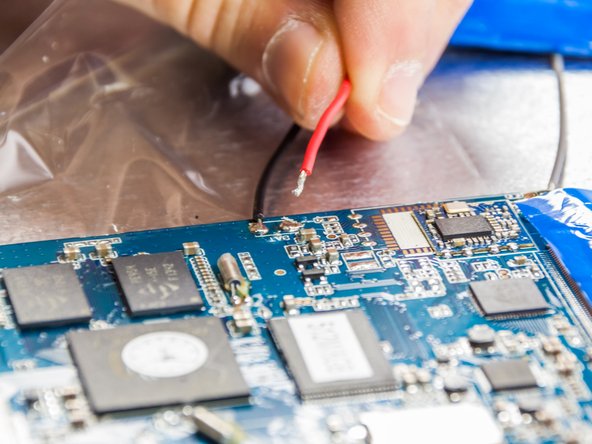
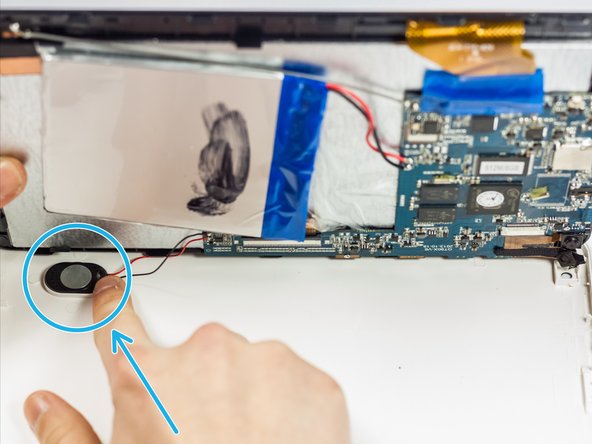
Locate the battery unit solder points and note where it is attached to the motherboard.
-
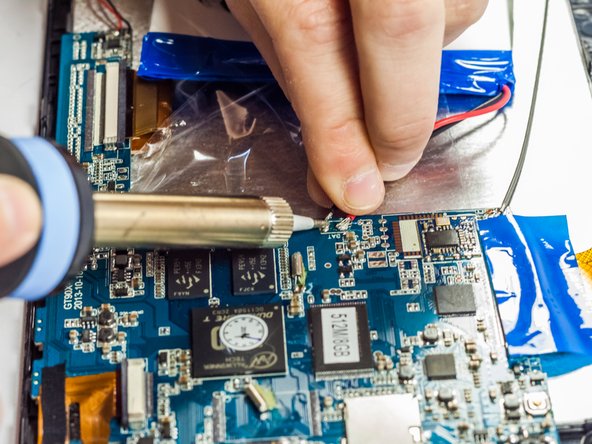
Plug in your soldering iron/pen and wait the required amount of time to heat up.
-
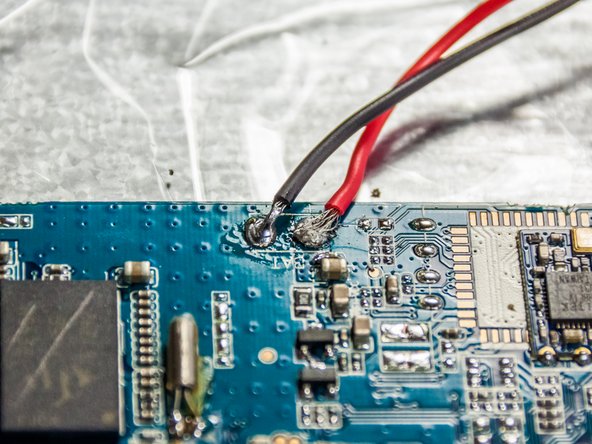
Apply a small amount of pressure with the iron on the solder points until the joints come loose and the wires move freely away from the board
-
Remove the battery unit
-


Annulla: non ho completato questa guida.
Altre 5 persone hanno completato questa guida.
Team

UMass Dartmouth, Team 4-6, Vijaybhaskar Spring 2015 Membro di UMass Dartmouth, Team 4-6, Vijaybhaskar Spring 2015
UMASSD-VIJAYBHASKAR-S15S4G6
3 Membri
6 Guide realizzate