Introduzione
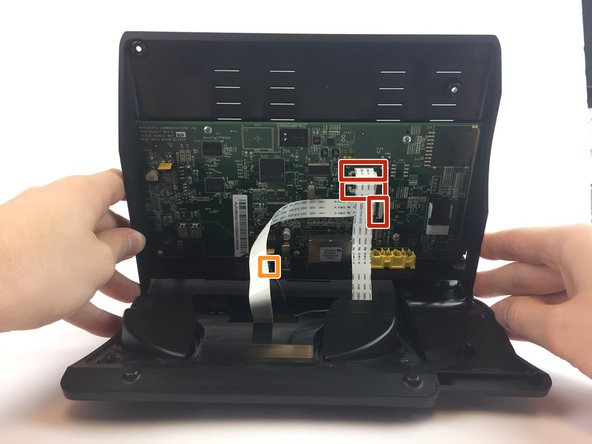
The video screen ribbon cable is a part of the device used for transferring encrypted data between the video screen and the motherboard. Consider checking this guide before moving ahead to video screen replacement, since you might just have a disconnected or faulty ribbon connector.
Cosa ti serve
-
-
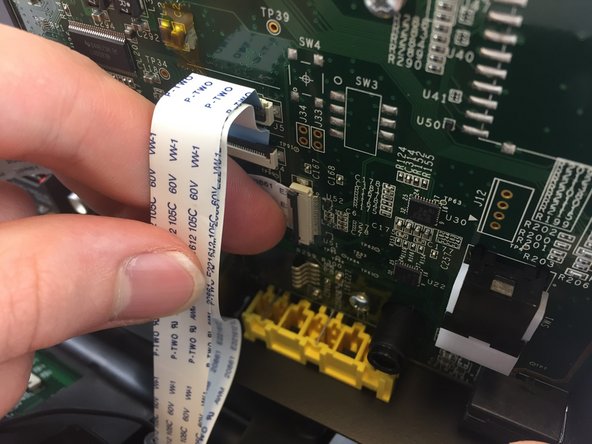
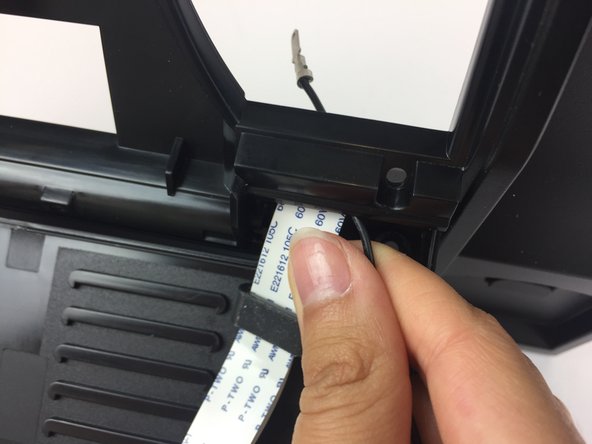
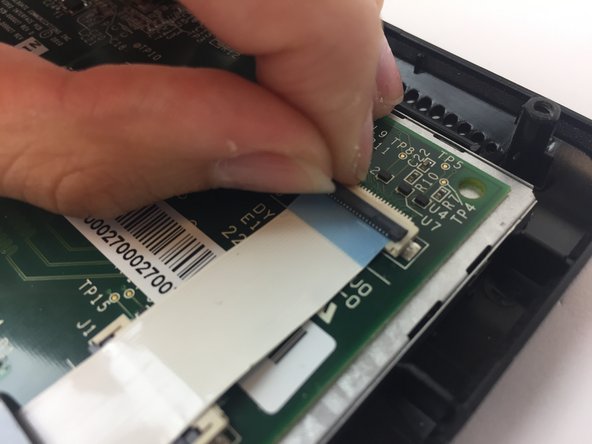
Press upwards with your index finger on the 4P4C connector as shown in the image.
-
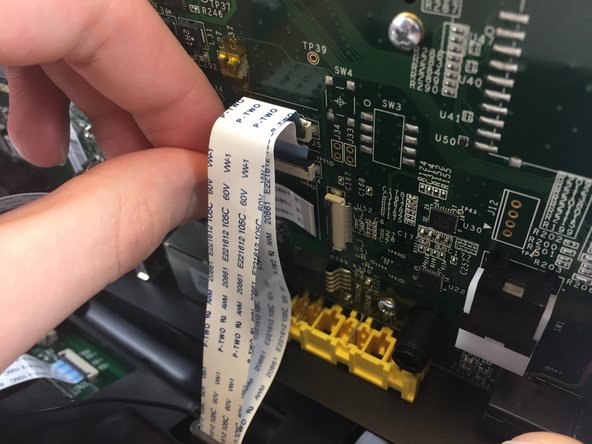
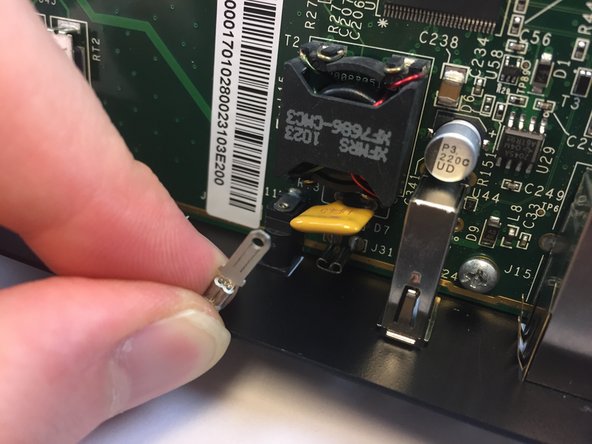
Pull the connector gently out of its socket.
-
-
-
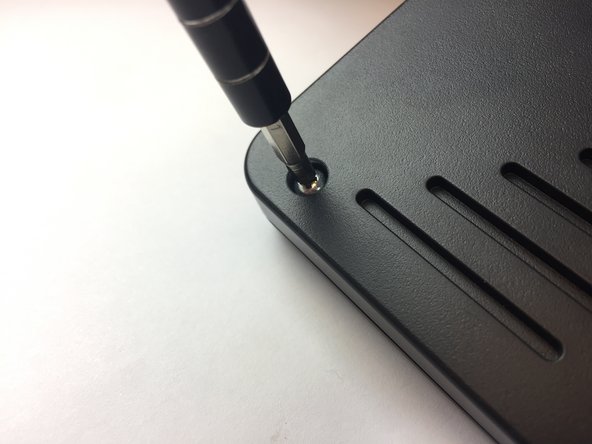
Flip the main body of the video phone so that the bottom is facing up.
-
Use the Phillips #0 Screwdriver to remove the four Phillips head screws (6 mm) highlighted by the red circles.
-
-
-
-
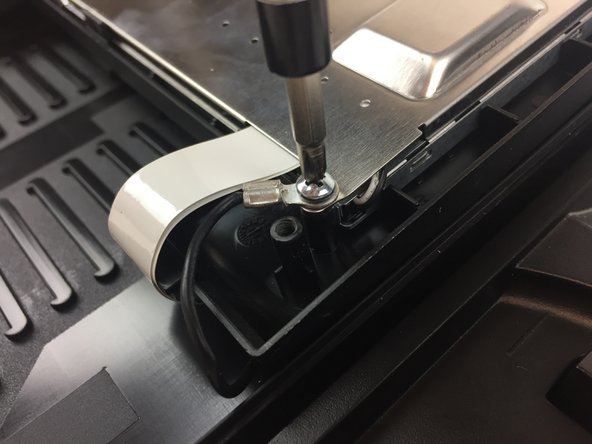
Use the Phillips #0 Screwdriver to remove the four Phillips head screws (6 mm) highlighted by the red circles.
-
-
-
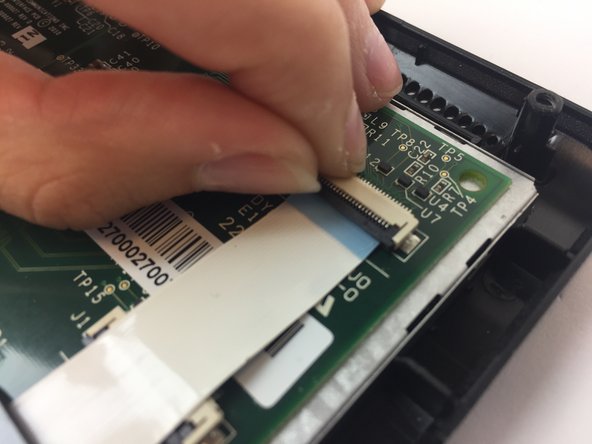
Note that the video screen is no longer attached to the top case, place in on a flat surface.
-
Gently lift of the silver casing.
-


To reassemble your device, follow these instructions in reverse order.
To reassemble your device, follow these instructions in reverse order.
Annulla: non ho completato questa guida.
Un'altra persona ha completato questa guida.
Team

USF Tampa, Team 20-4, Remmell Spring 2017 Membro di USF Tampa, Team 20-4, Remmell Spring 2017
USFT-REMMELL-S17S20G4
4 Membri
20 Guide realizzate