Salta al contenuto principale

ACER Aspire 7750G-6645 Hard Drive Replacement

Cosa ti serve

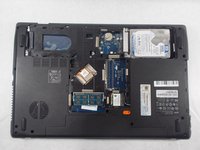
  1. ACER Aspire 7750G-6645 Hard Drive Replacement, Back Cover: passo 1, immagine 1 di 1
    • Remove three 60mm Phillips #00 screws that are holding the bottom cover in place.

  2. ACER Aspire 7750G-6645 Hard Drive Replacement: passo 2, immagine 1 di 1
    • Lift up the back cover of the device, you may need to use a spudger to assist.

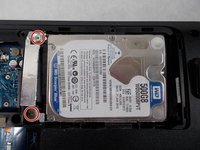
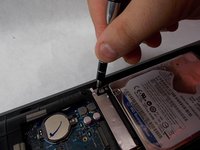
  3. ACER Aspire 7750G-6645 Hard Drive Replacement, Hard Drive: passo 3, immagine 1 di 3 ACER Aspire 7750G-6645 Hard Drive Replacement, Hard Drive: passo 3, immagine 2 di 3 ACER Aspire 7750G-6645 Hard Drive Replacement, Hard Drive: passo 3, immagine 3 di 3
    • Remove two 4mm Phillips #00 screws that are holding the hard drive in place.

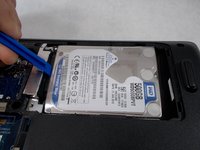
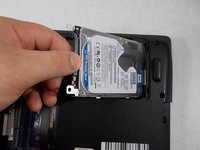
  4. ACER Aspire 7750G-6645 Hard Drive Replacement: passo 4, immagine 1 di 2 ACER Aspire 7750G-6645 Hard Drive Replacement: passo 4, immagine 2 di 2
    • Push the hard drive to the right and push it upward to remove. You may need a spudger or plastic opening tool to assist you with this step.

Conclusione

To reassemble your device, follow these instructions in reverse order.

Un'altra persona ha completato questa guida.

Thong

Membro da: 03/18/19

199 Reputazione

2 Guide realizzate

Team

0 Commenti

Aggiungi Commento

Visualizza Statistiche:

Ultime 24 Ore: 0

Ultimi 7 Giorni: 5

Ultimi 30 Giorni: 17

Tutti i Tempi: 2,230