Questa guida ha delle modifiche più recenti. Passa all'ultima versione non verificata.
Introduzione
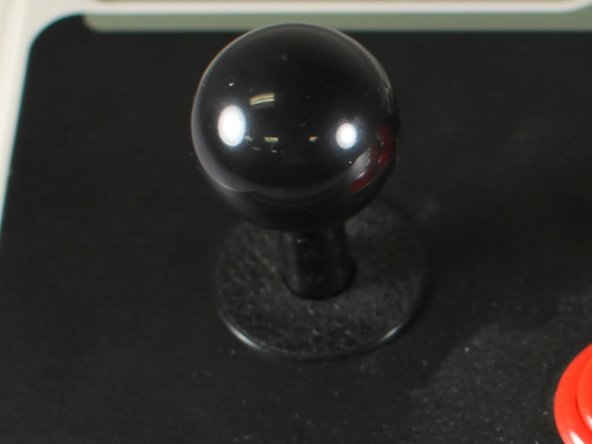
This guide will show you how to replace the joystick component on the 8Bitdo N30 Arcade Stick.
Cosa ti serve


For the new joystick, follow the steps in reverse order. Once again, don’t forget the rubber slider for the back panel.
Boot up your favorite PC or Nintendo Switch fighting game and make sure your joystick works!
For the new joystick, follow the steps in reverse order. Once again, don’t forget the rubber slider for the back panel.
Boot up your favorite PC or Nintendo Switch fighting game and make sure your joystick works!
Annulla: non ho completato questa guida.
Un'altra persona ha completato questa guida.
Team

University of Advancing Technology, Team S1-G3, Beam Spring 2019 Membro di University of Advancing Technology, Team S1-G3, Beam Spring 2019
UAT-BEAM-S19S1G3
3 Membri
2 Guide realizzate