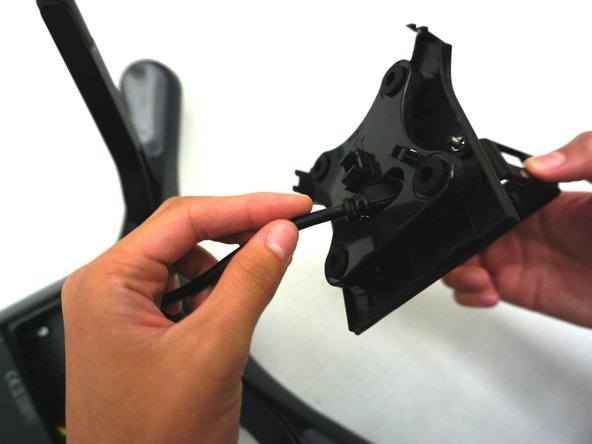
Salta al contenuto principale

3DR Solo Gimbal Replacement

Cosa ti serve

  1. 3DR Solo Gimbal Replacement, Propeller: passo 1, immagine 1 di 1
    • Grip the arm, which is located underneath the propeller, with one hand, and with your dominant hand grip the center of the propeller.

  2. 3DR Solo Gimbal Replacement: passo 2, immagine 1 di 1
    • Twist the propeller from the locked to unlocked position as indicated by the images of the lock.

    • You will need to twist in this direction for 2-3 full rotations before the propeller will detach.

  3. 3DR Solo Gimbal Replacement: passo 3, immagine 1 di 1
    • Lift the propeller off the motor.

    • To remove the silver-top propellers, repeat these steps, turning the propellers in the opposite direction of the black-top propellers.

  4. 3DR Solo Gimbal Replacement, Gimbal: passo 4, immagine 1 di 1
    • Lay the drone flat with the side containing the gimbal face up.

  5. 3DR Solo Gimbal Replacement: passo 5, immagine 1 di 1
    • Locate the three, 11mm screws surrounding the gimbal.

    • There should be a screw to the left, right, and one directly in the front of the gimbal.

  6. 3DR Solo Gimbal Replacement: passo 6, immagine 1 di 1
    • Using the J1 Phillips Head Screwdriver, unscrew each 11mm screw surrounding the gimbal.

    • Turn the driver in a counter-clockwise direction for each screw.

    • Note that the screws will loosen, but will not come out of their sockets completely.

    • Once all three screws are loosened, use the smaller, plastic opening tool to carefully lift the panel that encases the gimbal by placing the square shaped end of the opening tool into the crevice between the panel and the rest of the device.

    • Be sure that the end of the opening tool is facing inward, towards the screws.

  7. 3DR Solo Gimbal Replacement: passo 8, immagine 1 di 1
    • Gently begin lifting the panel with the opening tool by moving your hand in a downward motion, causing the panel to lift from the device.

    • Work your way around the entire square panel doing this same motion until it is loose enough for you to pull off with your hand.

  8. 3DR Solo Gimbal Replacement: passo 9, immagine 1 di 3 3DR Solo Gimbal Replacement: passo 9, immagine 2 di 3 3DR Solo Gimbal Replacement: passo 9, immagine 3 di 3
    • Once the gimbal and panel is loose enough to pull off with your hand, gently remove both the panel and the gimbal from the device.

    • When doing this, be sure to leave the micro SD cable inside the device.

Conclusione

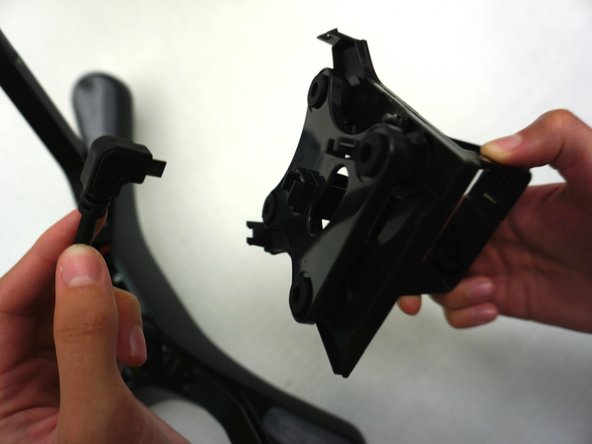
To reassemble your device, follow these instructions in reverse order.

Altre 2 persone hanno completato questa guida.

Aimee

Membro da: 09/11/17

167 Reputazione

1 Guida realizzata

Team

0 Commenti

Aggiungi Commento

Visualizza Statistiche:

Ultime 24 Ore: 0

Ultimi 7 Giorni: 0

Ultimi 30 Giorni: 4

Tutti i Tempi: 1,305