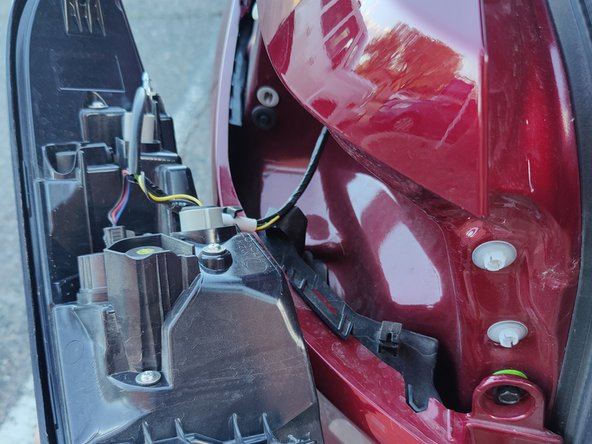
Salta al contenuto principale

2018-Present Toyota Corolla Tail Light Bulb Replacement

Cosa ti serve

  1. 2018-Present Toyota Corolla Tail Light Bulb Replacement, Tail Light Bulb: passo 1, immagine 1 di 3 2018-Present Toyota Corolla Tail Light Bulb Replacement, Tail Light Bulb: passo 1, immagine 2 di 3 2018-Present Toyota Corolla Tail Light Bulb Replacement, Tail Light Bulb: passo 1, immagine 3 di 3
    • The plastic protective cover is held in place by one retention clip at the top and one retention clip at the bottom.

    • Gently use a small pry bar or screw driver to loosen the cover.

  2. 2018-Present Toyota Corolla Tail Light Bulb Replacement: passo 2, immagine 1 di 2 2018-Present Toyota Corolla Tail Light Bulb Replacement: passo 2, immagine 2 di 2
    • Locate the two 10mm bolts that secure the bulb housing in place.

    • Using a socket wrench, extension, and 10mm socket, remove both bolts.

  3. 2018-Present Toyota Corolla Tail Light Bulb Replacement: passo 3, immagine 1 di 2 2018-Present Toyota Corolla Tail Light Bulb Replacement: passo 3, immagine 2 di 2
    • Remove the bulb housing by pulling directly back from the vehicle.

    • To overcome the retention system, you may use the small pry bar or screwdriver to gently apply force between the bulb housing and vehicle.

  4. 2018-Present Toyota Corolla Tail Light Bulb Replacement: passo 4, immagine 1 di 1
    • Twist counter clockwise to loosen the tail light bulb receptacle.

    • In the picture, the two triangles are used to indicate if the housing is loose (triangles not matched up) or tightened (triangles matched up).

  5. 2018-Present Toyota Corolla Tail Light Bulb Replacement: passo 5, immagine 1 di 1
    • Pull the bulb receptacle out of the bulb housing.

    • This should not be forced. If resistance is met, the socket may not be turned counter clockwise completely.

  6. 2018-Present Toyota Corolla Tail Light Bulb Replacement: passo 6, immagine 1 di 1
    • Remove the non-functioning light bulb by pulling it from the bulb socket.

    • Bulb is held in place by retention clips and may require gently working the bulb back and forth while pulling.

    • Insert the replacement bulb into the socket.

Conclusione

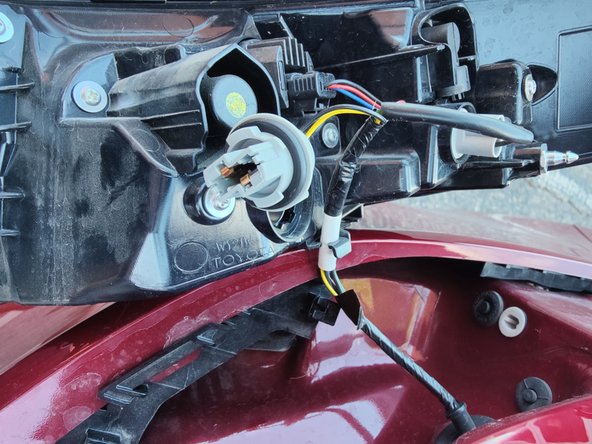
Don't forget to verify the new bulb is working before reassembling. To reassemble your device, follow these instructions in reverse order. The replacement of the bulb on the last step represents the apex of the repair process and following the steps in reverse order will return the tail light to full functionality.

0 Commenti

Aggiungi Commento

Visualizza Statistiche:

Ultime 24 Ore: 1

Ultimi 7 Giorni: 18

Ultimi 30 Giorni: 96

Tutti i Tempi: 156