Introduzione
Though the repair is shown on a 2016 Ford F-150, you can use this guide to replace the cabin air filter of your 2015-2017 Ford F-150.
The cabin air filter helps prevent harmful particles, pollen, smog, and dust from entering the cabin of your vehicle. Most cabin air filters need to be replaced about every 15,000 miles, and if you can't remember the last time the filter has been replaced it's probably time for a new one.
It's important to consistently replace your cabin air filter because if the filter becomes clogged it can affect the efficiency of your air conditioning system. Did you know that most automotive shops charge you over double the filter cost? By using this guide you're not only learning a new skill but also saving money!
Make sure the vehicle is powered off and the truck is in park before you begin this repair.
Cosa ti serve
-
-
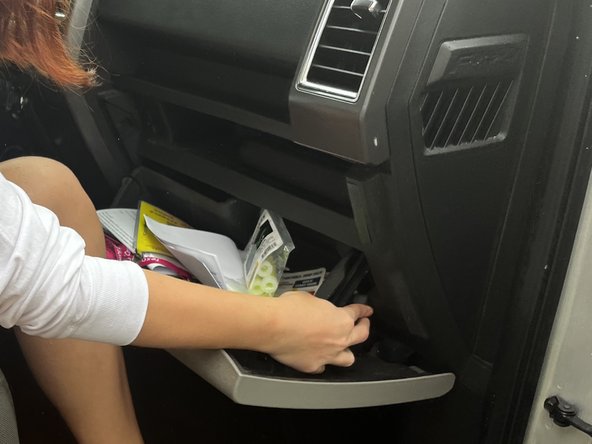
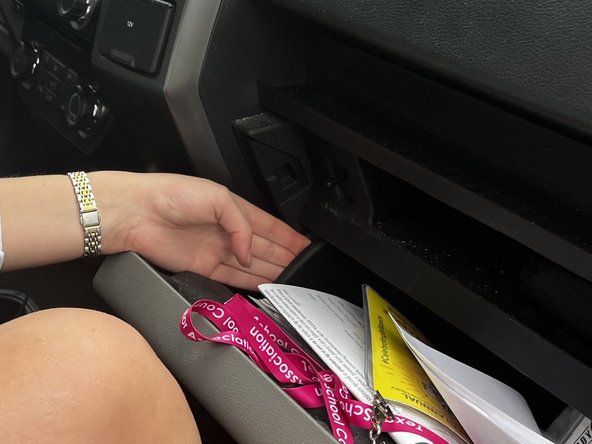
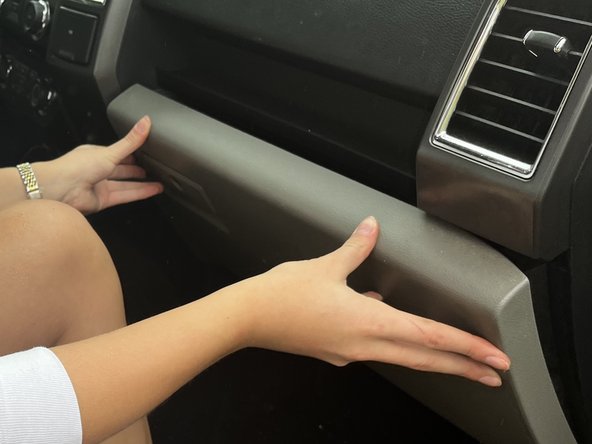
Open the glove compartment.
-
Remove everything from inside the glove compartment.
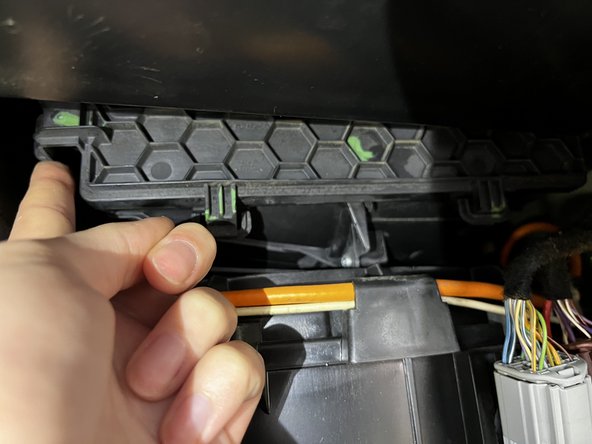
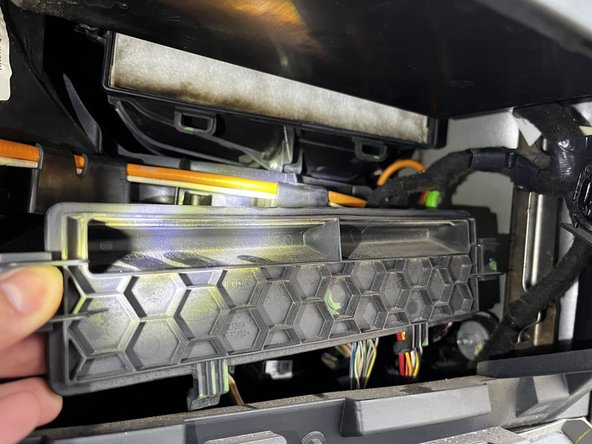
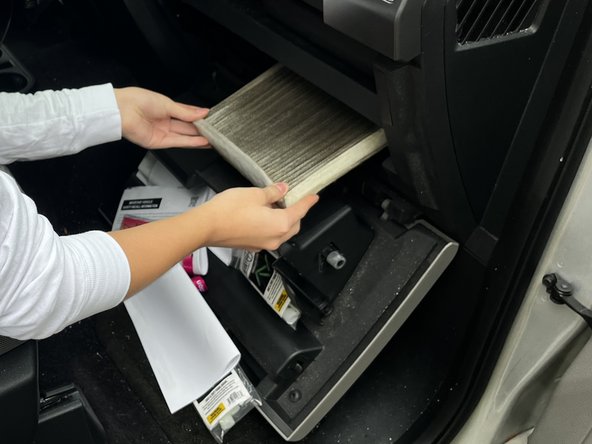
-
-


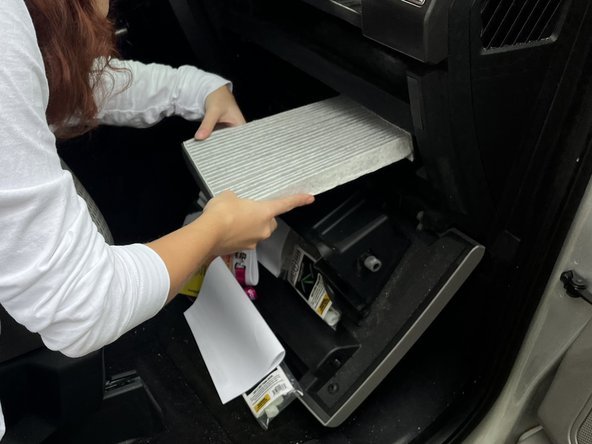
To reassemble your device, follow these instructions in reverse order.
To reassemble your device, follow these instructions in reverse order.

Team

Austin Community College, Team 52-11, Watkins Spring 2024 Membro di Austin Community College, Team 52-11, Watkins Spring 2024
AUSTINCC-WATKINS-S24S52G11
1 Membro
1 Guida realizzata