Salta al contenuto principale
Unisciti alla Community delle riparazioni - Crea un account

2013 Chevrolet Camaro Tail-Light Replacement

Cosa ti serve

    1. 2013 Chevrolet Camaro Tail-Light Replacement, Tail Light: passo 1, immagine 1 di 2 2013 Chevrolet Camaro Tail-Light Replacement, Tail Light: passo 1, immagine 2 di 2
      • Open the trunk by either the button on the driver side door panel or the key fob.

      Chiedi a FixBot

      Aggiungi Commento

    2. 2013 Chevrolet Camaro Tail-Light Replacement: passo 2, immagine 1 di 2 2013 Chevrolet Camaro Tail-Light Replacement: passo 2, immagine 2 di 2
      • Use your key fob or press on your brakes to identify which bulb needs to be replaced.

      • Identify which bulbs need to be replaced.

      • In this case my driver side outside bulb was blown so that is the one that is getting replaced today.

      Chiedi a FixBot

      Aggiungi Commento

    3. 2013 Chevrolet Camaro Tail-Light Replacement: passo 3, immagine 1 di 3 2013 Chevrolet Camaro Tail-Light Replacement: passo 3, immagine 2 di 3 2013 Chevrolet Camaro Tail-Light Replacement: passo 3, immagine 3 di 3
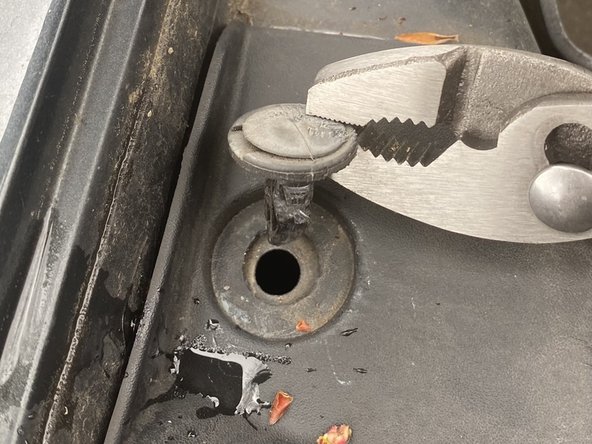
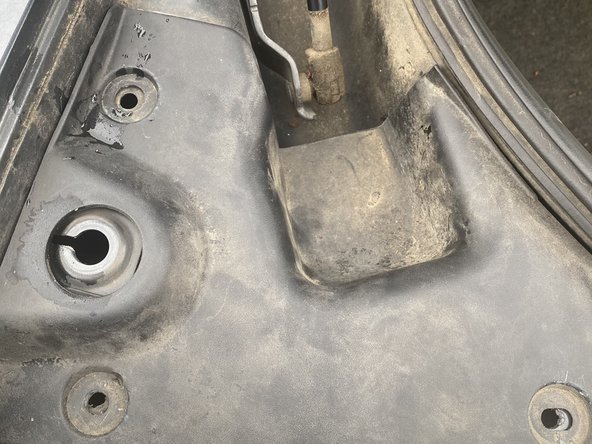
      • Unscrew the rubber screw by turning counter clockwise.

      • Gently pull these caps straight up to remove them.

      • The rubber screw can be removed by hand but it would be easier to use the pliers.

      Chiedi a FixBot

      Aggiungi Commento

    4. 2013 Chevrolet Camaro Tail-Light Replacement: passo 4, immagine 1 di 3 2013 Chevrolet Camaro Tail-Light Replacement: passo 4, immagine 2 di 3 2013 Chevrolet Camaro Tail-Light Replacement: passo 4, immagine 3 di 3
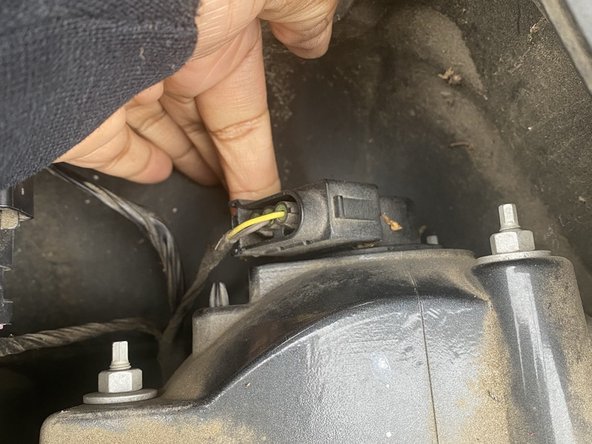
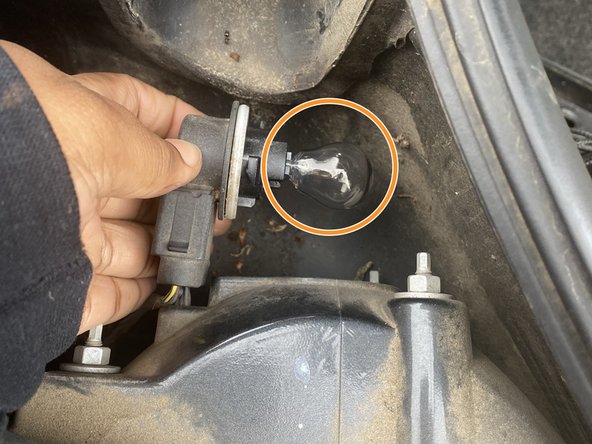
      • Rotate the entire socket a half turn clockwise. After this is done, gently pull the bulb socket from the taillight housing.

      • Remove and dispose of the blown bulb.

      Chiedi a FixBot

      Aggiungi Commento

    5. 2013 Chevrolet Camaro Tail-Light Replacement: passo 5, immagine 1 di 2 2013 Chevrolet Camaro Tail-Light Replacement: passo 5, immagine 2 di 2
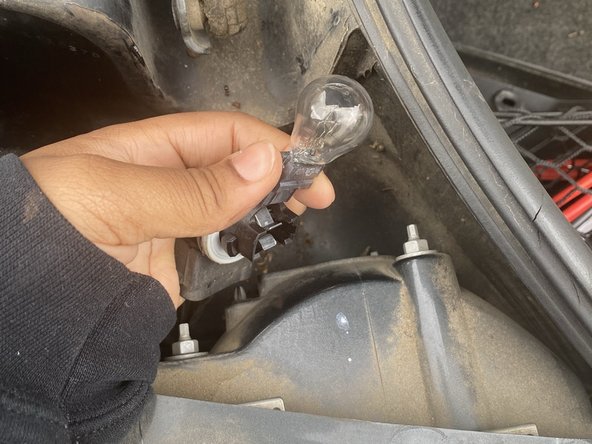
      • At this point you can place the new bulb into the plug.

      • When placing the new bulb into the plug be careful to not apply too much pressure. If the plug does not initially snap into place trying turning it and gently push it into place.

      Chiedi a FixBot

      Aggiungi Commento

    6. 2013 Chevrolet Camaro Tail-Light Replacement: passo 6, immagine 1 di 2 2013 Chevrolet Camaro Tail-Light Replacement: passo 6, immagine 2 di 2
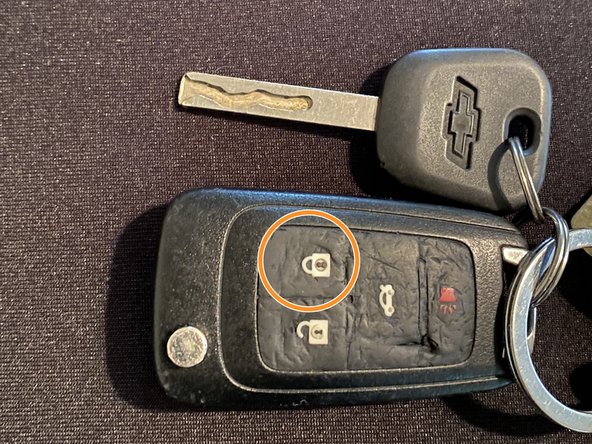
      • Before placing the plug back into the housing you should test the bulb to make sure it is in working order.

      • You can test the bulb by locking the door with your key fob or have someone press the brakes.

      • Repeat steps until all lights are in working order.

      Chiedi a FixBot

      Aggiungi Commento

Conclusione

To reassemble, follow these steps in reverse order.

Annulla: non ho completato questa guida.

Altre 2 persone hanno completato questa guida.

Jack Hatcher

Membro da: 02/11/21

136 Reputazione

Una guida realizzata

0Commenti sulla guida

Aggiungi Commento

Visualizza statistiche:

Ultime 24 ore: 3

Ultimi 7 giorni: 15

Ultimi 30 giorni: 36

Tutti i Tempi: 2,424