Salta al contenuto principale

2007-2011 Toyota Yaris Drip Rail Replacement

Cosa ti serve

  1. 2007-2011 Toyota Yaris Drip Rail Replacement, Drip Rail: passo 1, immagine 1 di 3 2007-2011 Toyota Yaris Drip Rail Replacement, Drip Rail: passo 1, immagine 2 di 3 2007-2011 Toyota Yaris Drip Rail Replacement, Drip Rail: passo 1, immagine 3 di 3
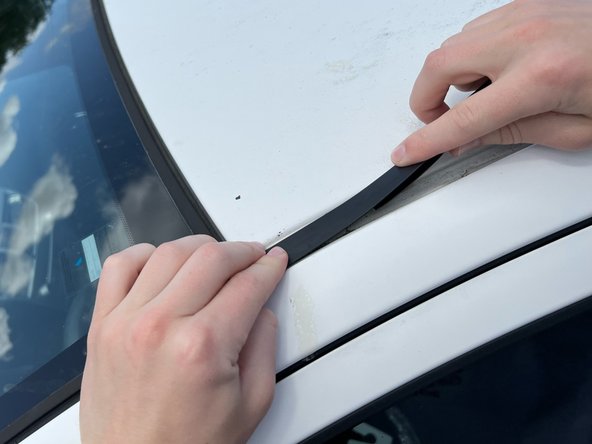
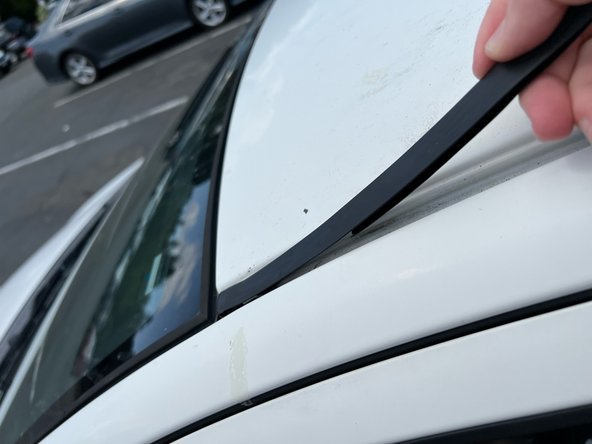
    • Peel back the old molding from where it is beginning to come off until you reach the end of the rail.

  2. 2007-2011 Toyota Yaris Drip Rail Replacement: passo 2, immagine 1 di 3 2007-2011 Toyota Yaris Drip Rail Replacement: passo 2, immagine 2 di 3 2007-2011 Toyota Yaris Drip Rail Replacement: passo 2, immagine 3 di 3
    Attrezzo utilizzato in questo passaggio:
    Heavy-Duty Spudger
    $4.99
    Compra
    • Use a heavy duty spudger to disconnect the end of the drip rail.

    • It may be connected at the end pretty tightly so it could take some work to remove.

    • Completely remove the piece from the end.

  3. 2007-2011 Toyota Yaris Drip Rail Replacement: passo 3, immagine 1 di 3 2007-2011 Toyota Yaris Drip Rail Replacement: passo 3, immagine 2 di 3 2007-2011 Toyota Yaris Drip Rail Replacement: passo 3, immagine 3 di 3
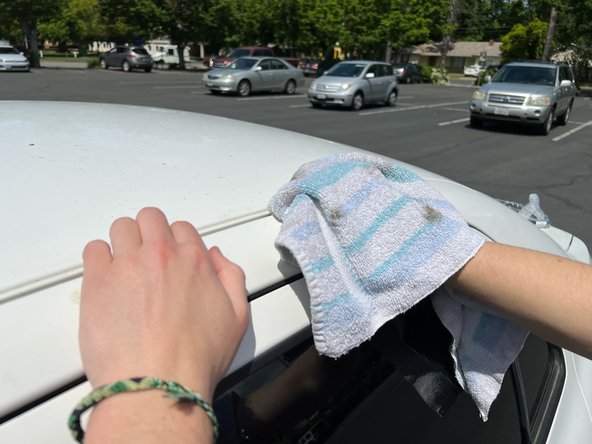
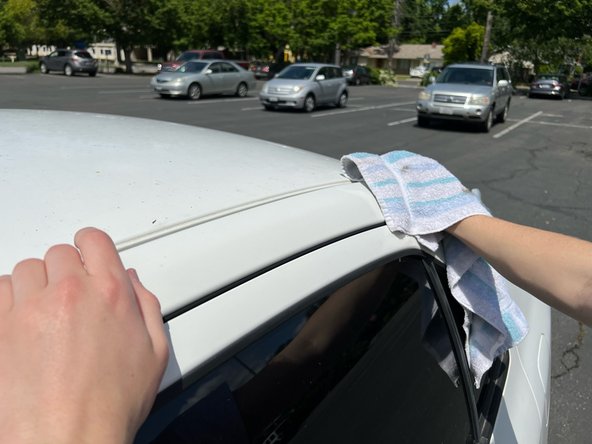
    • Take a rag and clean out any dirt and debris that built up under the old molding.

  4. 2007-2011 Toyota Yaris Drip Rail Replacement: passo 4, immagine 1 di 3 2007-2011 Toyota Yaris Drip Rail Replacement: passo 4, immagine 2 di 3 2007-2011 Toyota Yaris Drip Rail Replacement: passo 4, immagine 3 di 3
    • Slide the end of the new piece into the designated spot and press firmly to ensure it's connected securely.

    • Lightly tug at it to make it is secure and won't come off.

    • Do the same to the opposite end of the drip rail.

    • The molding for the left and right drip rails are different parts.

  5. 2007-2011 Toyota Yaris Drip Rail Replacement: passo 5, immagine 1 di 3 2007-2011 Toyota Yaris Drip Rail Replacement: passo 5, immagine 2 di 3 2007-2011 Toyota Yaris Drip Rail Replacement: passo 5, immagine 3 di 3
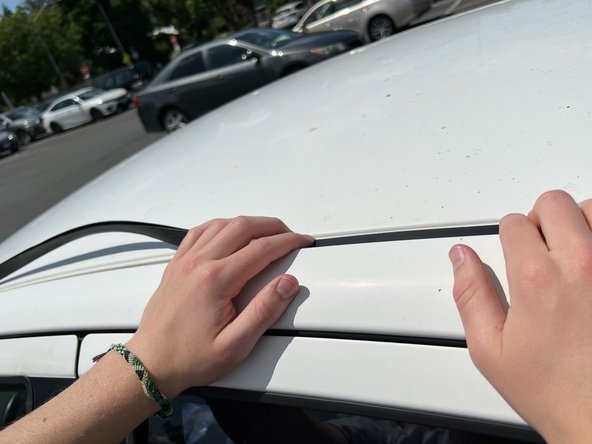
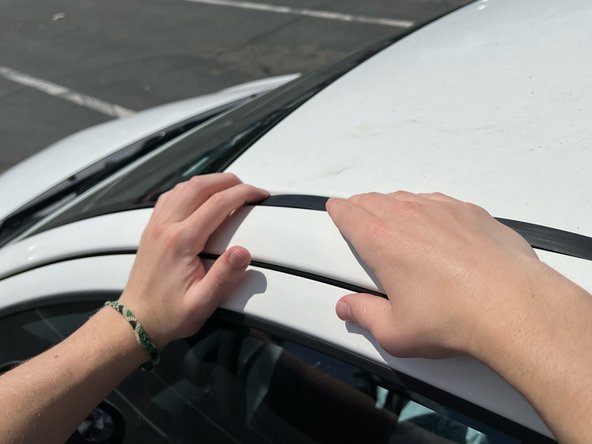
    • Firmly press the drip rail into its place starting at one end and moving down the car.

    • Check to make sure the new drip rail is thoroughly sealed to the car.

Conclusione

To reassemble your device, follow these instructions in reverse order.

Isabel Sagheb

Membro da: 04/19/23

121 Reputazione

1 Guida realizzata

Team

UC Davis, Team 2-2, Morris Spring 2023 Membro di UC Davis, Team 2-2, Morris Spring 2023

UCD-MORRIS-S23S2G2

3 Membri

1 Guida realizzata

0 Commenti

Aggiungi Commento

Visualizza Statistiche:

Ultime 24 Ore: 5

Ultimi 7 Giorni: 22

Ultimi 30 Giorni: 76

Tutti i Tempi: 757