Questa versione può contenere modifiche errate. Passa all'ultima istantanea verificata.
Cosa ti serve
-
Questo passaggio è privo di traduzione. Aiuta a tradurlo
-
Locate the two grey latches on each side of the hood near the headlights.
-
Pull the latches away from the hood to release the latches.
-
-
Questo passaggio è privo di traduzione. Aiuta a tradurlo
-
Reach underneath the hood and push up on the lever located in the front center of the hood. You can now open the hood.
-
Prop the hood open by inserting the hood support rod into the designated hole on the underside of the hood.
-
-
Questo passaggio è privo di traduzione. Aiuta a tradurlo
-
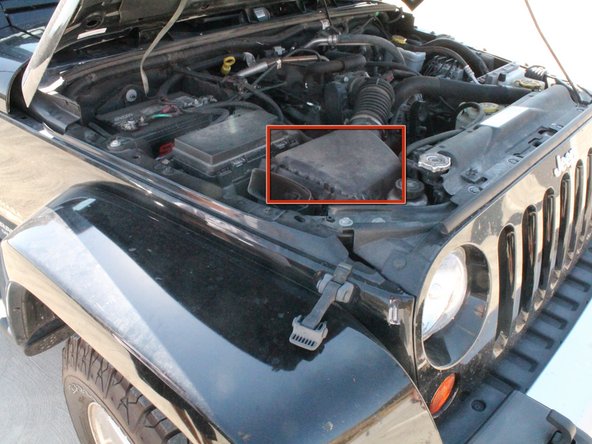
Locate the air filter box in front of the car battery. It will have a 4-inch diameter hose coming out of one side (towards the center of the vehicle) and an air release coming out of the other side. It should have four clamps keeping it sealed.
-
-
-
Questo passaggio è privo di traduzione. Aiuta a tradurlo
-
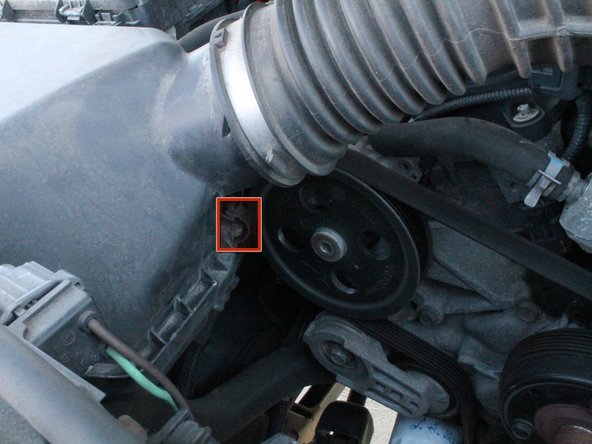
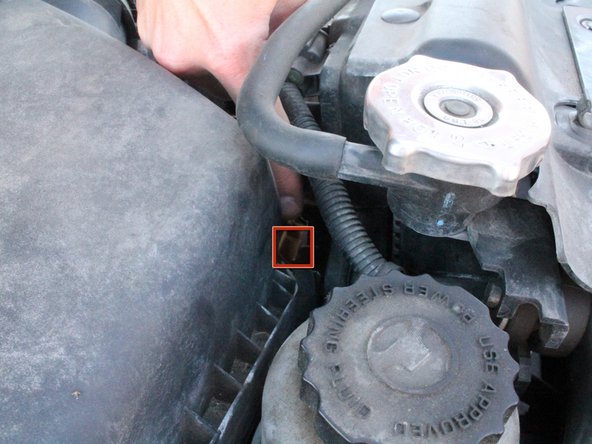
Locate the four clips keeping the air filter box sealed. Their locations are as follows:
-
Back Left Corner (near the outer edge of the hood) [picture 1]
-
Front Left Corner (near the outer edge of the hood) [picture 1]
-
Back Right Corner (underneath the four-inch diameter hose) [picture 2]
-
Bottom Right Corner (near the steering fluid container in the front) [picture 3]
-
-
Questo passaggio è privo di traduzione. Aiuta a tradurlo
-
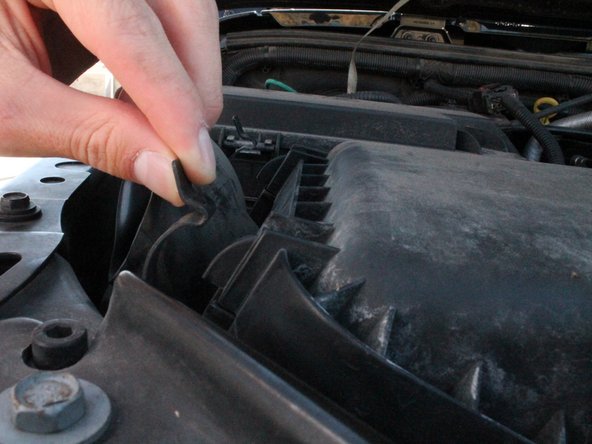
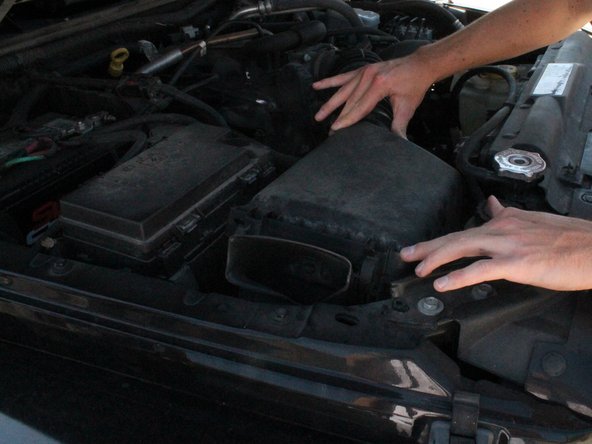
To unlock the air filter box, grasp each clip and pull the clip away from the air filter box.
-
-
Questo passaggio è privo di traduzione. Aiuta a tradurlo
-
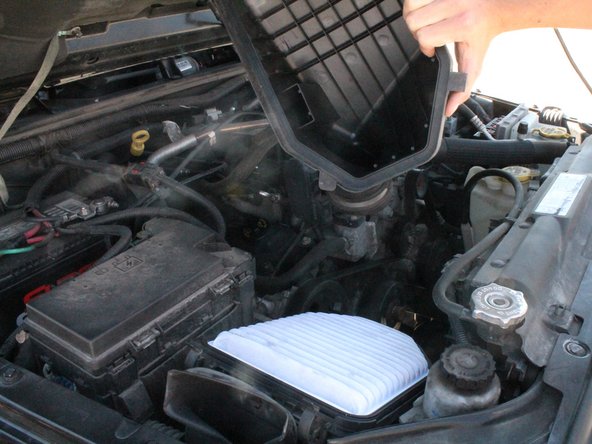
After you have removed the 4 clips, carefully pull and twist the cover off. You now have access to the air filter.
-
-
Questo passaggio è privo di traduzione. Aiuta a tradurlo
-
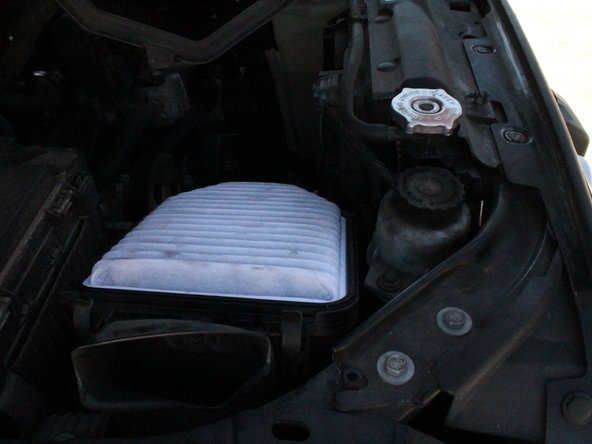
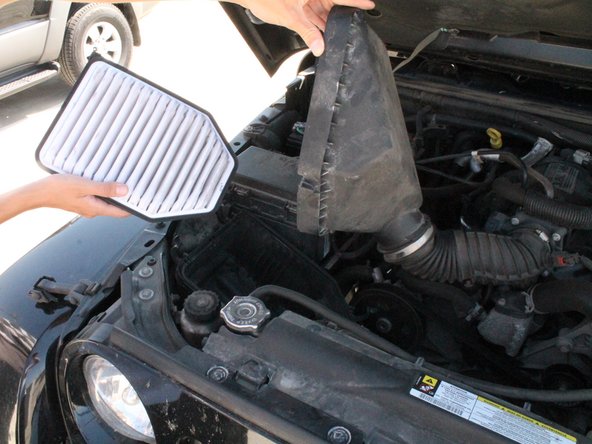
Remove the dirty air filter by pulling the air filter straight up. Place the new replacement filter in the empty slot.
-


Annulla: non ho completato questa guida.
Altre 2 persone hanno completato questa guida.
Team

Cal Poly, Team 7-51, Forte Fall 2012 Membro di Cal Poly, Team 7-51, Forte Fall 2012
CPSU-FORTE-F12S7G51
5 Membri
9 Guide realizzate