Introduzione
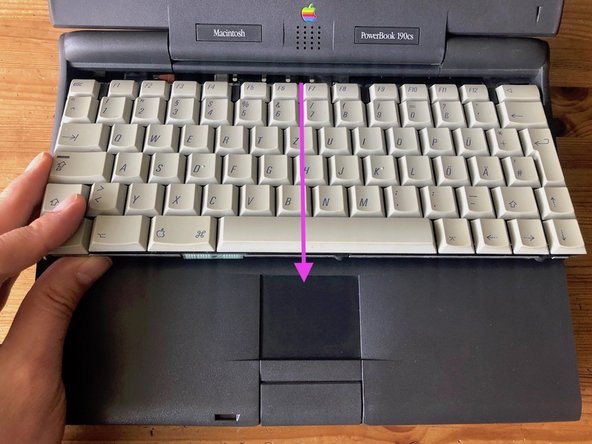
Teardown of the PowerBook 190cs. The last PowerBook ever with an 68LC040 CPU. Has a dual scan color display instead of the greyscale display of the first model 190.
Generally, before you do your repair notice that most of 90s plastics have become very brittle, so take care.
-
-
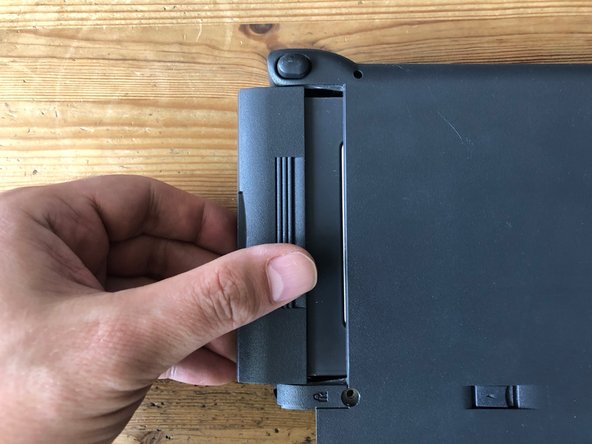
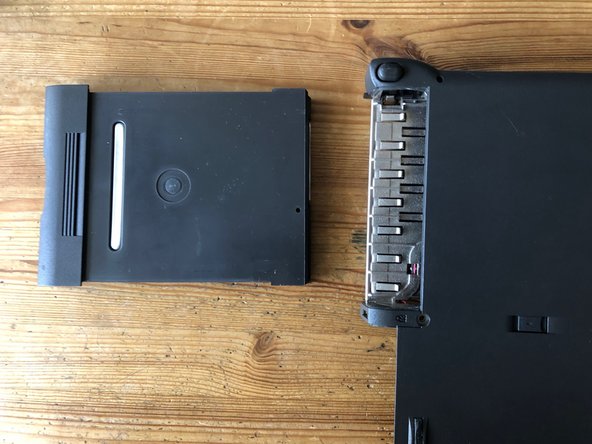
push the battery latch to the right to release it, then pull it out.
-
-
-
use a spudger or similar flat tool to carefully lift up the keyboard.
-
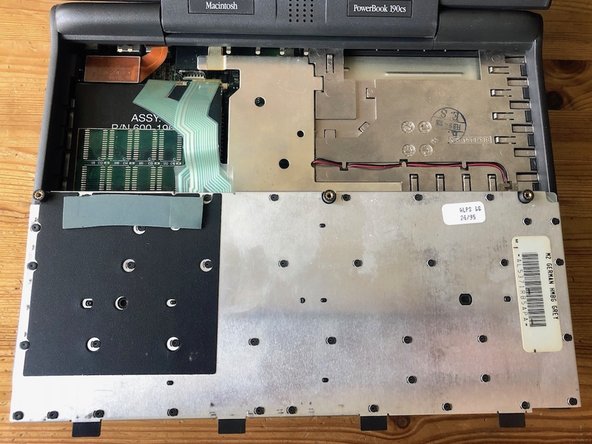
on top of the keyboard are several flat plastic noses that keep it secured. Pull the keyboards towards you to release it from the case. Then flip it over. Notice its ribbon cables still are attached to the mainboard.
-
-
-
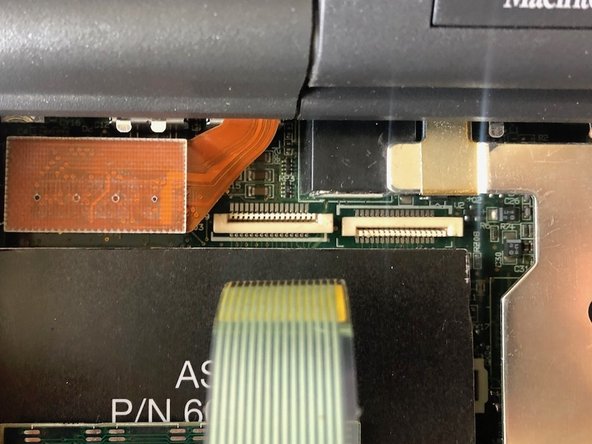
locate the keyboard ribbon cable connectors on top left in the case. Carefully lift up the top part of the ribbon cable release: To not brake it, I do this in four small steps.. a few millimeters on the left and then on the right side, repeat untill the cable can be pulled out easily. Use good light.
-
to release the two flat keyboard ribbon cables use a slim tool, here I used an angled tweezer.
-
-
-
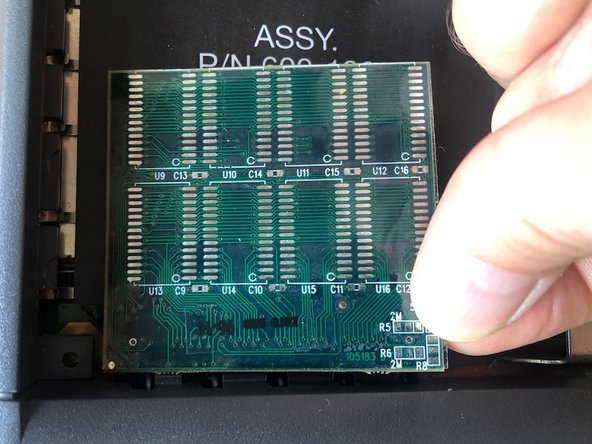
if your machine has an additional expansion RAM card installed, carefully pull it out sideways with your fingernail to remove it.
-
-
-
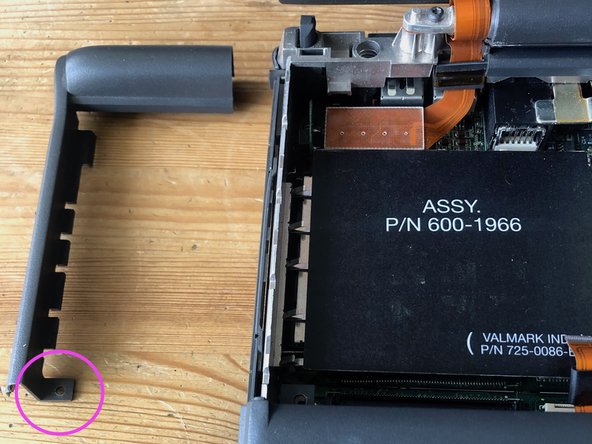
to remove the right monitor end cap, pull it up on the right side to release it, then remove it from the case.
-
-
-
-
do the same for the left side. Notice that at the bottom end they have plastic screw hole latches attached, so do not brake it.
-
-
-
to remove the trackpad ribbon cable, carefully lift up the top release latch with a fine tool, here I used an angled tweezer again ( as in the steps above for the keyboard ribbon cables).
-
-
-
to release the trackpad top case, carefully but firmly push on the under part of the of the top case. (This will free the internal latches you can see on the inside of the battery bay).
-
repeat to push on the underside for the middle and left side of the case. The left side is a little harder to push. On the top there also is a little latch that catches onto the hard disk cage underneath. Then lift the top from the case.
-
Be aware that by now all 90s plastics have become very brittle, so take care.
-
-
-
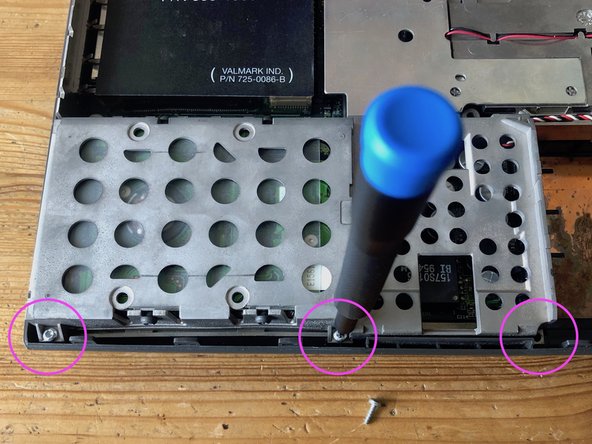
to remove the hard disk case from the case, unscrew the three plastic screws to the front of the case. Then pull it up.
-
-
-
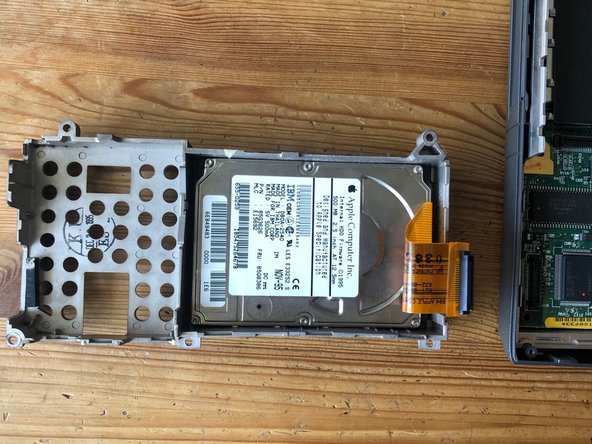
carefully lay the the hard disk cage on its back to the left of the powerbook case, because the hard disk still is attached to the mainboard. Then pull out the connector of the hard disk.
-
-
-
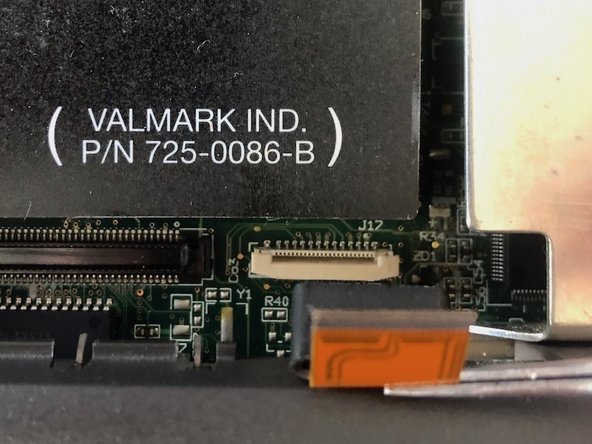
carefully lift up the display connector on its sides with your fingernails and release it from its board connector.
-
-
-
locate the two T9 metal screws that secure the display on the case. Hold the display with your left hand to secure it before unscrewing it. Unscrew the two screws and carefully lift it up from the case.
-
Notice the fragile display cable that is wound around the left display post and the little attached ferrite that sometimes catches on the case.
-
-
-
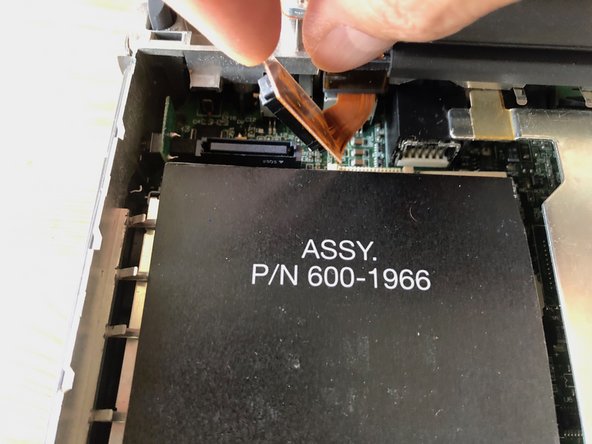
Locate the little PCMCIA board on the top left side in the case next to the display cable connector. Very carefully grab it with your fingernails or a fine tool and pull it off its connector on the board. Do not twist it, the tiny 4 pin connector is fragile.
-
-
-
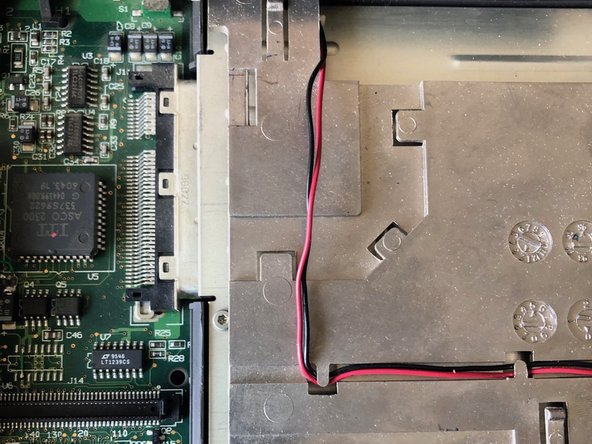
locate the battery next to the floppy drive and unplug it from its 3 pin connector on the board. Then pull the battery out.
-
-
-
Locate the CPU heatsink in the case. It just sits on the CPU and some small posts. Pull it out of the case. ( Notice there is a thermal pad attached on the unside. I already replaced it here with a blue one).
-
-
-
Locate the LED cable on top of the floppy drive. Unplug it from its connector on the board.
-
In order to have an easier access for the motherboard removal I additionally secured the cable with a piece of tape.
-
-
-
push the little securing lever at the bottom of the case towards the drive. Then grab the drive and pull it out of the case. Sometimes it takes a little force.
-
-
-
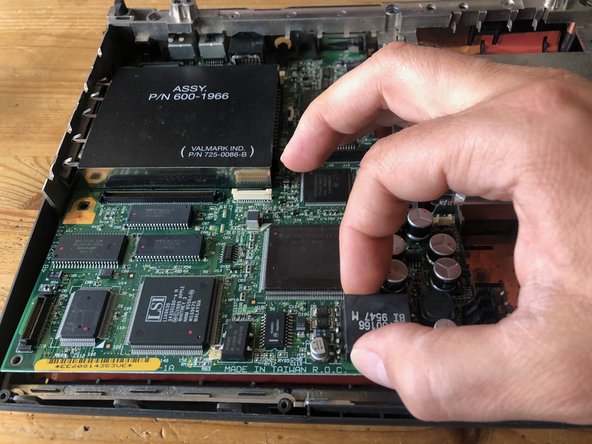
the mainboard is now free to be pulled out. It is not too difficult but you have to be careful. I grabbed on the most stable components like the PCMCIA cage and carefully pulled it towards me. In order to free the left metal fingers of the PCMCIA cage you have to slightly pull the casing outwards a little bit, otherwise they get stuck underneath.
-
as soon as the PCMCIA cage is free from the case you can pull the board out.
-